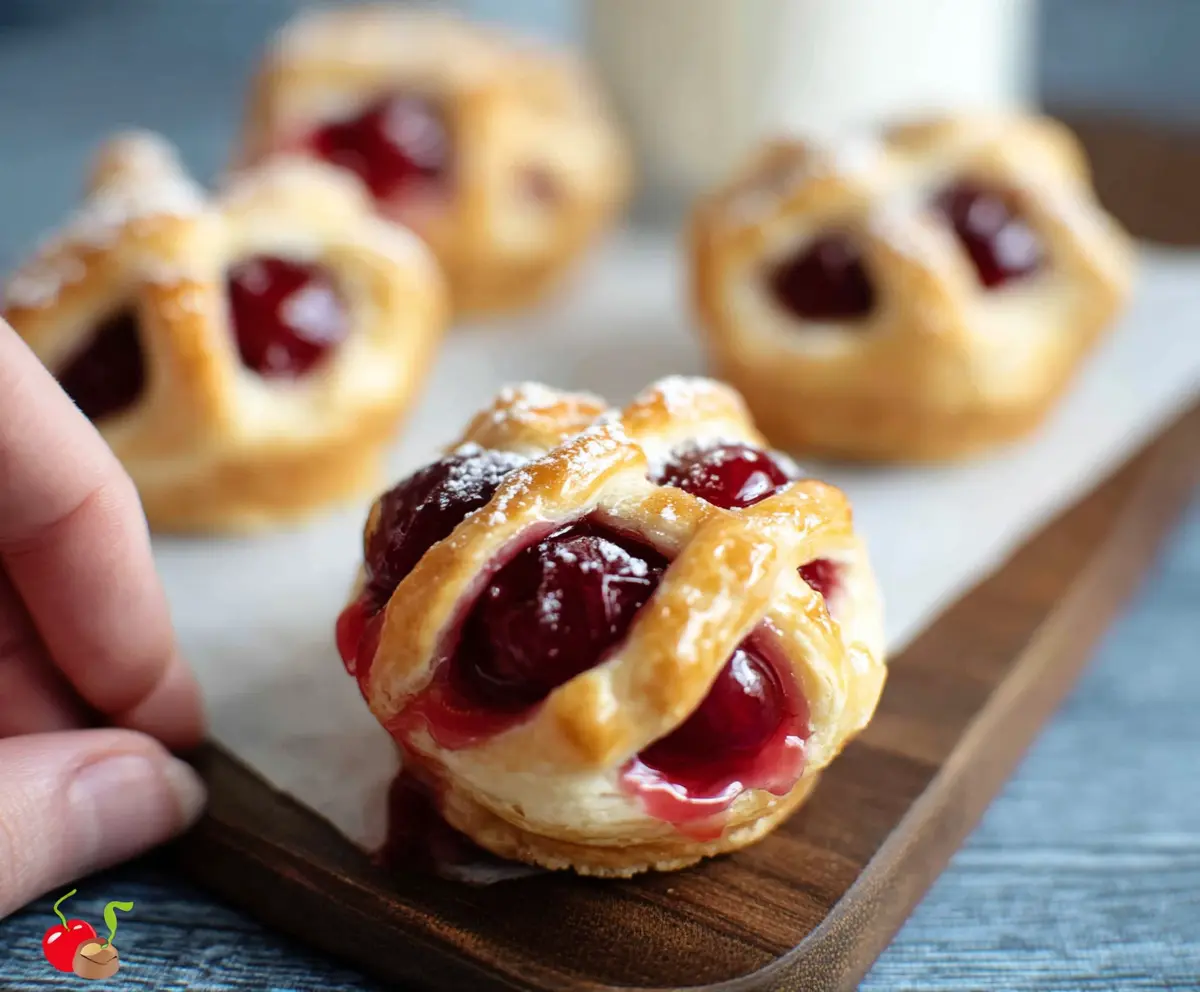
Cherry Pie Bites are small, sweet treats that pack all the goodness of cherry pie into a fun bite-sized form. With a flaky crust and gooey cherry filling, they are simply delicious!
These little goodies are perfect for sharing, or just for sneaking a few yourself! I love them with a scoop of ice cream on the side—so tasty! Who can resist that combo? 🍒
Key Ingredients & Substitutions
Pie Crust Dough: Store-bought dough saves time, and it’s reliable! If you’re feeling adventurous, you can make your own from scratch for a fresher taste. Just remember to chill it before rolling out.
Cherry Pie Filling: You can use canned filling for convenience, or make your own with fresh or frozen cherries. If you’re using fresh, add a bit of sugar and cornstarch to help thicken naturally.
Cornstarch: This is optional if you’re using store-bought filling since it usually has the right consistency. If making your own cherry filling, it’s helpful to achieve the right thickness, so don’t skip it!
Egg Wash: The beaten egg gives these bites a beautiful golden color. If you’d rather skip the egg, you can brush them with milk or cream instead for a slightly different finish.
How Do I Make the Perfect Cherry Pie Bite Crust?
Getting the crust just right ensures a great texture for your pie bites! Here’s how to do it:
- Roll the dough out evenly so it’s not too thick; about 1/8 inch is great.
- Cut out circles of dough and place them gently in the muffin tin. Don’t stretch the dough; just lay it in.
- For the lattice top: Thin strips of dough should be used gently to create a criss-cross pattern. Keep it simple for a rustic look!
- Brush with egg wash carefully around the edges, as this helps the crust to brown nicely.
Practice makes perfect, so don’t worry if your first batch isn’t flawless! Enjoy your pie bites fresh from the oven. 🍒
Cherry Pie Bites
Ingredients You’ll Need:
- 1 package (about 14 oz) refrigerated pie crust dough
- 1 cup cherry pie filling (canned or homemade)
- 1 tablespoon cornstarch (optional, for thickening if using homemade filling)
- 1 tablespoon sugar (optional, for sprinkling)
- 1 egg, beaten (for egg wash)
- Powdered sugar, for dusting (optional)
Time Needed:
This recipe takes about 20 minutes to prepare and around 15-18 minutes to bake. After that, let the pie bites cool for a bit before serving. So, you’re looking at about 40-45 minutes total for a delicious treat!
Step-by-Step Instructions:
1. Preheat the Oven:
Start by preheating your oven to 375°F (190°C). While the oven heats up, lightly grease a mini muffin tin or spray it with nonstick cooking spray to ensure that your pie bites don’t stick.
2. Prepare the Pie Crust:
Roll out the refrigerated pie crust dough on a lightly floured surface. Use a round cookie cutter or a glass that’s about 3 inches in diameter to cut out circles from the dough. You’ll need enough circles for your mini muffin tin.
3. Form the Cups:
Gently place each dough circle into a cup of the mini muffin tin, pressing it down lightly to form a small cup. Be careful not to stretch the dough; just let it fit naturally into the shape.
4. Fill with Cherry Filling:
Spoon about 1 to 1 ½ teaspoons of cherry pie filling into each pastry cup. If you’re using homemade filling and it’s a bit runny, mix in the cornstarch to help thicken it up before filling the cups.
5. Create the Lattice Top:
Cut any remaining dough into thin strips. Use these strips to create a lattice pattern or simply a crisscross on top of each pie bite to seal in the filling. Be creative—it doesn’t have to be perfect!
6. Brush with Egg Wash:
Take your beaten egg and brush it over the tops of your pie bites. This will give them a lovely golden color when they bake!
7. Sprinkle with Sugar:
If you’d like, sprinkle a small amount of sugar over the tops. It adds a little sweetness and a lovely crunch. Yum!
8. Bake:
Pop your mini muffin tin in the preheated oven and bake for about 15-18 minutes. Keep an eye on them until the crust is golden brown and the filling is bubbling—this is when they’re at their best!
9. Cool Down:
Once they’re done baking, remove the cherry pie bites from the oven. Let them cool in the tin for about 5-10 minutes before taking them out and transferring them to a wire rack.
10. Dust and Serve:
If you want, dust the tops with powdered sugar for an extra touch of sweetness before serving. These are delicious warm or at room temperature!
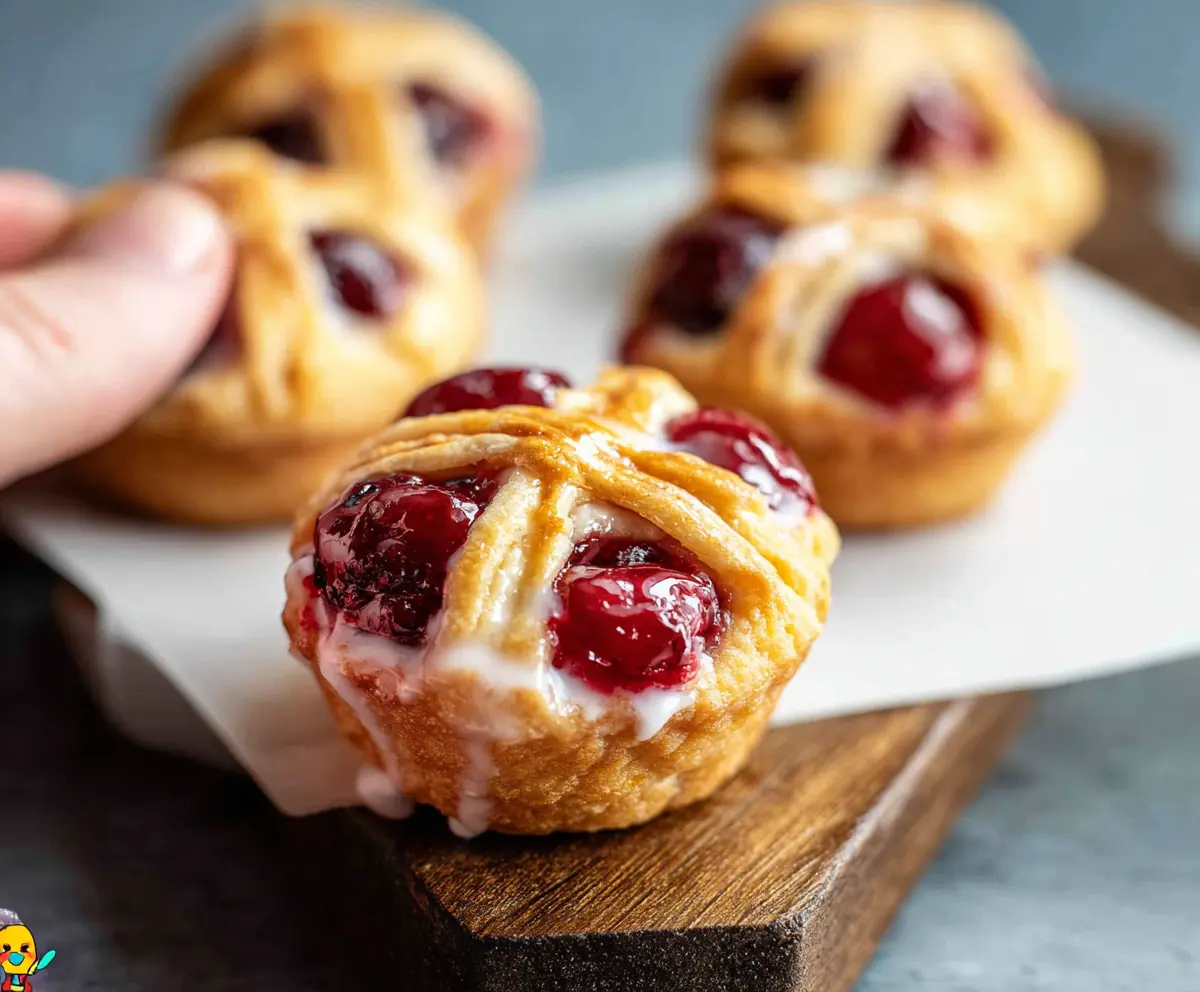
These little bites combine a flaky, golden crust with a juicy cherry filling and are perfect for any occasion—whether it’s a party, a snack, or a delightful dessert!
Can I Use Fresh Cherries Instead of Canned Filling?
Yes, you can use fresh cherries! Just pit and slice them, then mix with sugar and cornstarch (about 1 tablespoon of each) to create a filling that’s thick enough to hold up in the pie bites.
How Can I Make These Cherry Pie Bites Gluten-Free?
To make these bites gluten-free, simply substitute the regular pie crust with a gluten-free pie crust available at most grocery stores. Ensure that your cherry pie filling is also gluten-free, especially if you are using a homemade version.
What’s the Best Way to Store Leftover Cherry Pie Bites?
Store any leftovers in an airtight container at room temperature for up to 2 days. If you want to keep them for longer, refrigerate them for up to 5 days. Reheat in the oven for a few minutes to bring back their crispiness!
Can I Freeze Cherry Pie Bites?
Absolutely! You can freeze the unbaked pie bites before placing them in the oven. Just prepare them as usual, then wrap them tightly and freeze. When you’re ready to bake, you can put them into the oven straight from the freezer—just add a couple of extra minutes to the baking time!