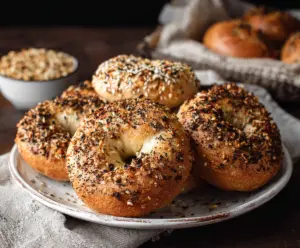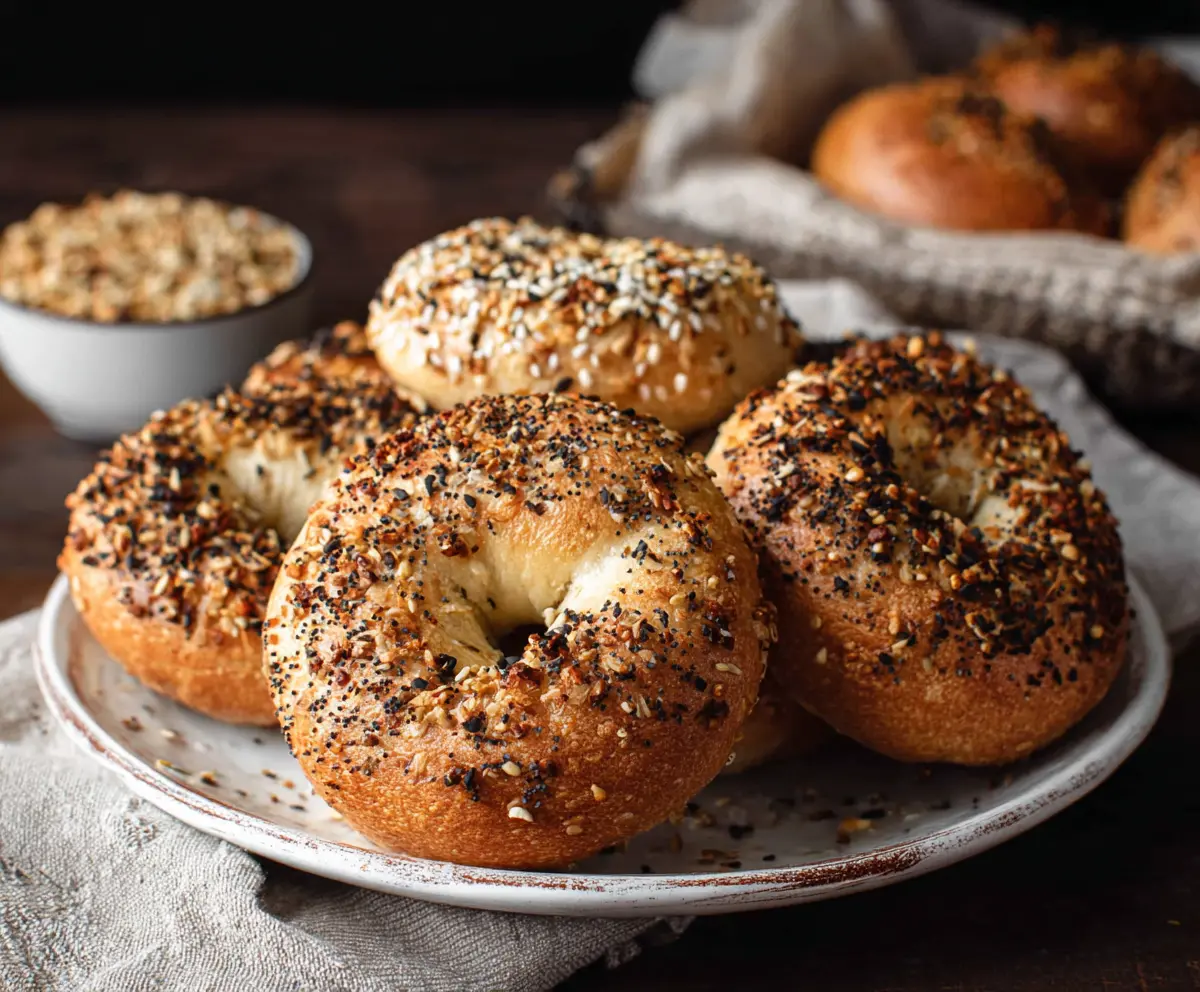
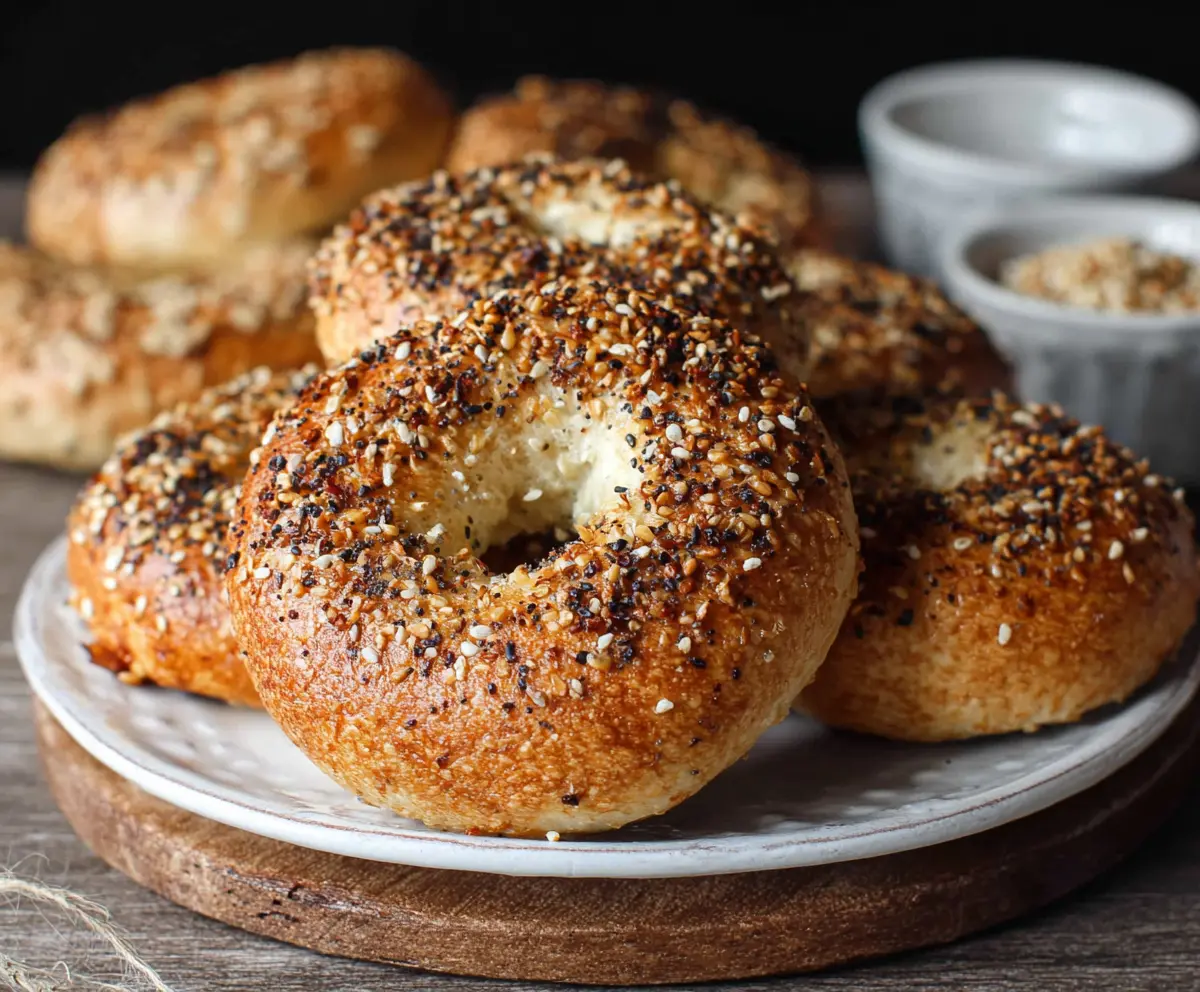
These Authentic New York Style Bagels are chewy, golden, and have a nice crust. They’re boiled before baking, which gives them that classic texture everyone loves!
There’s something special about making bagels at home—especially when you get to watch them puff up in the oven. I love topping mine with cream cheese and lox; it’s a breakfast win! 🥯
Key Ingredients & Substitutions
Bread Flour: High gluten bread flour is the best choice for bagels since it gives them that chewy texture. If you can’t find it, all-purpose flour will work too, but the bagels may be slightly less chewy.
Sugar: The sugar helps with browning and flavor. You can use honey or maple syrup as alternatives if you’d like a different sweetness profile.
Malt Syrup: This is key for that authentic flavor and texture in the boiling water. If you don’t have it, honey or brown sugar can be substitutes, giving a slightly different taste but still delicious.
Toppings: Get creative! If you don’t have sesame or poppy seeds, try shredded cheese, or spices like garlic powder or everything bagel seasoning. Each option adds a unique twist!
How Do I Get the Perfect Chewy Texture When Making Bagels?
The secret to that lovely chewy texture lies in the kneading and boiling process. First, kneading the dough is crucial. Aim for about 10 minutes so it gets nice and elastic. This develops the gluten structure needed for chewiness.
- Mix your ingredients until the dough comes together, then dump it onto a floured surface.
- Knead by folding the dough over and pressing down with the palms of your hands.
- The proper boiling technique also contributes—boil for 1 minute on each side. This step creates a crust that holds in moisture and adds a shine.
How to Make Authentic New York Style Bagels
Ingredients You’ll Need:
For the Bagel Dough:
- 4 cups bread flour (high gluten flour preferred)
- 1 tablespoon sugar
- 1 ½ teaspoons salt
- 1 tablespoon instant yeast
- 1 ¼ cups warm water (around 110°F or 43°C)
For Boiling:
- 1 tablespoon malt syrup or honey
For Toppings:
- Sesame seeds
- Poppy seeds
- Dried onion flakes
- Garlic flakes
- Coarse salt
- “Everything” bagel seasoning
How Much Time Will You Need?
This bagel recipe will take about 2 to 2.5 hours in total. You’ll spend about 15-20 minutes preparing and shaping the dough, then wait about 1 to 1.5 hours for it to rise. After that, be ready for some boiling and baking, which will take another 30-40 minutes. In no time, you’ll have fresh, homemade bagels!
Step-by-Step Instructions:
1. Mixing the Dough:
First, grab a large mixing bowl and combine the bread flour, sugar, salt, and instant yeast. This is the base of your bagels. Mix them together well so the ingredients are evenly distributed.
2. Forming the Dough:
Next, slowly pour in the warm water while mixing with your hand or a wooden spoon. Keep going until you see a rough dough starting to form. It should feel a bit tacky but not too sticky.
3. Kneading:
Now, transfer that dough onto a lightly floured surface. Knead it for about 10 minutes. Just fold it over and push it down with your palms to make it smooth and elastic. You want it to be stretchy and not too sticky.
4. Letting It Rise:
Place your kneaded dough in a lightly oiled bowl and cover it with a damp towel or plastic wrap. Find a warm spot and let it rise until it has doubled in size—this usually takes about 1 to 1.5 hours.
5. Shaping the Bagels:
Once the dough is nice and puffy, punch it down gently to remove some air. Divide the dough into 8 equal pieces. Roll each piece into a tight ball, then poke your thumb through the center to form a bagel shape. Stretch it a little to create a hole that’s about 2 inches wide.
6. Resting the Bagels:
Place your shaped bagels on a parchment-lined baking tray and cover them lightly with a cloth. Let them rest for about 20 minutes while you preheat your oven.
7. Prepping for Boiling:
Preheat your oven to 425°F (220°C). While that’s heating up, bring a large pot of water to a boil. Don’t forget to add the malt syrup or honey to the water—it helps give the bagels that classic New York flavor!
8. Boiling the Bagels:
Carefully drop 2-3 bagels at a time into the boiling water. Allow them to boil for about 1 minute on each side. Once done, use a slotted spoon to lift them out and let them drain on a clean kitchen towel.
9. Topping the Bagels:
Right after boiling, dip the tops of your bagels into your chosen toppings. Press gently to help them stick. This is your chance to get creative with flavors!
10. Baking:
Place your topped bagels back on the parchment-lined baking tray. Bake them in the preheated oven for 20-25 minutes, turning the tray halfway through baking. Keep an eye on them until they’re golden brown and crisp on the outside.
11. Cooling & Serving:
Once out of the oven, let the bagels cool on a wire rack. This helps them finish setting up. Now, grab a toasted bagel, add your favorite toppings, and enjoy your homemade, chewy, authentic New York-style bagels!
Can I Use All-Purpose Flour Instead of Bread Flour?
Yes, you can use all-purpose flour, but the texture of the bagels may be slightly less chewy. For the best results, high gluten bread flour is preferred to achieve that authentic bagel texture.
What Can I Use Instead of Malt Syrup?
If you don’t have malt syrup, honey or brown sugar are good substitutes for boiling water. They will still provide a nice flavor and sheen to the bagels.
How Do I Store Leftover Bagels?
To store leftover bagels, place them in an airtight container at room temperature for up to 2 days. For longer storage, freeze them wrapped tightly in plastic wrap and then in a freezer bag. They will last for up to 3 months!
Can I Make These Bagels Ahead of Time?
Absolutely! You can prepare the dough and shape the bagels the night before. Let them rise in the fridge overnight, and in the morning, simply boil, top, and bake them. This way, you’ll have fresh bagels ready with less fuss!