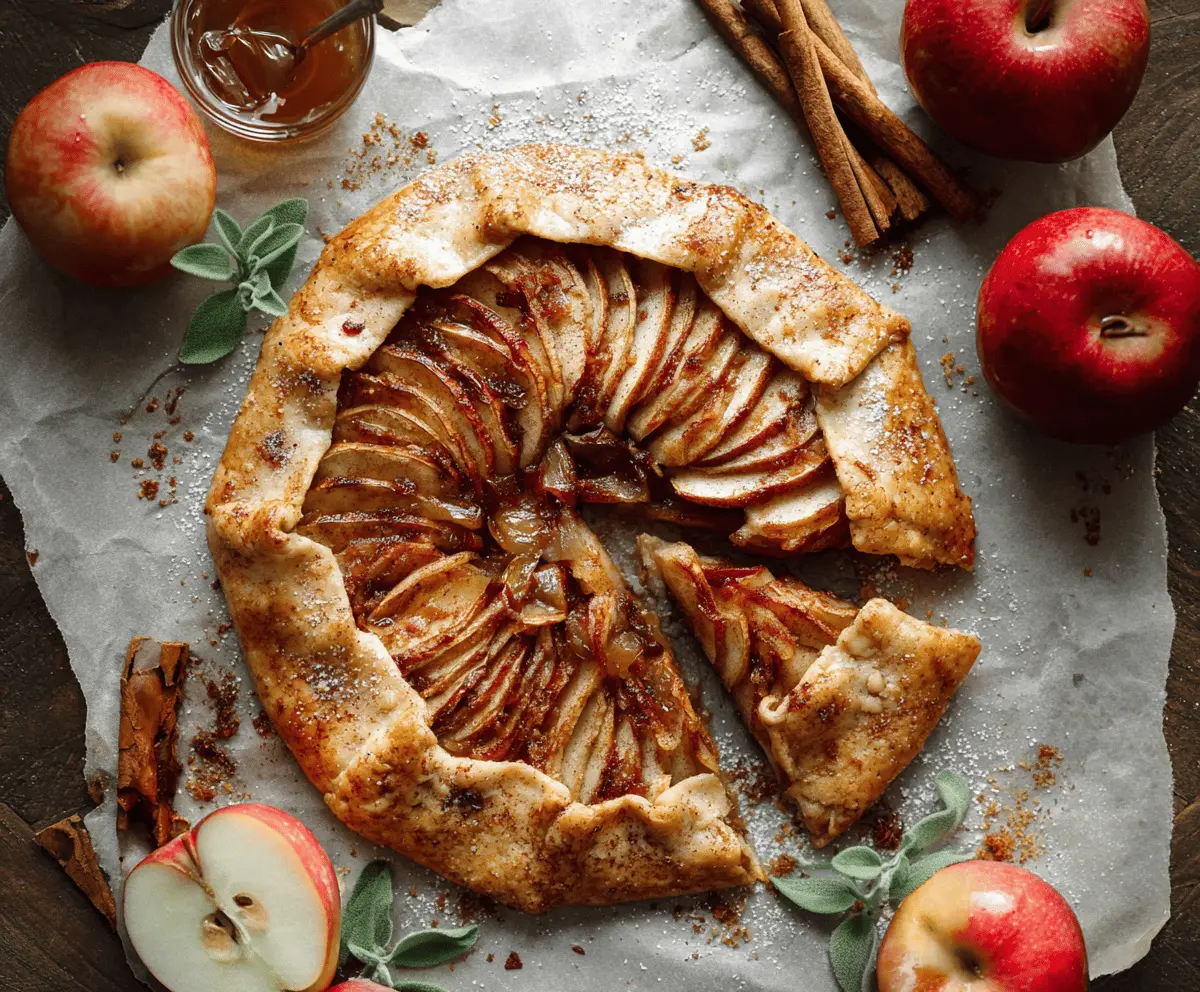
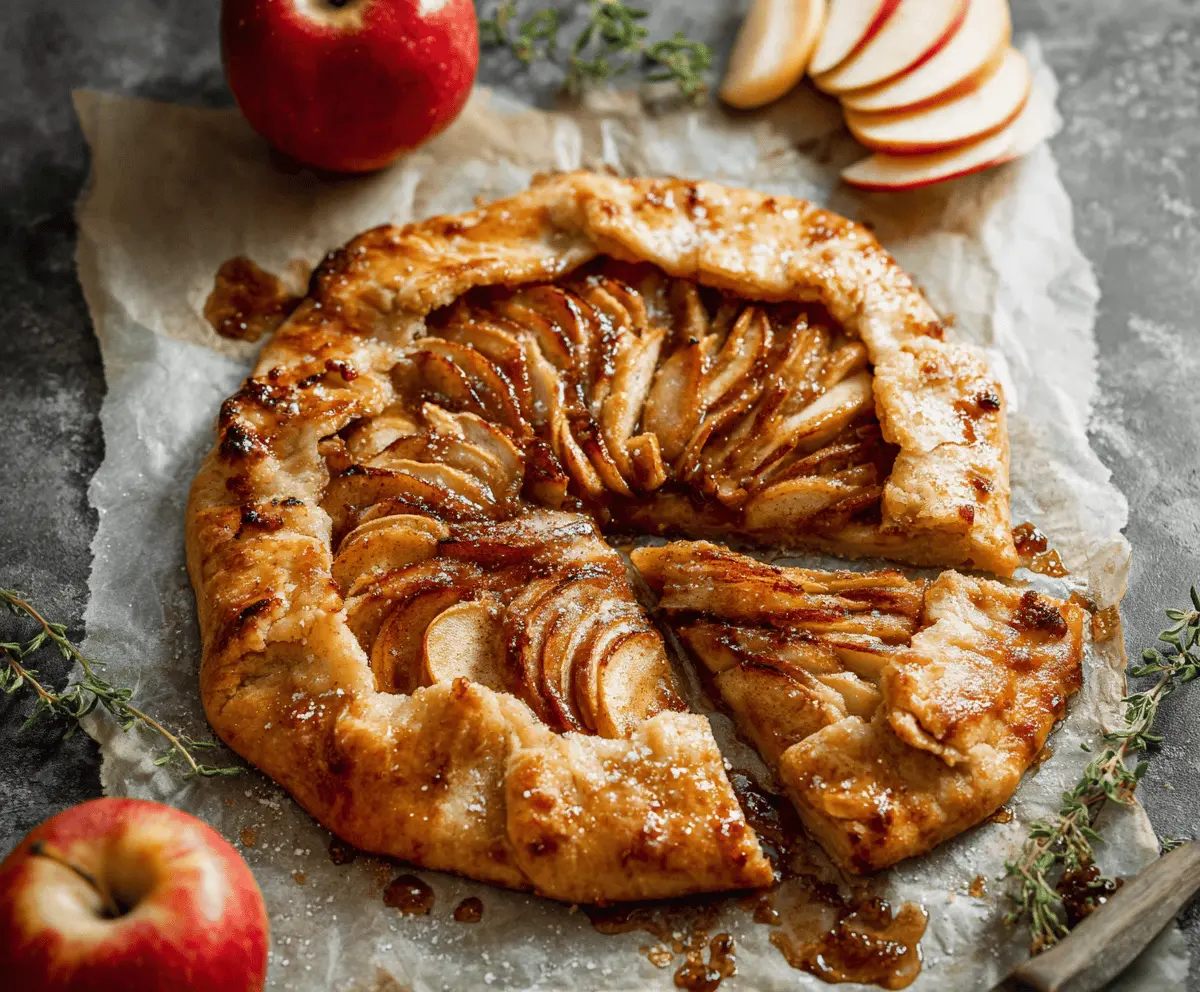
This Apple Galette is a tasty twist on pie that’s super easy to make! With a flaky crust and sweet, spiced apples, it’s perfect for any occasion.
I love how rustic it looks and how great it tastes warm with a scoop of ice cream on top—yummy! Trust me, your friends will be impressed! 😊
Key Ingredients & Substitutions
All-Purpose Flour: This is the backbone of the crust. If you’re gluten-free, try almond flour or a gluten-free all-purpose blend. I’ve mixed in a bit of whole wheat flour for a nuttier taste; it’s a nice touch!
Unsalted Butter: Cold butter creates a flaky texture. If you’re dairy-free, coconut oil or vegan butter are great substitutes. My personal tip is to freeze the butter for about 15 minutes before using it for a flakier crust.
Apples: A mix of Granny Smith (for tartness) and Fuji (for sweetness) works wonders. If you can’t find these, feel free to use Honeycrisp or Braeburn apples. I love experimenting with seasonal varieties when I can find them!
Granulated Sugar: This adds sweetness. You can replace it with granulated sugar substitutes like Stevia or coconut sugar. Adjust the amount based on your taste preference.
Turbinado Sugar: This is great for sprinkling on top for a crunchy finish. If you don’t have it, regular sugar works, but consider sprinkling some brown sugar for extra flavor.
How Do You Achieve a Flaky Crust?
Creating a flaky crust is all about keeping everything cold and not overworking the dough. Here’s what to do:
- When cutting in the butter, try to leave some pea-sized chunks. These help create layers in your crust!
- Don’t skip chilling the dough! Refrigerating it for at least an hour lets the gluten relax, resulting in a tender crust.
- When adding water, use ice-cold water and only add enough until the dough holds together without crumbling.
- While rolling out the dough, keep it lightly floured to prevent sticking and make transferring it easier.
Following these tips should help you create a perfect, flaky Apple Galette crust. Happy baking!
How to Make a Delicious Apple Galette
Ingredients You’ll Need:
For the Dough:
- 1 1/4 cups all-purpose flour
- 1/4 teaspoon salt
- 1/2 cup (1 stick) unsalted butter, cold and cut into small cubes
- 3 to 4 tablespoons ice water
For the Filling:
- 3 medium apples (a mix of tart and sweet, e.g., Granny Smith and Fuji)
- 1/4 cup granulated sugar
- 1 tablespoon brown sugar
- 1 teaspoon ground cinnamon
- 1/4 teaspoon ground nutmeg
- 1 teaspoon lemon juice
- 1 tablespoon all-purpose flour (to toss with apples)
- 1 tablespoon unsalted butter, cut into small pieces (for dotting over the apples)
For the Finishing Touches:
- 1 egg, beaten (for egg wash)
- 1-2 tablespoons turbinado sugar or granulated sugar (for sprinkling)
- Powdered sugar (optional, for dusting)
Time Needed:
This Apple Galette takes about 1 hour of preparation time, plus an additional 40-45 minutes to bake. Remember to chill the dough for at least 1 hour for the best texture. So, give yourself about 2 hours in total to make and enjoy this delightful dessert!
Step-by-Step Instructions:
1. Prepare the Crust:
In a large bowl, combine the flour and salt. Add the cold, cubed butter and use a pastry cutter or your fingers to mix until the mixture resembles coarse crumbs with some pea-sized pieces. This is key for a flaky crust!
2. Bring the Dough Together:
Gradually add ice water, one tablespoon at a time. Mix gently with a fork until the dough starts to hold together when you pinch it. Be careful not to overwork the dough! Once combined, form the dough into a disk, wrap it in plastic wrap, and pop it in the fridge for at least 1 hour.
3. Prepare the Apples:
While the dough chills, peel, core, and slice the apples. In a large bowl, toss them with lemon juice to keep them from browning. Then, add the flour, granulated sugar, brown sugar, cinnamon, and nutmeg. Gently mix to coat the apples evenly.
4. Preheat the Oven:
Preheat your oven to 375°F (190°C) and line a baking sheet with parchment paper. This will make cleanup a breeze!
5. Roll Out the Dough:
On a lightly floured surface, roll out the chilled dough into a circle about 12 inches in diameter. Don’t worry if it’s not perfect; a rustic look is part of the charm! Transfer the rolled dough to the prepared baking sheet.
6. Add the Filling:
Arrange the apple slices in the center of the dough, leaving about a 2-inch border around the edges. You can overlap them for a pretty design. Dot the apples with small pieces of butter to add richness and flavor!
7. Fold the Edges:
Carefully fold the edges of the dough up over the apples, pleating the dough to create a round shape. It’s okay to leave the center exposed—this is a rustic galette after all!
8. Brush and Sprinkle:
Brush the crust with the beaten egg for a beautiful golden color and sprinkle the edges with turbinado or granulated sugar to add a lovely crunch.
9. Bake:
Place your galette in the preheated oven and bake for 40-45 minutes, or until the crust is golden brown and the apples are tender. Your kitchen will smell amazing!
10. Cool and Serve:
Let the galette cool slightly on the baking sheet. If desired, dust with powdered sugar before serving. This Apple Galette is delightful served warm, with a scoop of vanilla ice cream or a swirl of whipped cream!
Enjoy your delicious homemade Apple Galette! 🍏🥧
Can I Use Different Types of Apples?
Absolutely! A mix of tart and sweet apples, like Granny Smith and Fuji, works wonderfully. However, you can also use Honeycrisp, Braeburn, or any apples you enjoy. Just make sure to adjust the sugar based on the sweetness of the apples you choose!
Can I Make the Dough Ahead of Time?
Yes! You can prepare the dough a day in advance. Just wrap it tightly in plastic wrap and refrigerate. When you’re ready to use it, let it sit at room temperature for a few minutes to soften slightly before rolling it out.
How Should I Store Leftovers?
Store any leftover galette in an airtight container in the fridge for up to 3 days. To keep the crust from getting soggy, you can reheat it in the oven at 350°F (175°C) for about 10-15 minutes. This will help restore some crispiness.
Can I Freeze the Galette?
Yes! You can freeze the galette before baking. Just assemble it, wrap it in plastic wrap, and then in foil. When you’re ready to bake, you can cook it directly from the freezer; just add a few extra minutes to the baking time. It’s great to have a homemade dessert ready to go!