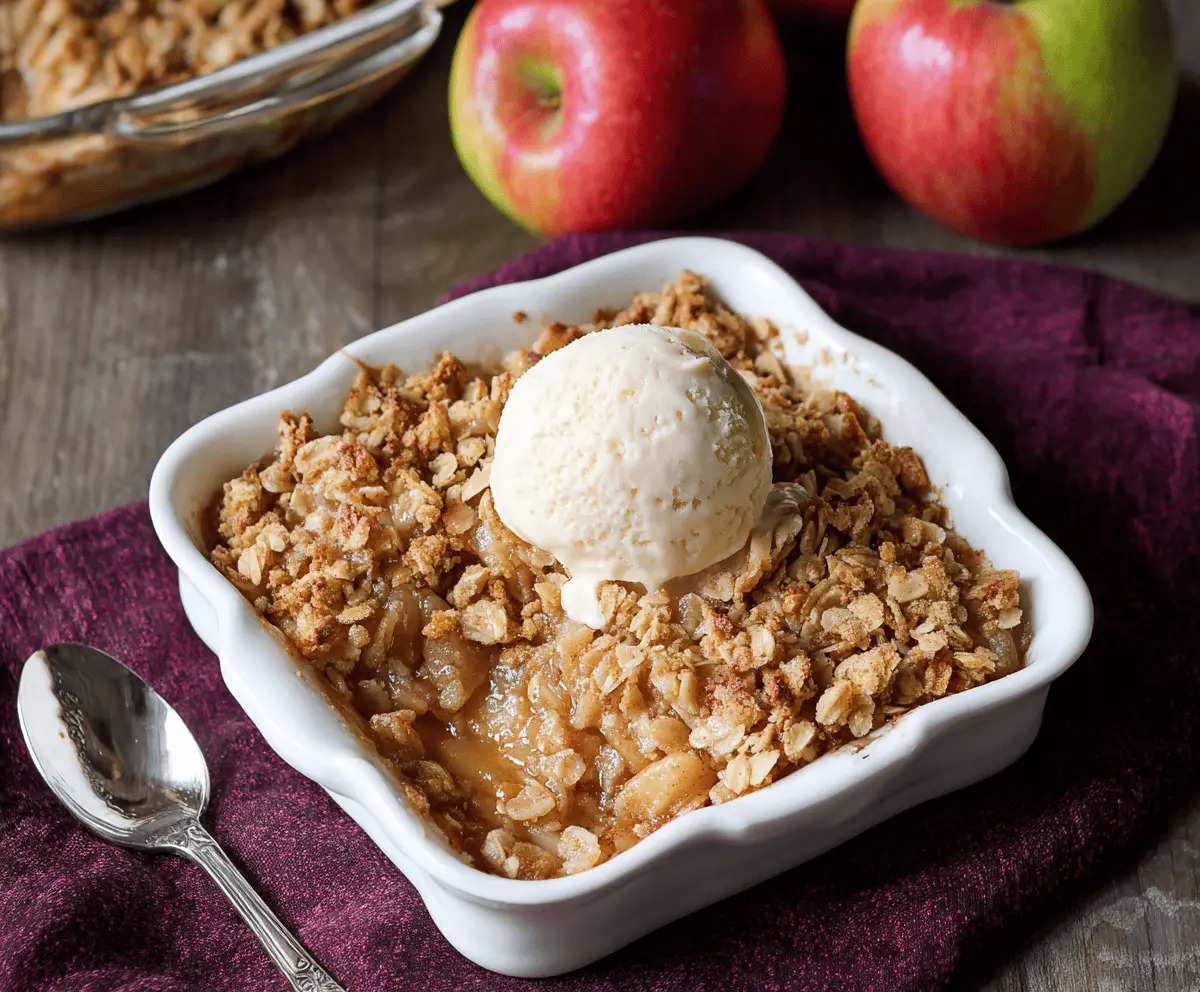
This Apple Cider Glazed Apple Crisp is the perfect cozy dessert! Sweet apples meet a crunchy topping made from oats and spices, all drizzled with a rich apple cider glaze. Yum!
You can’t go wrong with warm apple crisp fresh out of the oven, especially with a scoop of ice cream on top. I promise, it’s like a hug in a bowl! 🍏❤️
Key Ingredients & Substitutions
Apples: A mix of tart (like Granny Smith) and sweet apples (like Fuji) creates a nice balance in flavor. You can also use Honeycrisp or Braeburn if you prefer. If fresh apples aren’t available, frozen sliced apples work too; just thaw them first.
Apple Cider: This ingredient adds a wonderful depth of flavor. If you don’t have apple cider, apple juice can be a substitute, but you may want to reduce the sugar a bit, since juice is sweeter.
Oats: Old-fashioned rolled oats are perfect for the topping. Quick oats can be used, but they create a finer texture. Gluten-free oats are a great option too if you need a gluten-free alternative.
Butter: Unsalted butter gives you control over the saltiness of the dish. If you’re looking for dairy-free, substitute with coconut oil or a plant-based butter alternative.
How Do I Ensure My Apples Are Perfectly Cooked?
The key to great apple filling is the right preparation and cooking method. You want your apples to be tender but not mushy. Here’s how:
- Slice your apples uniformly so they cook evenly. Thin slices work well since they will soften quickly.
- Mix the apples with the sugar, cider, and lemon juice before baking. This step pulls out moisture and helps them soften nicely.
- Don’t skip the cornstarch! It thickens the filling and gives it a nice texture without making it soupy.
Remember, the baking time may also vary based on your oven and the apples you use. Keep an eye on it; when the apples bubble, you’re on the right track!
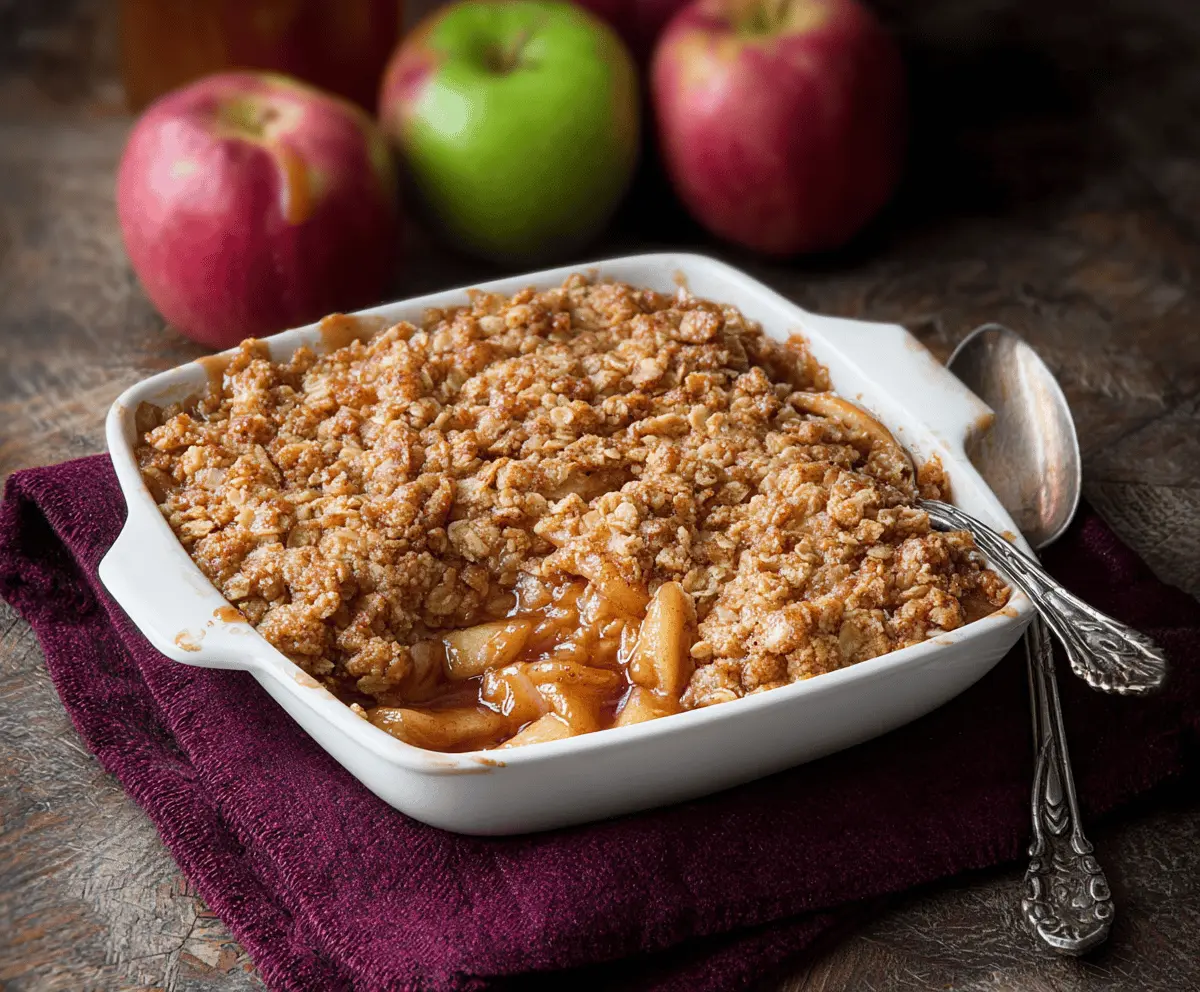
Apple Cider Glazed Apple Crisp
Ingredients:
For the Apple Filling:
- 5 to 6 medium apples (a mix of tart and sweet like Granny Smith and Fuji), peeled, cored, and sliced
- 1/2 cup apple cider
- 1/4 cup granulated sugar
- 1 tablespoon lemon juice
- 1 teaspoon ground cinnamon
- 1/4 teaspoon ground nutmeg
- 2 teaspoons cornstarch (to thicken the filling)
For the Crisp Topping:
- 1 cup old-fashioned rolled oats
- 3/4 cup all-purpose flour
- 1/2 cup light brown sugar, packed
- 1/2 teaspoon ground cinnamon
- 1/4 teaspoon salt
- 1/2 cup unsalted butter (1 stick), cold and cut into small cubes
For the Apple Cider Glaze:
- 1/2 cup apple cider
- 1/4 cup powdered sugar
- 1/4 teaspoon vanilla extract
Time Needed:
This Apple Cider Glazed Apple Crisp takes about 15 minutes of preparation time and around 40-45 minutes of baking time. In total, you should plan for about 1 hour for the entire process, plus a little extra time for cooling before serving. It’s a simple and delightful dessert that fills your kitchen with wonderful aromas!
Step-by-Step Instructions:
1. Preheat the Oven:
Start by preheating your oven to 350°F (175°C). While it’s heating, you can prepare your baking dish. Lightly grease a 9×9 inch or similar sized baking dish to prevent sticking.
2. Prepare the Apple Filling:
In a large bowl, combine the sliced apples with apple cider, granulated sugar, lemon juice, cinnamon, nutmeg, and cornstarch. Toss everything gently until the apples are evenly coated. Pour this delicious mixture into your prepared baking dish.
3. Make the Crisp Topping:
In another bowl, mix together the rolled oats, flour, brown sugar, cinnamon, and salt. Then, add the cold butter cubes. Using a pastry cutter, fork, or your fingers, cut the butter into the dry mixture until it looks like coarse crumbs, with some pea-sized pieces remaining.
4. Assemble the Crisp:
Evenly sprinkle the oat topping over the apple filling in your baking dish. This will create a lovely crunchy layer on top of your sweet and saucy apples.
5. Bake the Crisp:
Now it’s time for the oven! Place the dish into the preheated oven and bake for about 40-45 minutes. You want the topping to turn a lovely golden brown and the apple filling to bubble around the edges. The wonderful smell wafting through your kitchen will be a treat!
6. Make the Apple Cider Glaze:
While the crisp is baking, you can prepare the glaze. In a small saucepan, simmer the apple cider over medium heat until it has reduced by half. This should take about 10-15 minutes. Once reduced, remove from the heat and whisk in powdered sugar and vanilla extract until smooth and glossy.
7. Glaze the Crisp:
Once your crisp is done baking, take it out of the oven and drizzle the warm apple cider glaze evenly over the top. This adds an extra touch of sweetness and flavor!
8. Serve:
Allow the apple crisp to cool for just a few minutes before serving. It’s scrumptious on its own, but you can make it even more delightful with a scoop of vanilla ice cream or a dollop of whipped cream on top!
Enjoy your comforting, warmly spiced Apple Cider Glazed Apple Crisp! It’s perfect for any gathering or cozy night in. 🍏🍂
Can I Use Different Types of Apples?
Absolutely! A mix of tart and sweet apples gives the best flavor. Try using Granny Smith for tartness and Fuji or Honeycrisp for sweetness. Feel free to experiment with your favorites!
How Can I Make This Recipe Gluten-Free?
To make this Apple Crisp gluten-free, substitute the all-purpose flour with a gluten-free all-purpose blend and ensure your oats are certified gluten-free. The recipe will still be delicious!
What if I Don’t Have Apple Cider?
No problem! You can substitute apple cider with apple juice. However, reduce the granulated sugar slightly since juice is sweeter. If you have apple juice concentrate, diluting it with some water can also work well.
Can I Prepare This Apple Crisp in Advance?
Yes! You can prepare the apple filling and topping separately ahead of time. Assemble it just before baking. If you want to store it unbaked, cover it tightly and refrigerate for up to 24 hours, then bake as directed!