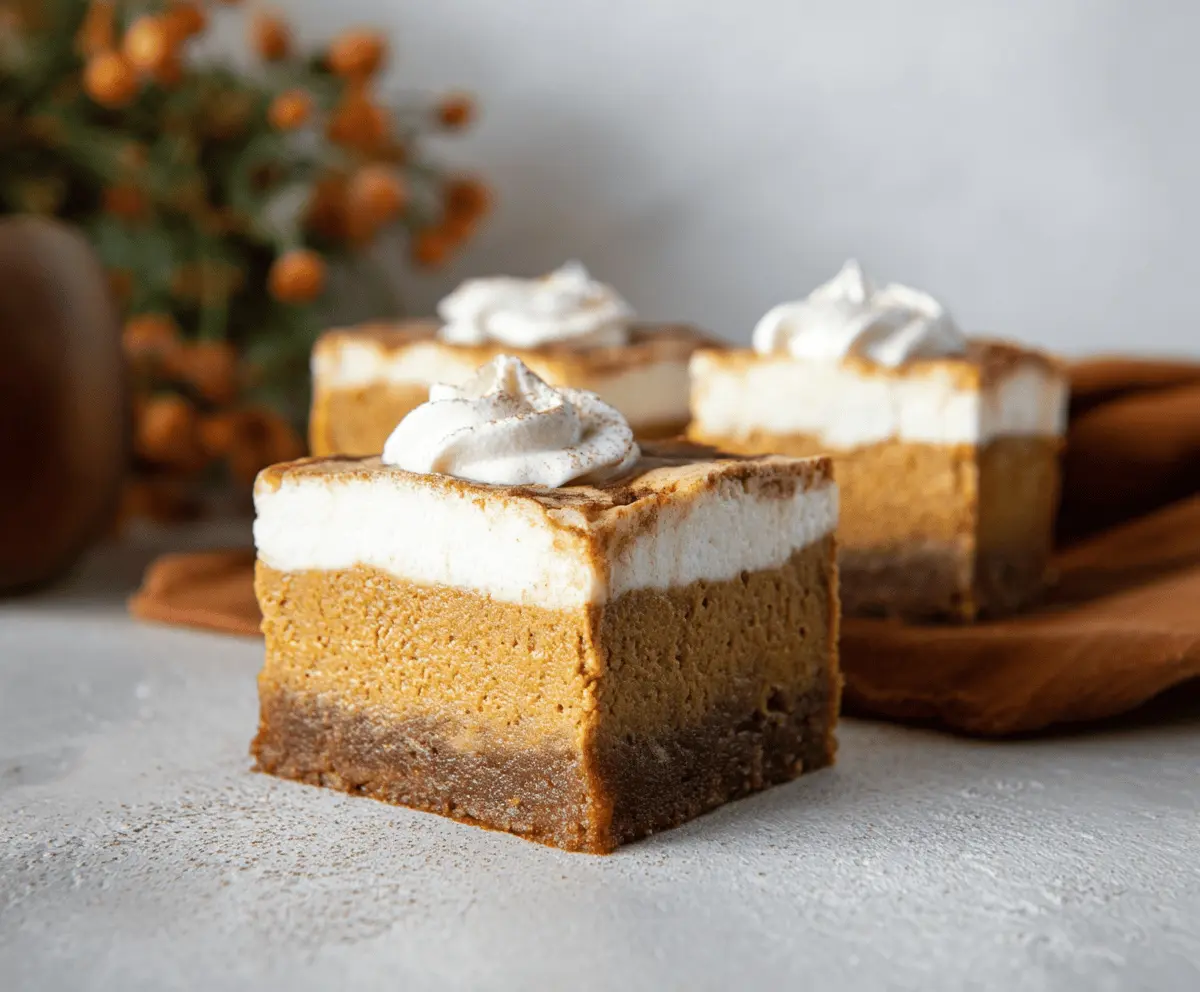
These Pumpkin Blondie Cheesecake Bars are a tasty treat that combines creamy cheesecake and warm pumpkin flavors. Perfect for fall gatherings or a cozy dessert!
I love how these bars are easy to share with friends and family. Plus, the pumpkin makes them extra special—who can resist a dessert that smells like autumn? 🍂
Key Ingredients & Substitutions
Brown Sugar: This gives the blondie base its moistness and depth of flavor. If you’re out, you can use granulated sugar, but the flavor won’t be as rich. I always prefer brown sugar for baking sweets because it adds a nice caramel note.
Canned Pumpkin Puree: Don’t feel limited to canned! You can use homemade pumpkin puree made from roasted pumpkin. Just make sure to strain it well so it’s not too watery. I love the freshness of homemade puree!
Cream Cheese: This provides the creamy texture for the cheesecake layer. If you’re looking for a lighter option, Neufchâtel cheese works great as a substitute. It’s just as creamy with less fat!
Heavy Cream: For the whipped topping, heavy cream is best since it whips up fluffy. If you want a non-dairy option, coconut cream can be a fun alternative! Just chill it first to help it whip up nicely.
How Can I Make Sure My Blondies Turn Out Perfectly?
Getting the perfect blondie base is key for these bars. Here’s how to ensure they come out just right:
- Mix the wet ingredients until they’re well combined—this helps create a smooth batter.
- When combining the dry ingredients, don’t over-mix. Just stir until everything is combined to avoid tough bars.
- When you bake, keep an eye on them in the oven. It’s okay for the center to be slightly jiggly; it’ll firm up as it cools.
- Let them cool in the pan first, then refrigerate. This helps set the layers properly and make slicing easier.
Trust me, these little tips will help you create bars that are not only delicious but impressive to serve!
Pumpkin Blondie Cheesecake Bars
Ingredients You’ll Need:
For the Blondie Base:
- 1 cup light brown sugar, packed
- 1/2 cup unsalted butter, melted
- 1 teaspoon vanilla extract
- 1 large egg
- 1 1/4 cups all-purpose flour
- 1/2 teaspoon baking powder
- 1/4 teaspoon salt
- 1 teaspoon ground cinnamon
- 1/2 teaspoon ground nutmeg
For the Pumpkin Cheesecake Layer:
- 8 oz cream cheese, softened
- 1/2 cup granulated sugar
- 1 cup canned pumpkin puree
- 1 large egg
- 1/2 teaspoon vanilla extract
- 1 teaspoon ground cinnamon
- 1/2 teaspoon ground ginger
- 1/4 teaspoon ground nutmeg
- 1/4 teaspoon ground cloves
- 1 tablespoon all-purpose flour
For the Whipped Topping:
- 1 cup heavy cream
- 2 tablespoons powdered sugar
- 1/2 teaspoon vanilla extract
- Ground cinnamon or pumpkin pie spice for garnish
How Much Time Will You Need?
This delightful recipe takes about 20 minutes to prep and 45-50 minutes to bake. After baking, it needs some time to cool and chill in the fridge—ideally around 4 hours or overnight. So, a little patience ensures these bars set perfectly!
Step-by-Step Instructions:
1. Prepare the Blondie Base:
Start by preheating your oven to 350°F (175°C). Line an 8×8-inch baking pan with parchment paper, letting it hang over the sides for easy removal later. In a medium bowl, whisk together the brown sugar, melted butter, vanilla extract, and egg until it’s smooth and creamy. In another bowl, sift together the flour, baking powder, salt, and spices—cinnamon and nutmeg. Gradually add the dry mix to the wet ingredients, stirring until well combined. Pour the blondie batter into the prepared baking pan, spreading it evenly.
2. Make the Pumpkin Cheesecake Layer:
Now, grab a large bowl to make the cheesecake layer! Beat the softened cream cheese with an electric mixer until it’s velvety and smooth. Add in the granulated sugar, pumpkin puree, egg, vanilla extract, and all the yummy spices: cinnamon, ginger, nutmeg, and cloves. Finally, stir in the tablespoon of flour to thicken it up. Mix until it’s completely smooth and lump-free.
3. Assemble and Bake:
Carefully pour the pumpkin cheesecake mixture over the blondie base. Use a spatula to smooth the top, spreading it evenly. Pop it in the oven and bake for 45-50 minutes, or until you see the edges are set, yet the center remains slightly jiggly. This is perfect! Once finished, take it out and let it cool completely in the pan on a wire rack. After cooling, refrigerate for at least 4 hours or even overnight to let it set nicely.
4. Prepare the Whipped Topping:
While you wait for the dessert to chill, you can prepare the whipped topping. In a chilled mixing bowl, whip the heavy cream with powdered sugar and vanilla extract until stiff peaks form. This will be perfect for topping your bars!
5. Serve:
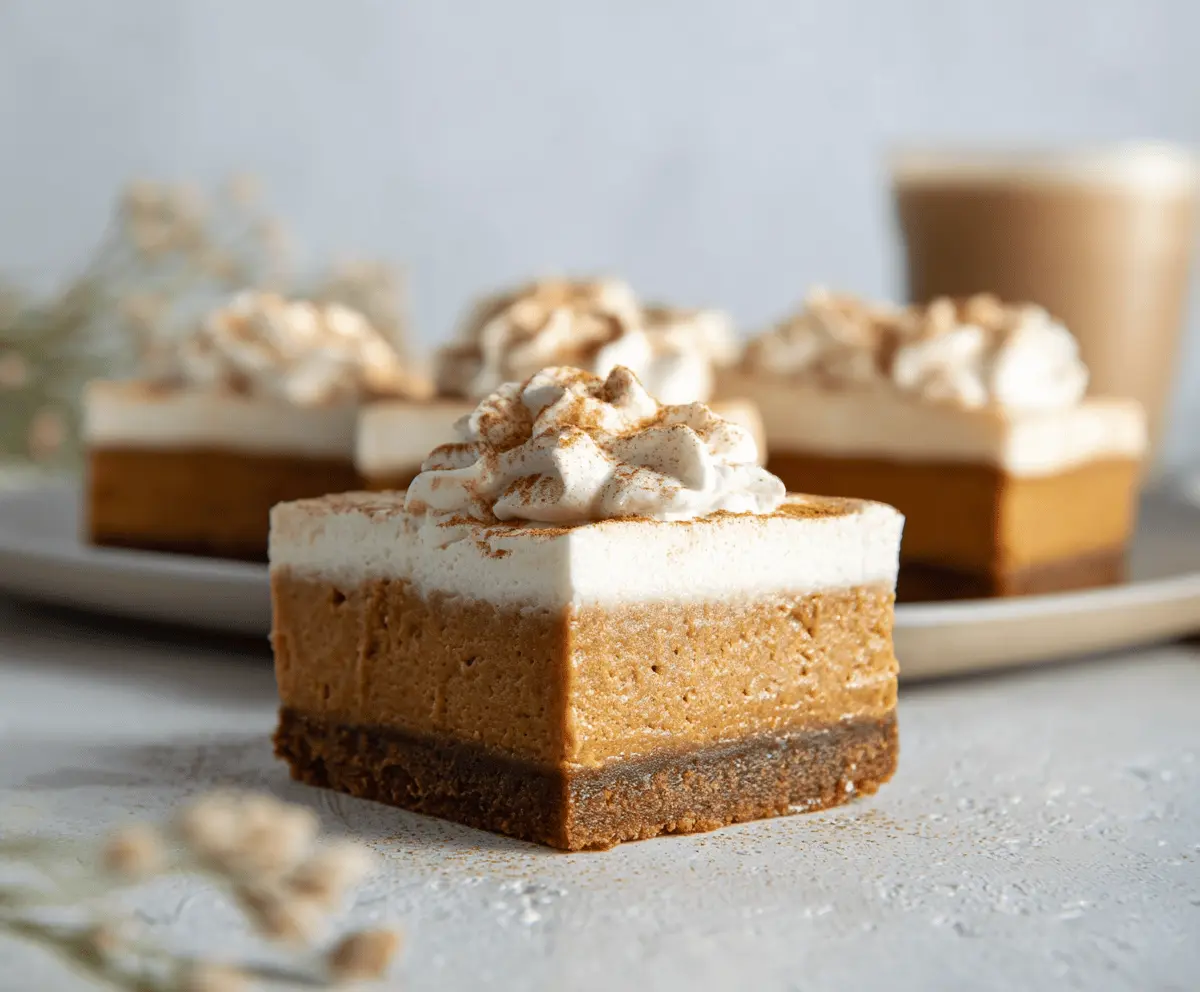
Once your bars are completely chilled and firm, carefully lift them out of the pan using the parchment paper sides. Cut into squares for serving. Top each bar with a delightful dollop of whipped cream and a sprinkle of either ground cinnamon or some pumpkin pie spice. Serve these yummy treats chilled, and enjoy every delicious bite!
These bars blend a dense pumpkin cheesecake layer with a sweet, spiced blondie crust, all topped off with fluffy whipped cream to make a perfect fall dessert!
Can I Substitute Fresh Pumpkin for Canned Pumpkin?
Absolutely! You can use fresh pumpkin puree instead of canned. Just make sure to cook and strain it well to remove excess moisture—this helps keep the texture perfect.
How Long Do These Bars Last in the Fridge?
These bars will stay fresh in the fridge for up to 5 days in an airtight container. If you want them to last longer, you can also freeze them for up to 2 months!
Can I Use a Different Size Baking Pan?
Yes, if you want to use a different size, just keep in mind that the baking time may vary. If you use a larger pan, the bars may bake faster; conversely, a smaller pan may require more time. Just keep an eye on them!
What If My Cheesecake Layer is Lumpy?
If your cheesecake layer ends up lumpy, don’t worry! Just beat the cream cheese thoroughly before adding other ingredients, and ensure it’s softened to room temperature. If you do have lumps, you can always blend the filling using an immersion blender or regular blender for a smoother consistency before baking.