This easy homemade orange sherbet is a refreshing treat that combines sweet oranges and creamy goodness. It’s perfect for hot days or whenever you need a yummy pick-me-up!
Making this sherbet is a breeze—I just blend the ingredients, freeze, and enjoy. The zesty orange flavor is like a sunny hug in a bowl! 🍊❤️
Key Ingredients & Substitutions
Whole Milk: Whole milk gives the sherbet a nice creaminess. If you’re looking for a lighter option, you can use 2% or almond milk, though the texture might be slightly less rich.
Heavy Cream: This adds a luxurious mouthfeel. If you want a lower-fat version, try using half-and-half instead, but it won’t be as creamy.
Sugar: Granulated sugar is essential for sweetness. You can swap it for honey or maple syrup, but remember that liquid sweeteners might change the texture a bit.
Egg Yolks: These add richness and help in emulsifying the mixture. However, for a vegan version, consider using silken tofu or a commercial egg replacer.
Orange Juice: Freshly squeezed juice is best! If you don’t have oranges, you can use other citrus juices like lemon or lime, but adjust the sweetness accordingly.
How Can I Ensure My Sherbet Comes Out Creamy?
Getting the perfect creamy texture for your sherbet is all about technique. The key lies in the churning and the chilling process. Here’s what you should focus on:
- Warm the milk and cream but avoid boiling it. This helps to preserve its texture.
- Temper the egg yolks slowly to prevent scrambling. Gradually adding the warm mixture is crucial.
- Cool down the mix completely before churning. This step prevents ice crystals from forming.
- Churn until it’s the consistency of soft serve. Make sure not to over-churn, or it can become icy.
- Freeze it for a couple of hours after churning for optimal firmness.
By following these tips, your orange sherbet will be a delightful treat that’s sure to impress!

Easy Homemade Orange Sherbet by Alton Brown
Ingredients You’ll Need:
- 2 cups whole milk
- 2 cups heavy cream
- 1 cup granulated sugar
- 3 large egg yolks
- Zest of 1 orange (about 1 tablespoon)
- 3/4 cup fresh orange juice (about 2 large oranges)
- Pinch of salt
How Much Time Will You Need?
This recipe takes about 10 minutes of active preparation time, plus at least 4 hours of chilling time in the refrigerator, and an additional 2 hours in the freezer after churning. So, plan for a total of about 6 hours, but most of that is just waiting!
Step-by-Step Instructions:
1. Warm the Dairy:
Start by combining the whole milk and heavy cream in a medium saucepan. Place the pan over medium heat and warm the mixture until it begins to simmer—just avoid boiling! This helps create a smooth and creamy base for your sherbet.
2. Prepare the Egg Mixture:
In a heatproof bowl, whisk together the granulated sugar and egg yolks until they are smooth and pale in color. This step is essential to help incorporate air into your sherbet, making it nice and fluffy.
3. Temper the Eggs:
Now, it’s time to slowly combine the warm milk mixture with the egg yolks. Gradually pour about 1 cup of the warm milk mixture into the yolk mixture while whisking constantly. This process slowly raises the temperature of the eggs so they won’t cook too quickly.
4. Combine and Thicken:
Next, pour the tempered egg mixture back into the saucepan with the rest of the warm milk and cream. Stir the mixture continuously over medium-low heat until it thickens slightly and coats the back of a spoon (this should be around 170°F to 175°F). Again, be careful not to let it boil.
5. Flavoring Time:
Remove the saucepan from heat and stir in the fresh orange juice, orange zest, and a pinch of salt. This is where the zesty flavor of your sherbet shines!
6. Strain the Mixture:
To give your sherbet an ultra-smooth texture, pour the mixture through a fine-mesh sieve into a clean bowl. This will catch any little bits of cooked egg that might have formed.
7. Chill:
Cover the bowl with plastic wrap and chill the mixture in the refrigerator for at least 4 hours or overnight. This ensures it’s nice and cold before churning.
8. Churn the Sherbet:
Once it’s fully chilled, it’s time to churn! Pour the mixture into an ice cream maker and churn according to the manufacturer’s instructions until it reaches a soft-serve consistency—this usually takes about 20-30 minutes.
9. Final Freeze:
Transfer the sherbet to an airtight container and freeze for at least 2 hours to firm it up before serving. This step is crucial for achieving that perfect scoopable texture!
10. Serve & Enjoy:
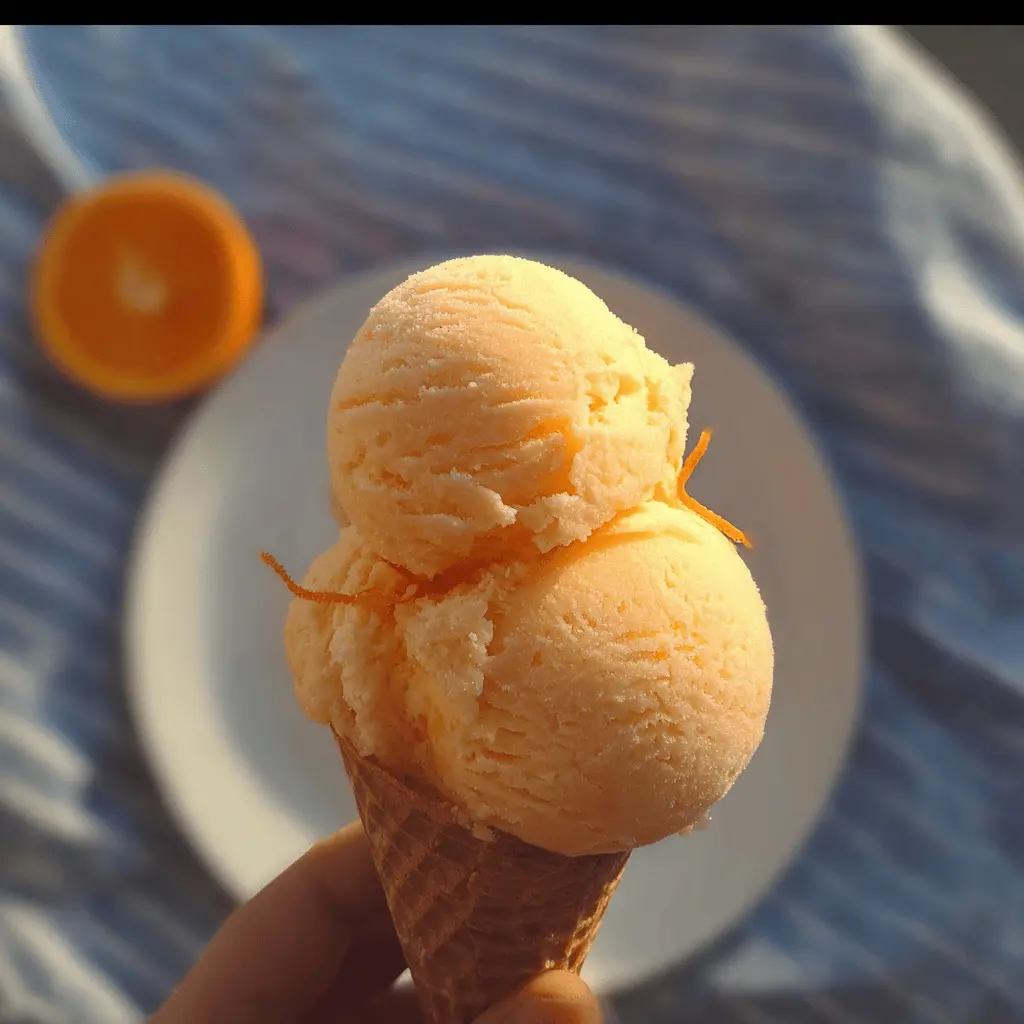
When you’re ready to enjoy your homemade orange sherbet, scoop it into bowls and garnish with a sprinkle of orange zest or a few strips of orange peel for a lovely touch. Sit back, relax, and enjoy this refreshing and creamy treat!
FAQs for Easy Homemade Orange Sherbet
Can I Use Low-Fat Milk Instead of Whole Milk?
Yes, you can use low-fat milk, but the sherbet won’t be as creamy. If you prefer a lighter version, consider using 2% milk or incorporating more heavy cream to maintain a rich texture.
Is There a Dairy-Free Option for This Recipe?
Absolutely! For a dairy-free version, substitute whole milk and heavy cream with coconut milk or almond milk. Make sure to use a dairy-free whipping cream alternative for a creamy texture.
Can I Make This Sherbet Without Eggs?
Yes! If you want to skip the eggs, use a pre-made custard base or a banana for creaminess. You might also need to adjust the sugar levels for sweetness, especially if using a banana, as it adds its own natural sweetness.
How Should I Store Leftover Sherbet?
Store any leftover sherbet in an airtight container in the freezer. It will keep well for up to 2 weeks. Before serving, let it sit at room temperature for a few minutes to soften slightly for easier scooping.