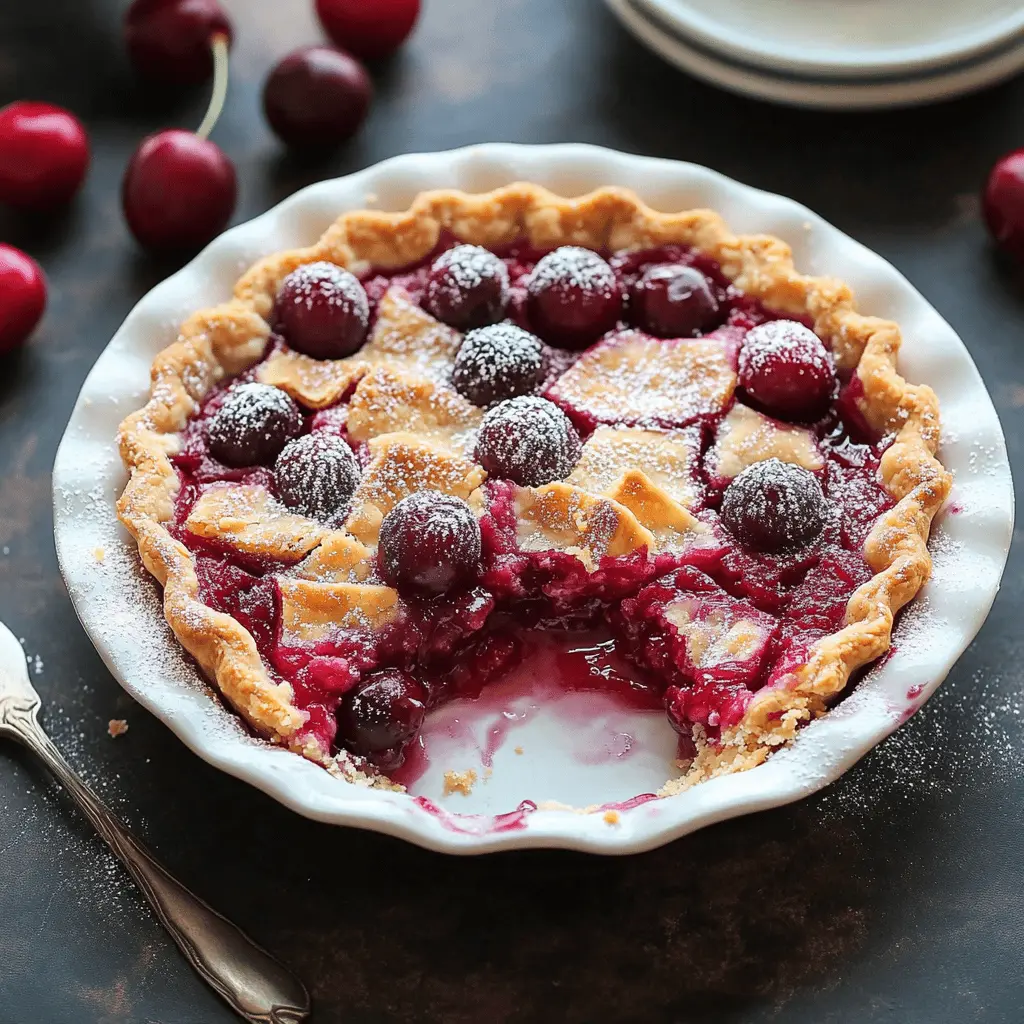
This easy homemade cherry pie is a warm classic that features a sweet, gooey cherry filling wrapped in a flaky pie crust. It’s super simple to make and a perfect treat for any day!
Nothing says “I love dessert” like a slice of cherry pie! I like to serve mine with whipped cream on top. It’s a real crowd-pleaser, and trust me, you’ll want seconds! 🍒
Key Ingredients & Substitutions
Cherries: Fresh cherries are fantastic, but frozen ones work well too! Just let them thaw and drain excess juice. If you’re in a pinch, canned cherries can be used, but reduce sugar since they’re often packed with sweet syrup.
Sugar: Granulated sugar is standard here. If you’re looking for a healthier option, you can try using coconut sugar or a sugar substitute, but keep an eye on sweetness levels since they can vary.
Cornstarch: This thickens the filling. If you need a gluten-free option, use arrowroot powder or tapioca starch instead. Both will thicken the filling nicely!
Almond Extract: This adds a lovely depth of flavor, but if you or anyone you’re serving has nut allergies, feel free to skip it. Vanilla extract can also be a great alternative!
Pie Crusts: Store-bought is convenient, but homemade crust enhances flavor! For a gluten-free version, look for gluten-free pie crusts at the store or make your own using almond or oat flour.
How Do I Prevent a Soggy Bottom Crust?
A soggy pie crust is a common challenge. To prevent this, here are some steps you can follow:
- Pre-bake the bottom crust for 5-7 minutes before adding the filling. This helps create a barrier.
- Brush the bottom crust with melted butter before adding the filling. This can keep the crust from absorbing too much juice.
- Ensure your fruit filling is thick enough. The cornstarch should make the filling gooey but not too runny.
Following these tips will help you achieve a crispy crust that compliments the juicy filling perfectly!
Best Easy Homemade Cherry Pie
Ingredients List:
For the Pie Filling:
- 4 cups fresh or frozen pitted cherries
- 1 cup granulated sugar
- 1/4 cup cornstarch
- 1 tablespoon lemon juice
- 1/2 teaspoon almond extract (optional)
- 1/4 teaspoon salt
- 2 tablespoons butter, cut into small pieces
For the Pie Crust:
- 1 package (2 crusts) refrigerated pie crusts
- 1 egg, beaten (for egg wash)
- 1 tablespoon coarse sugar (optional, for topping)
Time Needed:
This delightful cherry pie will take you about 20 minutes to prepare and about 1 hour to bake. In total, you’ll need around 1 hour and 20 minutes, plus 2 hours for the pie to cool before serving. Patience pays off with a perfectly set filling!
Step-by-Step Instructions:
1. Preheat the Oven:
Start by preheating your oven to 425°F (220°C). This ensures your pie cooks evenly and your crust becomes beautifully golden.
2. Prepare the Cherry Filling:
In a large mixing bowl, combine the pitted cherries, sugar, cornstarch, lemon juice, almond extract (if you’re using it), and salt. Toss gently until the cherries are well-coated. The cornstarch will help thicken the filling as it cooks.
3. Make the Bottom Crust:
Roll out one pie crust and lay it into a 9-inch pie dish. Make sure it fits snugly, pressing it into the edges of the dish. Leave some overhang to trim later.
4. Add the Filling:
Pour the cherry filling into the prepared crust, spreading it evenly. Dot the top with small pieces of butter; this will add a rich flavor as it bakes.
5. Cover with Top Crust:
Roll out the second pie crust and carefully place it over the filling. Trim any excess dough from the edges, then pinch the edges to seal the pie. Cut small slits in the top crust to let steam escape—this prevents the filling from bubbling over!
6. Add Finishing Touches:
Brush the top crust with the beaten egg to give it a shiny finish while baking. If you like, sprinkle some coarse sugar over the top for a nice touch of sweetness.
7. Bake the Pie:
Place the pie on a baking sheet (just in case of drips) and bake it in the preheated oven at 425°F (220°C) for 15 minutes. After that, reduce the temperature to 350°F (175°C) and continue baking for another 35-40 minutes, or until the crust is golden brown and the filling is bubbly.
8. Cool Down:
Once baked, remove the pie from the oven and let it cool on a wire rack for at least 2 hours. This cooling period helps the filling to set, making it easier to slice.
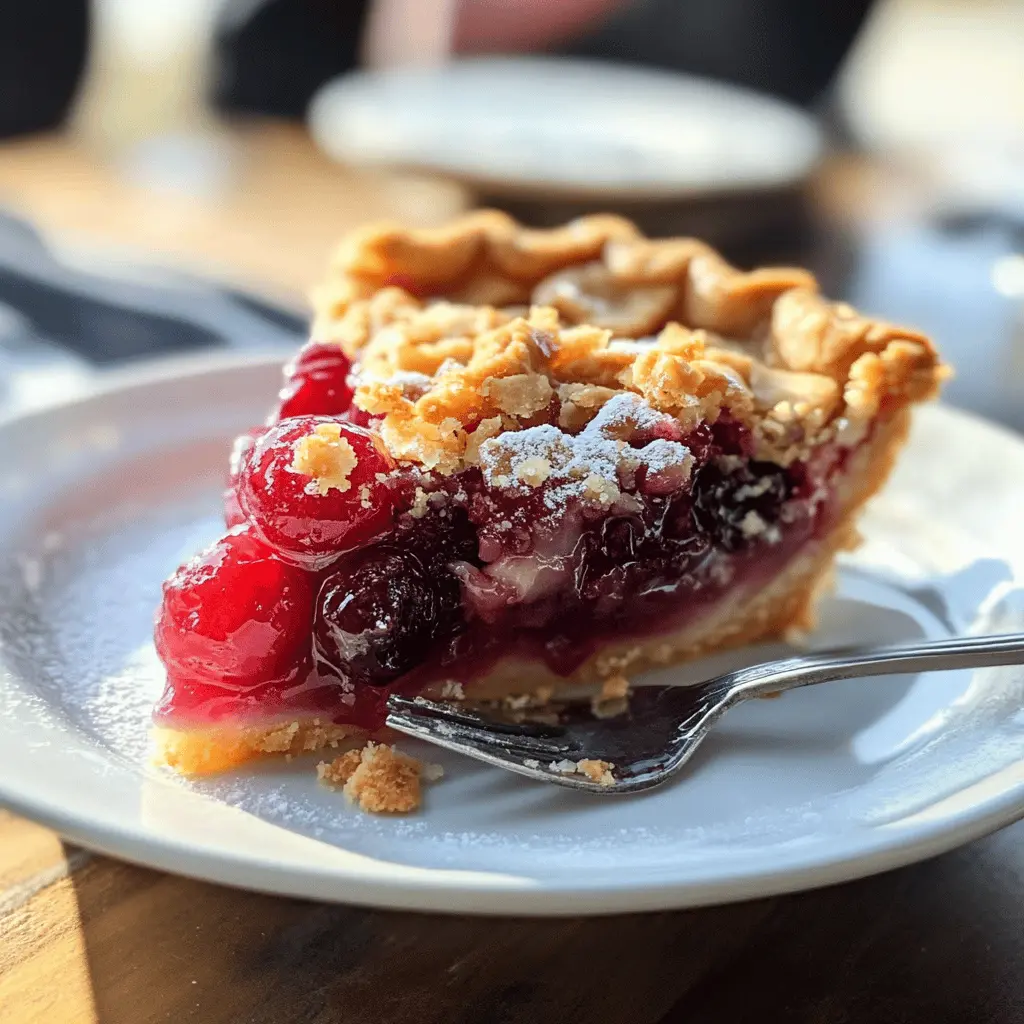
9. Serve and Enjoy:
Slice your cherry pie and serve it warm or at room temperature. It pairs wonderfully with a scoop of vanilla ice cream for that extra treat!
Enjoy your warm, luscious cherry pie with a flaky crust and sweet, juicy filling! 🍒
Cherry Pie FAQ
Can I Use Frozen Cherries Instead of Fresh?
Absolutely! Frozen cherries work great for this recipe. Just be sure to thaw them completely and drain any excess liquid before mixing with the other ingredients to prevent a soggy filling.
How Can I Thicken the Filling If It’s Too Runny?
If your filling seems too runny, you can mix in a little more cornstarch (about 1 tablespoon) while the mixture is still cold. Alternatively, cook the mixture over medium heat briefly until it thickens before transferring it to the pie crust.
Can I Prepare the Pie in Advance?
Yes, you can assemble the cherry pie ahead of time! Just cover it with plastic wrap and store it in the fridge for up to a day. Bake it fresh just before serving for the best crust texture.
How to Store Leftover Cherry Pie?
Store any leftover pie in an airtight container at room temperature for up to 3 days. For longer storage, keep it in the fridge for up to a week or freeze slices for up to 3 months. Thaw at room temperature before enjoying!