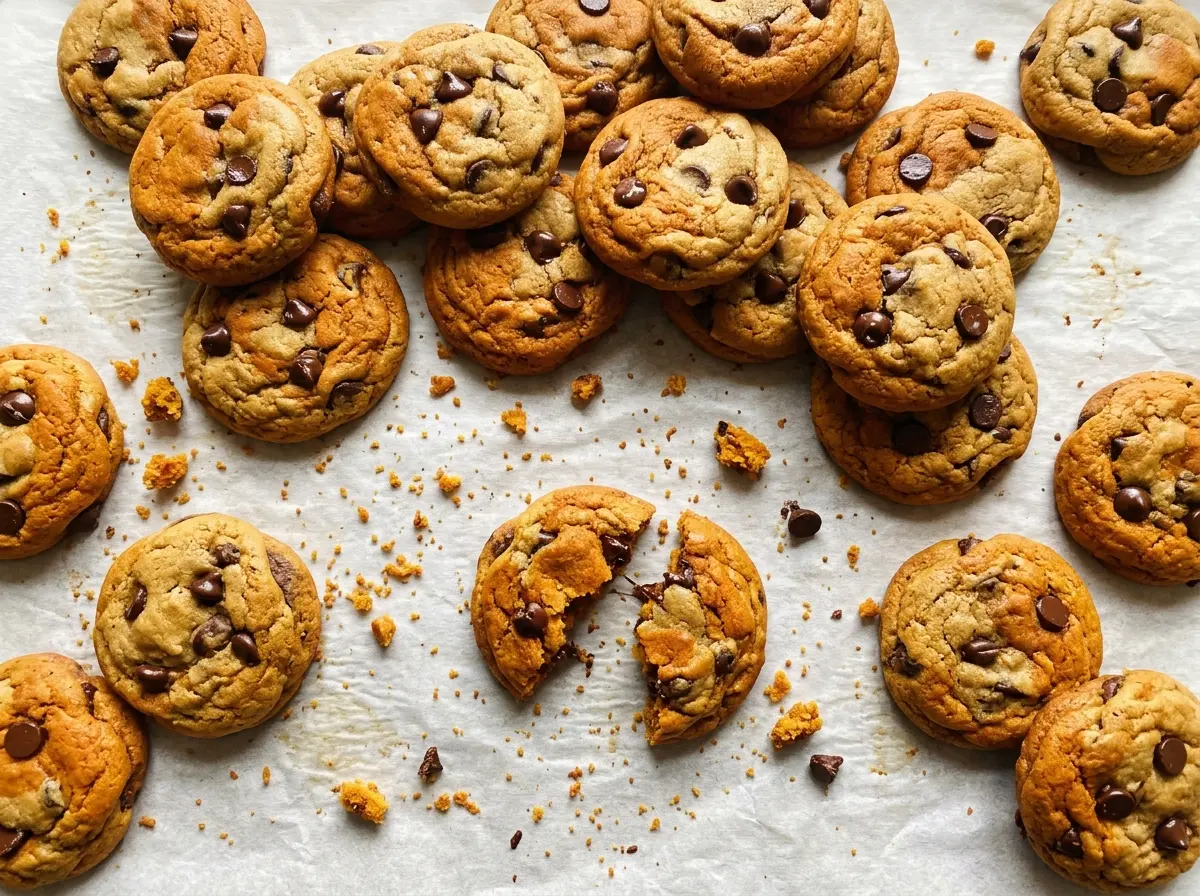
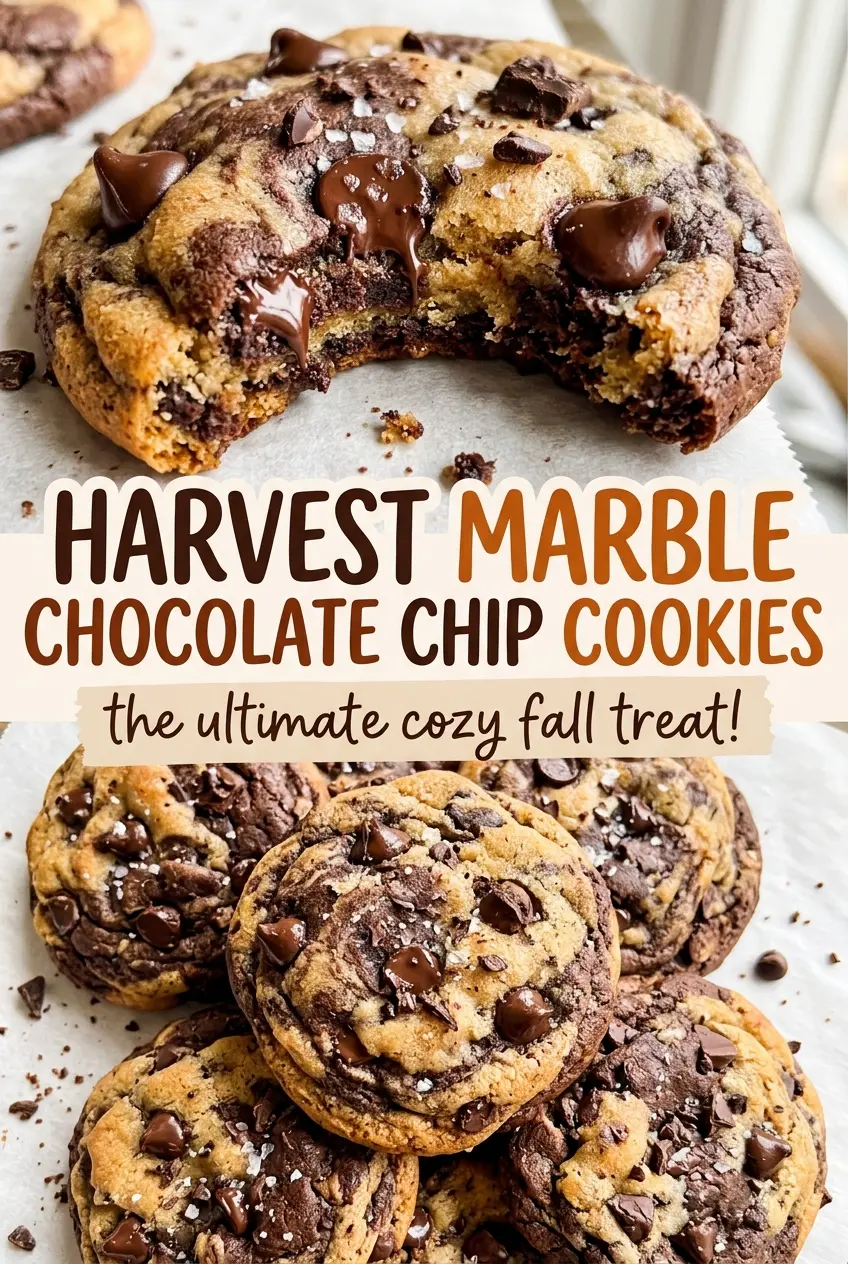
The edges set before the tops lose their wet look, and that little window is where I watch the first pan of Harvest Marble Chocolate Chip Cookies. At 350°F, the pumpkin dough turns a deeper gold while the cocoa portion stays dark, so each cookie comes out with its own pattern. Semisweet chocolate chips run through both halves, bringing familiar chocolate-chip-cookie pockets to the pumpkin and cocoa.
Canned pumpkin puree gives the dough its warm, spiced character, while an egg yolk keeps the mixture rich without adding the extra moisture of a whole egg. These cookies make 24, baked 12 at a time so there’s room for the dough to spread without the cookies crowding each other. Once they cool, the centers stay soft and the marbled tops show off both sides of the dough.
Kitchen Note
Let the baking sheet cool between batches. A hot sheet starts softening the next round of dough before it reaches the oven, which can make those cookies spread differently from the first tray.
Save these Harvest Marble Chocolate Chip Cookies for a bake with soft pumpkin dough, cocoa ribbons, and semisweet chocolate chips in every batch.
Why the Cocoa Goes Into Half the Dough, Not the Whole Bowl
These aren’t two separate cookie recipes pressed together. The pumpkin dough is made first, chocolate chips and all, then divided evenly. Cocoa goes into one portion, so the two doughs share the same buttery, pumpkin-spiced base and bake at the same pace. That shared base helps the marbled cookies feel like one cookie rather than a pumpkin cookie stuck to a chocolate cookie.
There’s a practical reason to keep the cocoa addition to one bowl, too. If cocoa went into the full batch, you’d lose the pumpkin-colored half that makes the marble visible. Mixing it thoroughly into just one portion gives you a clear contrast: one dough stays pumpkin-spiced, and the other turns chocolatey while still carrying the same pumpkin base. The cocoa also thickens that portion slightly, so it’s worth stirring until no pale streaks remain before you start shaping.
When you pinch the two doughs together, one twist is enough to make a pattern. Working them together too much blurs the contrast, while leaving them barely attached can make the pieces separate as you roll. A quick twist followed by a gentle roll gives the two colors a chance to hold together without turning into one uniform dough.
What Gives These Cookies Their Pumpkin-and-Cocoa Contrast
- Canned pumpkin puree — Use plain puree, not pumpkin pie filling, which already contains sweeteners and spices and would change the dough. A standard grocery-store can works well; there’s no need to seek out a specialty brand. Pumpkin is what gives the base its earthy flavor and moisture, and there isn’t a direct one-for-one swap that keeps the same result.
- Unsweetened cocoa powder — Cocoa supplies the darker half’s chocolate flavor and absorbs some moisture from the dough. Choose unsweetened cocoa rather than hot chocolate mix, which has added sugar and other ingredients. A basic unsweetened cocoa is fine; the distinct contrast matters more than a premium label.
- Unsalted butter and the sugars — Softened butter makes it possible to beat the brown and granulated sugars until creamy, and light brown sugar contributes a deeper, slightly caramel note. Ordinary grocery-store butter and sugar are suitable here. Dark brown sugar can stand in for light brown sugar in the same amount, though it will give the cookies a more pronounced molasses flavor.
- Egg yolk — The yolk enriches the dough without the extra liquid in an egg white. Separate a large egg and use the yolk; a whole egg isn’t a like-for-like replacement because it changes the dough’s moisture balance.
- Semisweet chocolate chips — Semisweet chips keep the sweetness in check and give both dough portions chocolate pockets. If you’re out of chips, chopped semisweet chocolate works in the same volume; the pieces will be less uniform, but the cookies still get those melty bites. Choose a chocolate you enjoy eating, but a standard bag of chips is perfectly good.
- All-purpose flour and pumpkin pie spice — All-purpose flour gives the dough its structure, while the spice brings the familiar warm flavor without needing a separate blend. Use a plain all-purpose flour from any brand. A cup-for-cup gluten-free baking flour can work as a dietary swap, though the cookies may have a slightly different texture; see the variation below.
From One Pumpkin Dough to Two Marbled Cookie Colors
Whisk the Dry Ingredients Evenly
Whisk the flour, baking soda, salt, and pumpkin pie spice together in a medium bowl before they meet the butter mixture. Break up any small flour or spice clumps as you whisk; you want the seasoning spread through the dough, not gathered in a few bites. Set the bowl aside while you cream the butter and sugars. This small bit of mixing helps the leavening and spice distribute without needing to beat the finished dough for a long time.
Cream the Butter and Build the Pumpkin Base
Beat the softened butter with both sugars in a large bowl until creamy, about 2 minutes. Add the canned pumpkin, egg yolk, and vanilla, then beat just until combined; the mixture may look softer than a classic cookie base because of the pumpkin. Mix in the flour mixture only until no dry streaks remain. Fold in the chocolate chips, then divide the dough evenly between two bowls so each color starts with the same base.
Mix in the Cocoa and Chill Until Firm
Stir the unsweetened cocoa into one bowl until the color is even, checking the bottom and sides for pale streaks. Cover both bowls and refrigerate for 45–60 minutes, until the dough feels firm enough to pinch and handle. Don’t rush straight from mixing to shaping; the chill gives the soft pumpkin dough time to firm up. The two portions should still be pliable when you scoop them, not frozen or hard.
Twist, Bake, and Cool the Cookies
Heat the oven to 350°F and line an 18-by-13-inch baking sheet with parchment paper. Pinch off 1 tablespoon of each dough, press the pieces together, twist once, and gently roll them into a ball. Arrange 12 balls about 2 inches apart and bake for 10–12 minutes, until the edges are set and the tops look dry; repeat with the remaining dough, letting the baking sheet cool between batches. Leave the cookies on the sheet for 5 minutes, then transfer them to a wire rack to cool.
Three Ways to Adjust the Marbling and Make a Dietary Swap
Make the Cocoa Ribbons Bolder
Use a slightly larger pinch of the cocoa dough and a slightly smaller pinch of the pumpkin dough for each cookie, keeping the combined portion about the same size. You’ll get more chocolate flavor and a darker pattern, with less of the pumpkin-colored dough showing.
Let the Pumpkin Dough Take the Lead
For a more pumpkin-forward cookie, reverse the proportions: use a little more pumpkin dough and a little less cocoa dough in each portion. The overall cookie size stays similar, but the finished cookies show more golden dough and a gentler cocoa stripe.
Make the Cookies Dairy-Free
Replace the unsalted butter with the same amount of stick-style dairy-free baking butter, and choose dairy-free semisweet chocolate chips. Avoid soft tub spreads, which contain more water and can make cookie dough spread unpredictably. The result keeps the pumpkin-and-cocoa contrast, though the flavor will depend on the butter and chips you choose.
Storage and Reheating
- Refrigerator: Store fully cooled cookies in an airtight container for up to 1 week. They’ll firm up when cold, so let them come back to room temperature for a softer bite.
- Freezer: Freeze fully cooled cookies in a sealed freezer-safe container for up to 2 months. Thaw at room temperature before serving.
- Reheating: Warm cookies in a 300°F oven for 3–4 minutes. Avoid leaving them in too long; they can dry out instead of becoming gently warm.
Questions That Come Up While Making These Marble Cookies
Harvest Marble Chocolate Chip Cookies
Ingredients
Equipment
Method
- Whisk the all-purpose flour, baking soda, salt, and pumpkin pie spice together in a medium bowl.
- Beat the softened unsalted butter, packed light brown sugar, and granulated sugar in a large bowl until creamy, about 2 minutes.
- Beat in the canned pumpkin puree, large egg yolk, and vanilla extract until combined.
- Mix the flour mixture into the butter mixture just until no dry streaks remain.
- Fold in the semisweet chocolate chips, then divide the dough evenly between two bowls.
- Stir the unsweetened cocoa powder into one bowl of dough until evenly mixed.
- Cover both bowls and refrigerate for 45-60 minutes, until firm.
- Heat the oven to 350°F and line an 18x13-inch baking sheet with parchment paper.
- Pinch off 1 tablespoon of each dough, press the pieces together, and twist once to marble.
- Gently roll each marbled piece into a ball.
- Arrange 12 balls on the baking sheet, spacing them about 2 inches apart.
- Bake for 10-12 minutes, until the edges are set and the tops look dry.
- Repeat with the remaining dough, letting the baking sheet cool between batches.
- Cool the cookies on the baking sheet for 5 minutes.
- Transfer the cookies to a wire rack to cool.