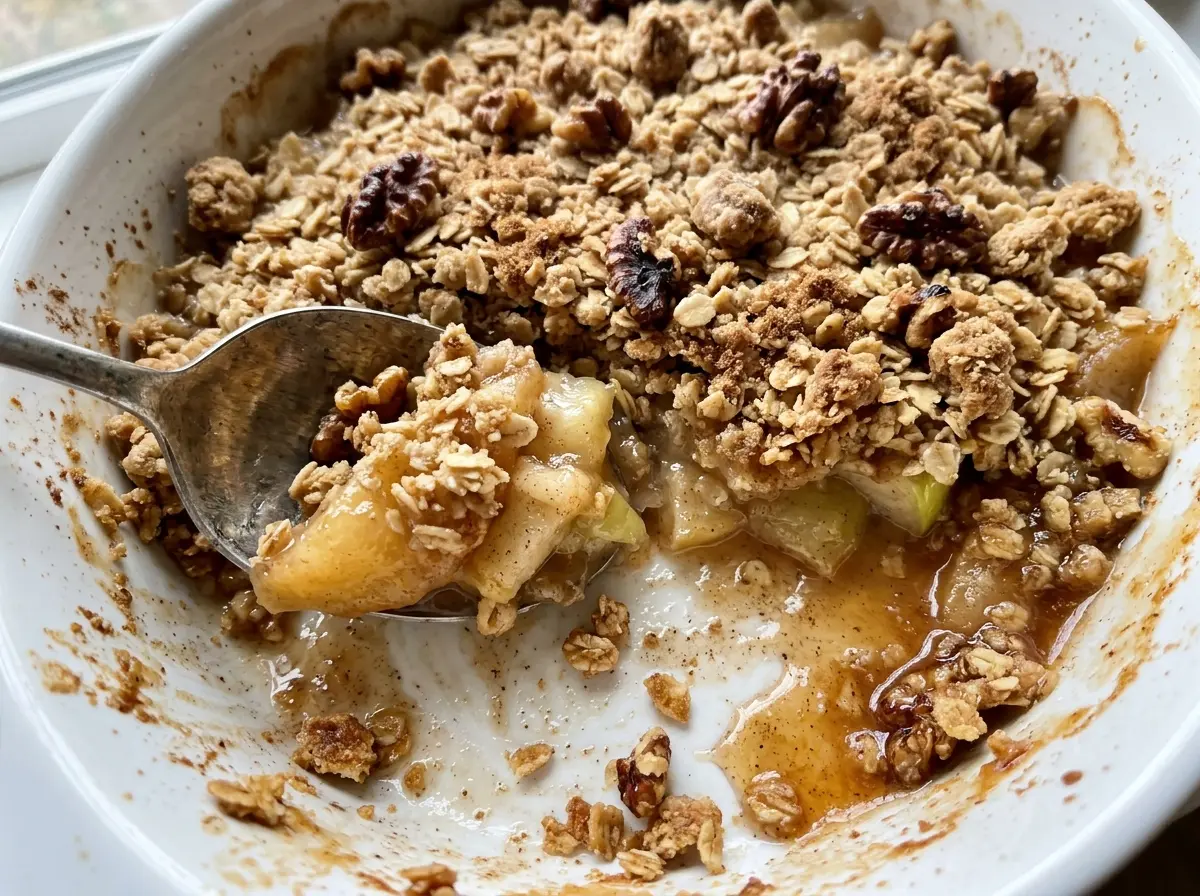
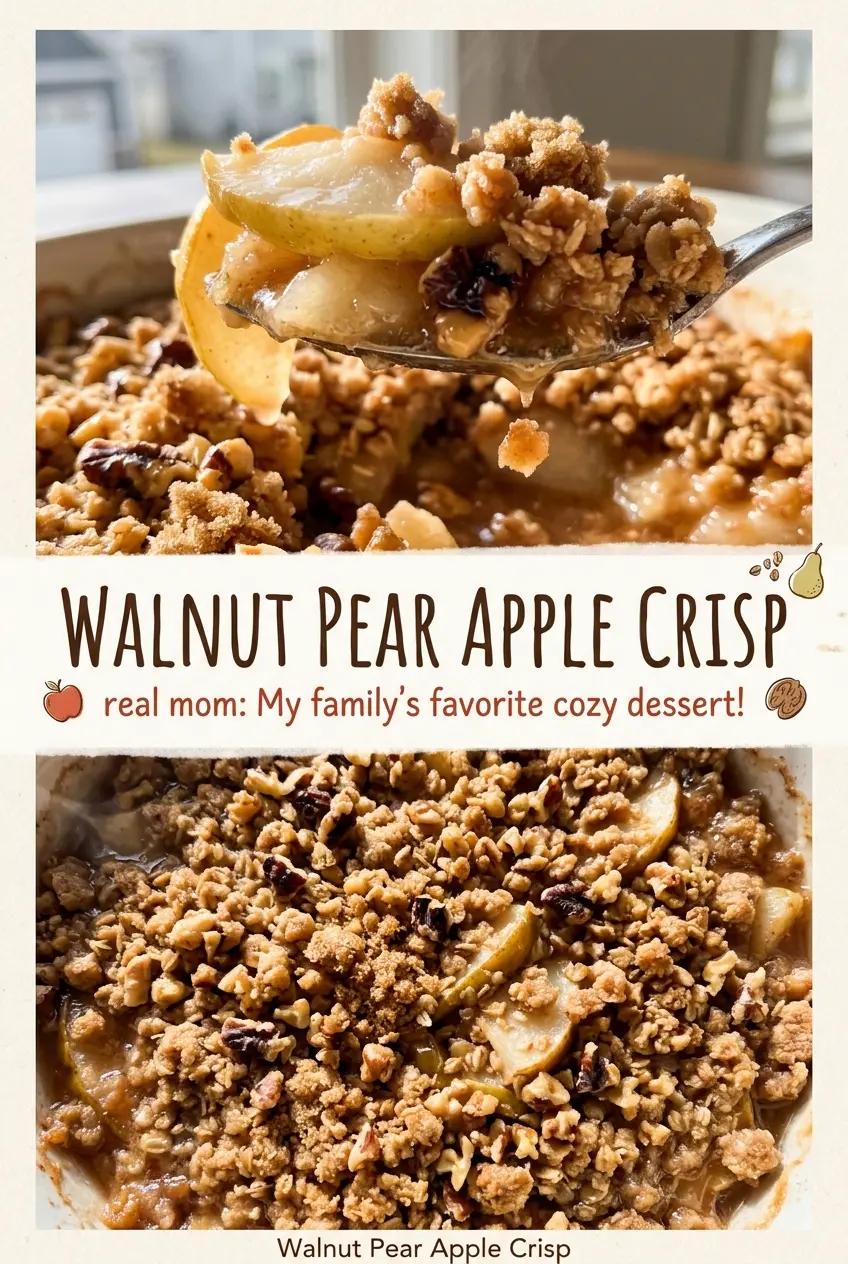
When the fruit starts bubbling around the edges, the walnut topping is usually turning golden at the same time. That’s the cue I look for with this Walnut Pear Apple Crisp: the apples and pears should be tender underneath, while the top stays crumbly instead of sinking into the fruit. It’s a generous pan of crisp, with enough tart apple to keep the pears’ sweetness from taking over.
I use firm-ripe pears so they soften in the oven without disappearing, and tart apples to give the filling a little balance. The topping brings its own contrast, with old-fashioned oats and chopped walnuts tucked into buttery crumbs. It’s the kind of dessert that feels right served warm, when the fruit is soft and the top still has a little crunch.
Kitchen Note
Give the crisp its full 15-minute rest before serving. The fruit juices settle as it stands, so each scoop holds together better than one taken straight from the oven.
Save this Walnut Pear Apple Crisp for its bubbling fruit, golden oat topping, and crunchy walnuts.
Why the 9×13-Inch Dish Matters for a Crisp, Golden Top
A crisp needs enough room for the fruit and topping to bake in an even layer. In a 9×13-inch dish, the filling spreads out rather than piling up deeply, and the topping covers it without becoming a thick blanket. That gives heat a clear path to the fruit while the crumbs brown across the surface. A smaller, deeper dish changes the depth of the filling, so the center may take longer to soften while the top is already darkening.
Spread the fruit evenly before adding the topping, then distribute the crumbs from edge to edge. Don’t press them down like a pie crust; a loose layer leaves plenty of texture between the fruit and the browned surface. As the crisp bakes, the fruit releases juice and the flour in the filling helps those juices thicken. Look for bubbling at the edges along with a golden top, not color alone, before you pull the pan from the oven.
The Ingredients That Keep the Fruit Tender and the Topping Crumbly
- Tart apples and firm-ripe pears — Choose fruit that still feels firm when you press it gently; overly soft pears can turn mushy before the apples are tender. Granny Smith apples are a reliable tart choice, while firm Anjou or Bosc pears work well. You don’t need premium fruit here, just pieces in good condition with enough structure to hold up in the oven.
- All-purpose flour in the filling — This helps bind the juice the fruit gives off, so the bottom of the dish isn’t just thin liquid. Whisk or toss it through the fruit evenly; clumps of flour can leave pale, pasty spots after baking. A cup-for-cup gluten-free flour blend is a useful alternative when adapting the whole crisp.
- Old-fashioned rolled oats — Their larger flakes give the topping a distinct chew and texture. Quick oats are finer and tend to make a softer, less defined crumb, so old-fashioned oats are worth choosing for this particular top. Store-brand oats work just as well as a pricier brand.
- Cold unsalted butter — Cold cubes cut into the dry mixture create scattered crumbs that brown in the oven. If you’re shopping on a budget, ordinary unsalted butter is fine; keep it cold until you work it into the flour and oats. Soft butter smears through the mixture instead of breaking into crumbs.
- Chopped walnuts — Walnuts add a toasty, slightly bitter crunch that balances the sweet fruit and brown sugar. Fresh-tasting walnuts matter more than a fancy brand; if they smell stale or bitter before baking, their flavor won’t improve in the oven. Chopped pieces mix through the topping more evenly than whole halves.
- Lemon juice and cinnamon — Lemon juice keeps the fruit’s sweetness lively, while cinnamon ties the filling and topping together. Fresh lemon juice is a nice choice, but bottled juice works in this baked filling. Ground cinnamon doesn’t need to be new, though an old jar can taste faint and dusty.
Build the Filling and Crumbs Before the Oven Does the Work
Toss the Fruit Until It’s Evenly Coated
Peel, core, and slice the apples and pears into even 1/4-inch pieces so they soften at a similar pace. Toss them in a large bowl with the granulated sugar, flour, lemon juice, and cinnamon until the surfaces look lightly coated. Check the bottom of the bowl for dry flour before you transfer the fruit; a quick final toss catches any that settled. Spread everything evenly in the lightly greased 9×13-inch baking dish.
Cut Cold Butter Into Coarse Crumbs
Whisk the flour, old-fashioned oats, brown sugar, cinnamon, and kosher salt in a medium bowl. Work in the cold butter with a pastry cutter or your fingertips until you have coarse crumbs, with no large bare patches of dry mixture. If the butter starts to feel soft or greasy, pause and chill the bowl briefly before continuing. Stir the chopped walnuts through once the crumbs have formed.
Bake Until the Edges Bubble
Scatter the topping evenly over the fruit without packing it down. Bake at 375°F for 45 to 55 minutes, watching for a golden-brown top and fruit that looks tender and bubbles at the edges. If the topping is golden but the fruit still looks firm, give it more time and check again near the end of the range. Let the finished crisp rest for 15 minutes before scooping.
Easy Ways to Adapt This Crisp Without Losing Its Texture
Trade the Walnuts for Pecans
Use the same amount of chopped pecans in place of the walnuts. Pecans give the topping a milder, sweeter nut flavor and a similarly crisp bite, so the fruit-to-topping balance stays much the same.
Make It Gluten-Free
Replace both uses of all-purpose flour with a cup-for-cup gluten-free baking blend, and choose certified gluten-free old-fashioned oats. The topping may be a little more delicate, but it still bakes into crumbs over the fruit.
Use a Dairy-Free Baking Stick
For a dairy-free version, use 1/2 cup cold, firm dairy-free baking sticks in place of the butter. Cut it into the dry ingredients just as you would butter; choose a stick-style product rather than a soft tub spread, which can make the topping greasy.
Storage and Reheating
- Refrigerator: Refrigerate leftovers within 2 hours and keep them covered for 3 to 4 days. The fruit stays tender, though the topping softens as it sits.
- Freezer: Freeze cooled portions in an airtight, freezer-safe container for up to 3 months. Thaw overnight in the refrigerator; the topping may lose some of its original crunch.
- Reheating: Warm portions in a 350°F oven until heated through to revive some crispness in the topping. The microwave works for a quick serving, but it softens the crumbs further.
Questions That Come Up While Baking Walnut Pear Apple Crisp
Walnut Pear Apple Crisp
Ingredients
Equipment
Method
- Preheat the oven to 375°F.
- Lightly grease a 9x13-inch baking dish.
- In a large bowl, toss the apples and pears with the granulated sugar, 2 tablespoons flour, lemon juice, and 1/2 teaspoon cinnamon.
- Spread the fruit evenly in the prepared dish.
- In a medium bowl, whisk together 1 cup flour, the oats, brown sugar, 1 teaspoon cinnamon, and salt.
- Cut in the butter with a pastry cutter or your fingertips until coarse crumbs form.
- Stir in the walnuts.
- Sprinkle the topping evenly over the fruit.
- Bake for 45 to 55 minutes, until the topping is golden brown and the fruit is tender and bubbling at the edges.
- Let the crisp rest for 15 minutes before serving.