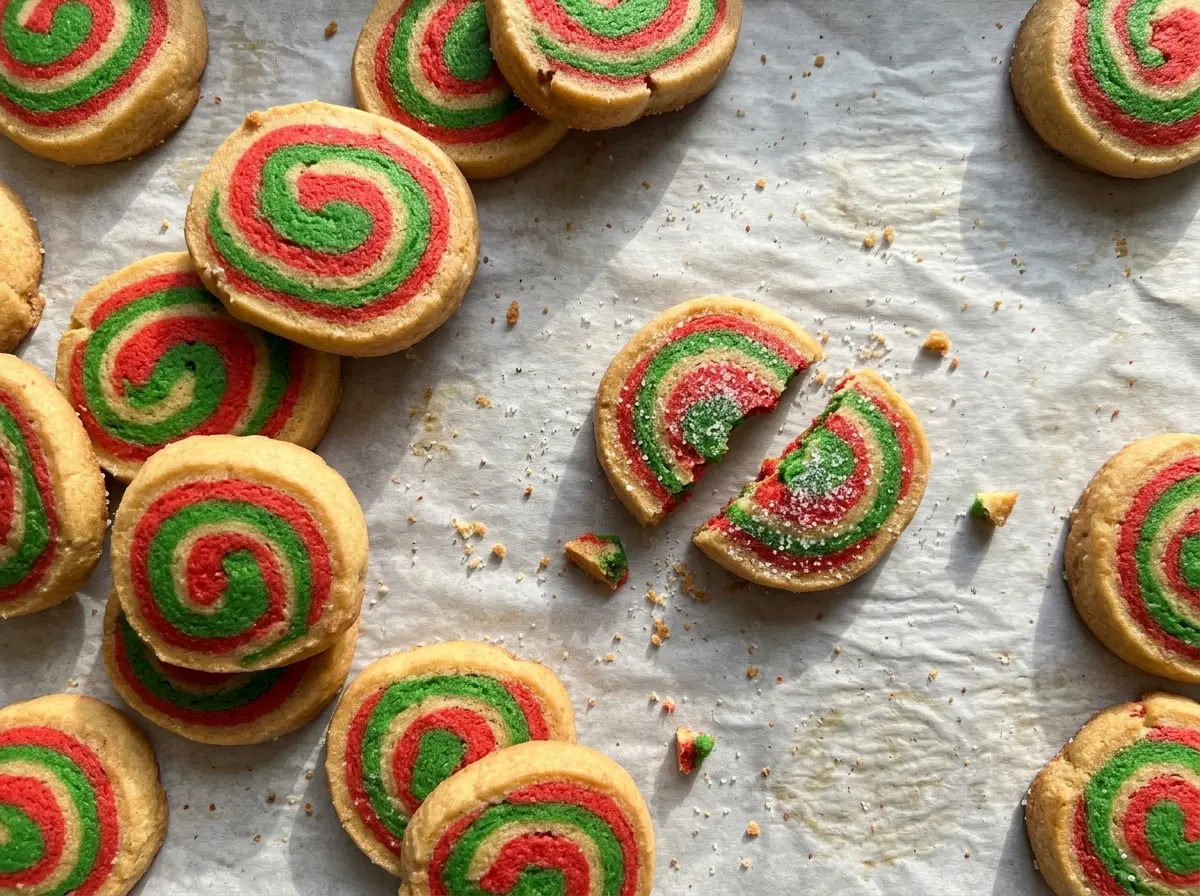
A clean slice through the chilled log shows the whole spiral at once: red and green ribbons wrapped around a pale center. If the dough is too soft, the colors can smear as you cut; if it’s too cold, the rectangles may crack when you roll them. These Christmas Pinwheels get their neat pattern from two short jobs: chilling the colored rectangles until they’re pliable, then chilling the rolled log until it’s firm.
I like that the dough itself stays simple, with vanilla in the buttery base and gel coloring for the holiday stripes. Rolling each color between parchment keeps the rectangles even without adding flour to the dough, and the second chill gives the log enough structure for tidy rounds. Slice them thin, bake just until set, and you’ll have crisp-edged cookies with a clear swirl in every bite.
Kitchen Note
Cool the baking sheet completely between batches. A warm sheet starts softening the next round of dough before it can bake, and the cookies won’t hold their clean shape as well.
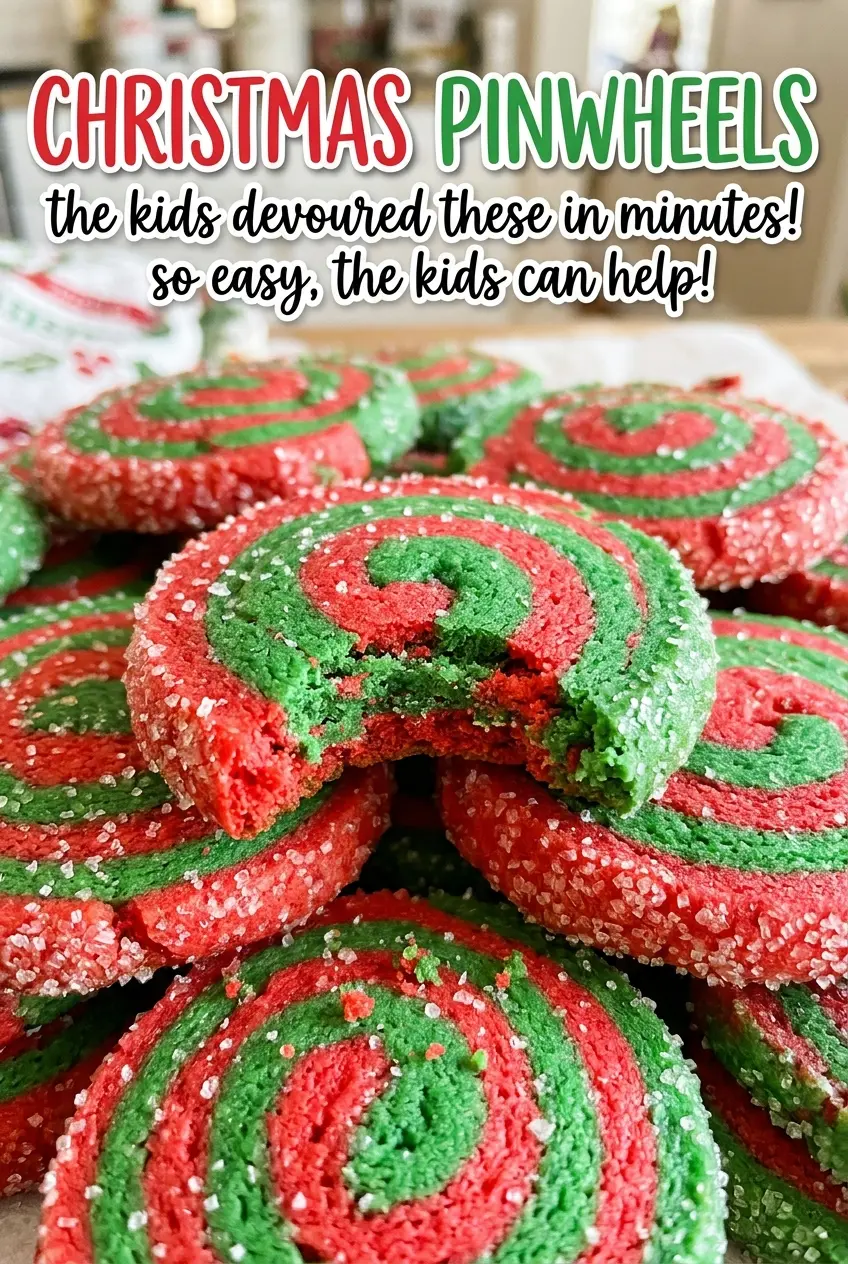
Save these Christmas Pinwheels for a cookie tin filled with crisp-edged red and green spirals.
Why the Spiral Stays Clear Instead of Turning Into a Smudge
The colors only look sharp if the dough is cool enough to handle but not so cold that it breaks. That’s why the first chill is shorter than the second. The rectangles need to firm up before stacking, while staying flexible enough to bend into a log without cracking. Once they’re rolled together, the longer chill firms the whole log so the knife cuts through both colors instead of pressing them out of shape.
The other detail that makes a difference is the direction of the roll. Starting at a 6-inch edge gives you a 9-inch log, and keeping the roll snug prevents a hollow center or loose layers. Don’t pull hard enough to stretch the dough; aim for even contact from the first turn to the last. That balance—a pliable sheet first, a firm log later—is what gives these cookies their distinct pinwheel rather than a marbled look.
What Gives These Pinwheels Their Color and Tender Bite
- All-purpose flour — It gives the dough enough structure to roll, stack, and slice. Measure it without packing it into the cup; too much flour makes the rectangles dry and prone to cracking. For a gluten-free version, use a one-to-one baking flour blend that includes xanthan gum.
- Unsalted butter — Softened butter creams smoothly with the sugar and gives the cookies their rich, tender texture. It should yield slightly when pressed, not look shiny or melted. A standard store-brand butter works well here.
- Granulated sugar — Beating it with the butter helps create the light base for the dough. Keep it granulated; brown sugar brings extra moisture and a deeper flavor that can soften the crisp color contrast.
- Egg — The egg binds the dough so it holds together through rolling and slicing. Use a large egg, and let it lose its refrigerator chill while you soften the butter so it blends evenly.
- Baking powder — A small amount gives the cookies a little lift without puffing away the spiral. Check that yours is fresh if it has been open in the cupboard for a long time.
- Vanilla extract — Vanilla rounds out the buttery dough without competing with the colored layers. Pure or imitation vanilla both work; use the one you keep on hand.
- Red and green gel food coloring — Gel gives concentrated color without adding much liquid to the dough. Liquid coloring tends to produce paler shades and can make the dough softer, so gel is the better choice for defined stripes.
Rolling and Baking the Log Without Losing the Pattern
Mix a Soft, Even Dough
Whisk the flour, baking powder, and salt together in a medium bowl. In a large bowl, beat the softened butter and sugar until light and fluffy, about 2 minutes, then beat in the egg and vanilla. Add the flour mixture and mix only until it disappears into the dough; stop once there are no dry streaks. Divide the dough in half and tint one half red and the other green.
Roll Two Matching Rectangles
Roll each half between sheets of parchment into a 9-by-6-inch rectangle. Try to keep the edges close to straight so the layers line up when stacked. Chill the rectangles for 15 to 20 minutes, until firm but still pliable. If a rectangle feels brittle when you lift it, give it a little time to soften before rolling it into the log.
Stack, Roll, and Firm the Log
Stack the colored rectangles, then peel away the top parchment. Starting from a 6-inch edge, roll the layers tightly into a 9-inch log, keeping the roll even as you go. Wrap the log and chill it until firm, at least 2 hours. It should feel solid enough to slice cleanly rather than flatten under the knife.
Slice Thin Rounds and Bake Until Set
Heat the oven to 350°F and line a large baking sheet with parchment. Slice the log into 1/4-inch rounds, set them about 1 1/2 inches apart, and bake in batches for 10 to 12 minutes. The cookies are ready when they look set with edges that are just barely golden; don’t wait for the centers to brown. Let each batch rest on the baking sheet for 5 minutes, then move the cookies to a wire rack to cool completely.
Three Easy Ways to Change the Flavor or Color
Add a Gentle Peppermint Note
Replace the vanilla with 3/4 teaspoon vanilla and 1/4 teaspoon peppermint extract. The smaller amount of peppermint gives the cookies a cool, minty note without overpowering the buttery dough.
Make the Dough Gluten-Free
Replace the all-purpose flour with the same amount of a one-to-one gluten-free baking blend that contains xanthan gum. The dough may feel a little more delicate when you roll and stack it, so handle the parchment-supported rectangles gently; the finished cookies keep the same buttery flavor.
Turn the Swirls Into a Year-Round Cookie
Use two different gel colors that suit the occasion instead of red and green. Keep the same dough and rolling method; the flavor stays vanilla-forward, while the new colors make the pinwheels work for birthdays or other celebrations.
Storage and Reheating
- Refrigerator: Keep baked cookies in an airtight container for up to 1 week. Chilling firms the butter, so let them come to room temperature before serving.
- Freezer: Freeze fully cooled cookies in an airtight container, separating layers with parchment, for up to 2 months. Thaw at room temperature while still covered to limit condensation.
- Reheating: These cookies are best at room temperature and don’t need reheating. A microwave can soften them, so skip it if you want to keep their set edges.
Questions That Come Up While Making Christmas Pinwheels
Christmas Pinwheels
Ingredients
Equipment
Method
- Whisk the flour, baking powder, and salt together in a medium bowl.
- Beat the butter and sugar in a large bowl until light and fluffy, about 2 minutes.
- Beat in the egg and vanilla.
- Mix in the flour mixture just until combined.
- Divide the dough in half and tint one half red and the other half green.
- Roll each half between sheets of parchment into a 9x6-inch rectangle.
- Chill the rectangles until firm but still pliable, 15 to 20 minutes.
- Stack the dough rectangles and peel away the top parchment.
- Roll tightly from a 6-inch edge into a 9-inch log.
- Wrap the log and chill until firm, at least 2 hours.
- Heat the oven to 350°F.
- Line a large baking sheet with parchment.
- Slice the log into 1/4-inch rounds and place them about 1 1/2 inches apart.
- Bake in batches for 10 to 12 minutes, until set with just barely golden edges.
- Cool the baking sheet completely between batches.
- Let the cookies rest on the baking sheet for 5 minutes.
- Transfer the cookies to a wire rack to cool completely.