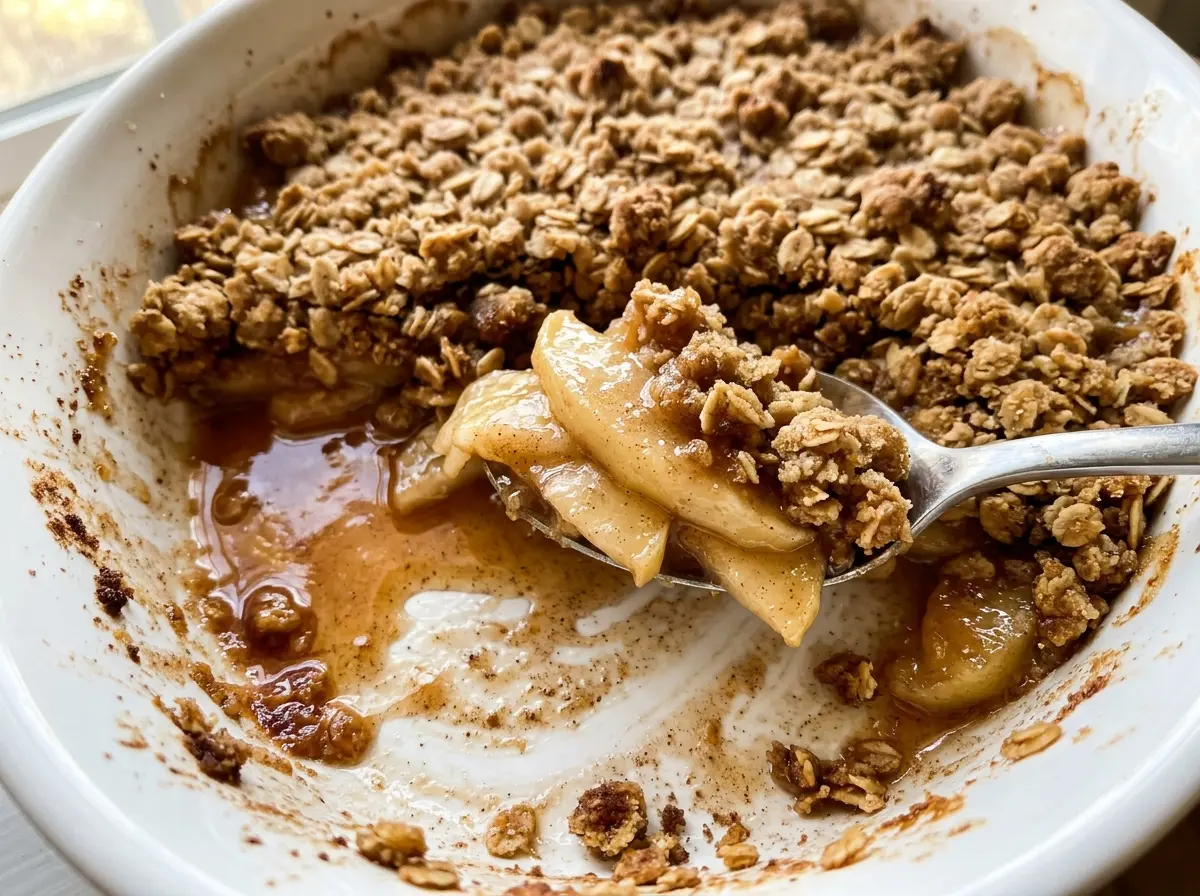
When the oat topping turns golden, the apples underneath may still need a little time. I learned to look past the top and check for bubbles around the edges; that’s how I know the filling is hot enough and the apples are tender all the way through. Hickory Bridge Farm Apple Crisp bakes in a 9×13-inch dish, so there’s plenty of crisp topping over a generous layer of cinnamon apples.
The filling uses cornstarch to thicken the juices the apples release as they bake, while lemon juice gives the fruit a little brightness. Underneath, cold butter worked into oats, flour, and brown sugar makes coarse clumps that bake into a crisp, crumbly layer. Let the finished crisp rest before serving, and you’ll get tender apples with a filling that stays on the spoon instead of running across the plate.
Kitchen Note
Give the crisp its full 15-minute rest before you scoop. The filling is loose straight from the oven, and that short pause lets it settle so the apples and juices hold together better on the plate.
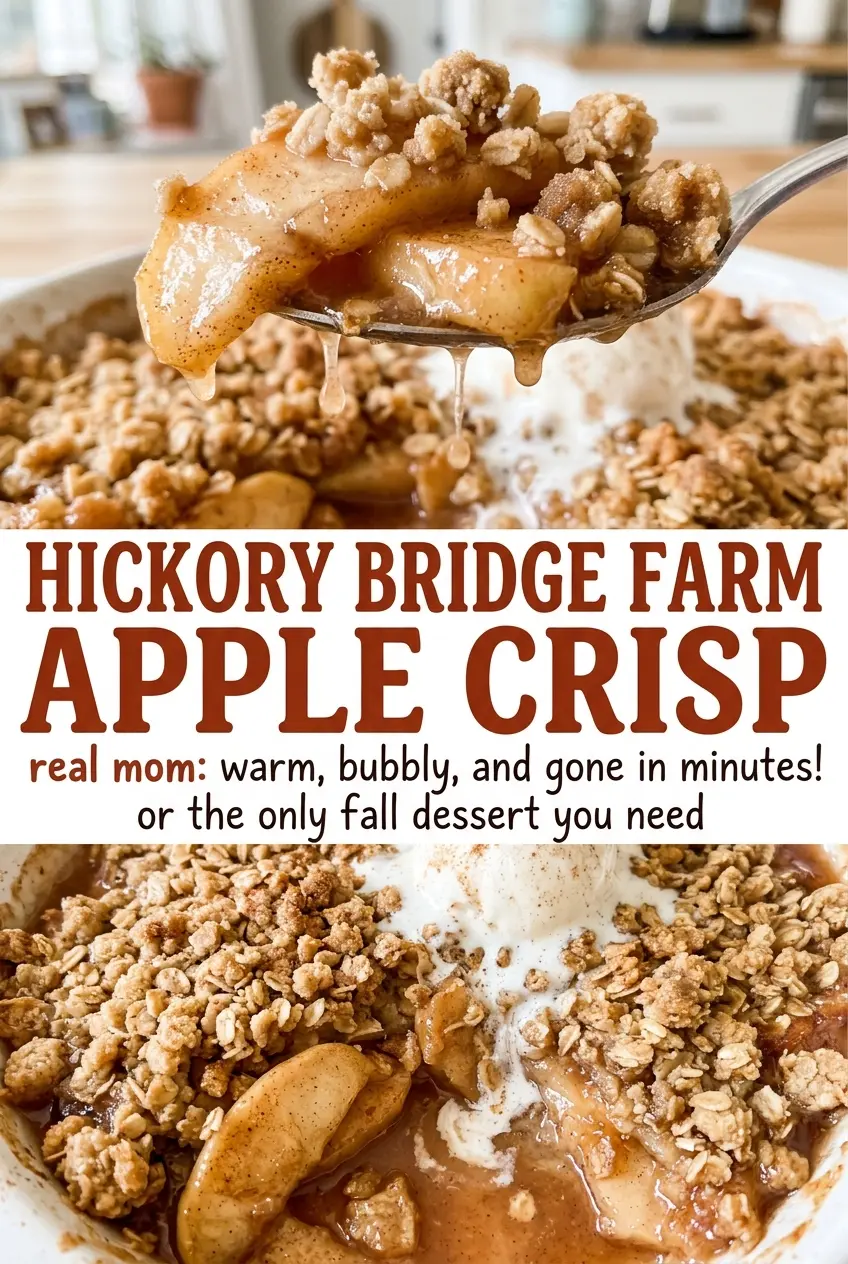
Save Hickory Bridge Farm Apple Crisp for its tender cinnamon apples and crisp, buttery oat topping.
Why the Filling Needs to Bubble Before You Call the Crisp Done
Apple crisp can look finished before its filling is ready. The topping sits above the fruit, so it browns where the oven heat reaches it first; meanwhile, the apples need time to soften and release their juices. The cornstarch in this filling thickens those juices as they heat, but it needs the fruit mixture to get hot enough to bubble.
That’s why the doneness cues work together: look for a golden topping, bubbles around the edges, and apples that give when pierced with a knife. If you stop as soon as the topping looks browned, the apples may still be firm and the filling may seem thin. If the top is getting dark before the apples are tender, loosely cover the dish with foil and keep baking until the fruit reaches those cues. The 45-to-55-minute window is a guide; the look and feel of the apples tell you when the crisp is ready.
The Apples and Cold Butter Make the Difference Here
- Apples — Choose apples that feel firm, since they need to hold their shape through a long bake. A mix of tart and sweet varieties gives the filling more contrast; keep the slices even so they soften at about the same pace. Peeling and coring before slicing makes the finished filling easy to scoop.
- Cornstarch — This is what gives the apple juices body without adding a separate sauce. Toss it thoroughly with the sugar and fruit so it doesn’t stay in powdery pockets. Flour can thicken fruit, but it tends to make the filling cloudier and less clear.
- Lemon juice — Its bright acidity balances the sweetness and keeps the apple flavor from tasting flat. Fresh or bottled lemon juice works here; use the stated amount rather than adding extra, which can make the filling sharper.
- Old-fashioned rolled oats — These give the topping a distinct, pleasantly chewy texture. Quick oats make a finer, less textured layer, so old-fashioned oats are the better choice when you want those visible oat clumps.
- All-purpose flour and brown sugar — Flour gives the topping structure, while packed light brown sugar adds moisture and a gentle molasses note. The brown sugar should be packed when measured so the topping has the right balance of sweetness and clumping.
- Cold unsalted butter — Cold pieces are easier to work into the dry ingredients without turning the topping into a paste. Unsalted butter lets the salt in the topping stay controlled; the butter doesn’t need to be a specialty brand, but it should be cold when you start.
How to Layer the Apples and Build a Crisp Topping
Get the Baking Dish Ready
Heat the oven to 375°F and grease a 9×13-inch baking dish before you start mixing. Having the dish ready means the coated apples can go straight into it without sitting in the bowl. Peel, core, and slice the apples 1/4 inch thick. Even slices help the fruit cook at a similar rate.
Coat the Apples Before They Go in the Dish
Toss the sliced apples in a large bowl with the granulated sugar, cornstarch, lemon juice, and cinnamon. Turn the fruit until the slices are evenly coated and you don’t see dry patches of cornstarch. Spread the apples in the prepared dish rather than piling them into one area. This gives the topping an even bed of fruit beneath it.
Work the Butter Into Coarse Clumps
Stir the oats, flour, brown sugar, and salt together in a medium bowl first. Add the cold butter pieces and work them in with your fingers until the mixture forms coarse clumps. Stop when you see a mix of small and larger buttery crumbs; a uniform, fine powder won’t give you the same varied crisp texture. Scatter the topping evenly over the apples.
Bake Until the Fruit Is Tender
Bake for 45 to 55 minutes, checking for a golden topping and bubbling filling around the edges. Pierce an apple with a knife to check that it’s tender rather than relying on color alone. If the top browns ahead of the fruit, tent it loosely with foil while the apples finish cooking. Let the crisp rest for 15 minutes before serving.
Two Ways to Adapt the Apples or Topping
Make the Filling More Tart
Use a tart variety such as Granny Smith for some or all of the apples, keeping the total amount and slice thickness the same. The filling will taste sharper and the firm fruit will hold its shape well; using a mix of tart and sweeter apples softens that tang.
Make a Gluten-Free Topping
Replace the all-purpose flour with a cup-for-cup gluten-free baking flour blend, and use certified gluten-free rolled oats. Keep the same quantities and method. The topping may be a little more delicate, so let the crisp rest before scooping.
Storage and Reheating
- Refrigerator: Cool, cover, and refrigerate within 2 hours. The crisp keeps for 3 to 4 days; the topping softens as it sits.
- Freezer: Freeze cooled portions in an airtight container for up to 3 months. The apples freeze well, though the topping will be softer after thawing.
- Reheating: Warm portions uncovered in a 350°F oven until heated through, about 15 to 20 minutes. Avoid covering the dish, since trapped steam softens the topping further.
Questions I Get Asked About This Apple Crisp
Hickory Bridge Farm Apple Crisp
Ingredients
Equipment
Method
- Heat the oven to 375°F.
- Grease a 9x13-inch baking dish.
- In a large bowl, toss the apples with the granulated sugar, cornstarch, lemon juice, and cinnamon.
- Spread the apple mixture in the prepared dish.
- In a medium bowl, stir together the oats, flour, packed light brown sugar, and salt.
- Work in the butter with your fingers until the mixture forms coarse clumps.
- Scatter the topping evenly over the apples.
- Bake for 45 to 55 minutes, until the topping is golden and the filling bubbles around the edges and the apples are tender when pierced with a knife.
- Let the crisp rest for 15 minutes before serving.