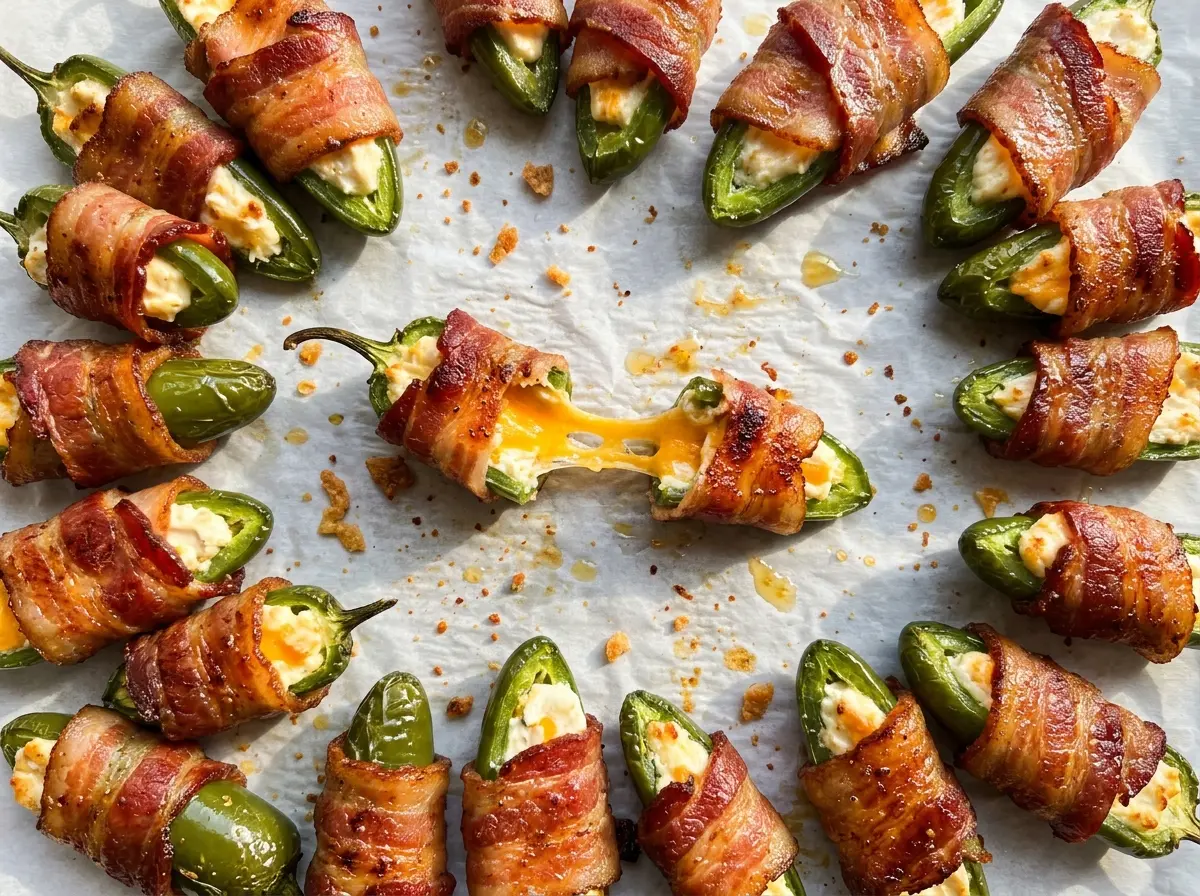
Around the 25-minute mark, the bacon starts to tighten around each pepper and turn crisp at the edges. I look for jalapeño flesh that’s tender but still holds its shape; if the peppers are soft and collapsing, they’ve gone too far. These jalapeño poppers with bacon get their creamy center from softened cream cheese and sharp cheddar, with just enough garlic powder to round out the filling.
Halving the peppers lengthwise gives each one a shallow boat for the cheese, and wrapping each half with bacon keeps the filling tucked in as it bakes. I like the balance here: the peppers bring a little bite, the cheese stays smooth, and the bacon crisps around the outside. Let them rest for five minutes before serving so the filling has a chance to settle.
Kitchen Note
Wear gloves while halving and cleaning the jalapeños, and keep your hands away from your face as you work. Pepper oils can linger on your fingers even after the cutting is done.
Save these bacon-wrapped jalapeño poppers for a snack with crisp bacon, tender peppers, and a creamy cheddar center.
Why the Rack Helps the Bacon Crisp Without Soaking the Peppers
Bacon releases fat as it cooks. When the poppers sit directly on a baking sheet, that rendered fat collects underneath them, leaving the bottoms greasy instead of crisp. A wire rack lifts each pepper above the foil-lined pan, so hot air can reach the underside while the drippings fall away. The foil catches the mess, which makes cleanup easier without changing how the poppers cook.
Give each piece a little breathing room on the rack, too. If the poppers touch or overlap, the bacon-covered sides can steam against each other instead of browning. The rack doesn’t make the bacon cook instantly; it gives the heat a better path around the peppers. That’s useful here because the bacon and the jalapeño need to finish together: crisp on the outside, tender inside, with the cheese still nestled in the pepper.
What the Peppers, Cheese, and Bacon Each Bring to the Filling

- Jalapeños — Medium peppers give you enough room for a layer of filling without making each bite mostly cheese. Pick peppers that are similar in size so they cook at roughly the same pace. Another chile isn’t a dependable one-for-one swap because its size, flesh, and heat can change the filling ratio.
- Cream cheese — A softened block gives the cheddar a thick, cohesive base that stays in the pepper. Let it soften before mixing so you can stir in the other ingredients without leaving firm lumps. Tub-style whipped cream cheese is looser, so it isn’t a reliable swap for the block here.
- Sharp cheddar — Its tang cuts through the richness of the cream cheese and bacon. An everyday cheddar is fine; freshly shredded cheese blends more readily, while pre-shredded cheddar is convenient and still works. Mild cheddar can replace the sharp cheddar in the same amount for a gentler, less tangy filling.
- Garlic powder — The dry seasoning disperses through the cheese mixture without adding moisture. If you’re out, leave it out rather than replacing it with fresh garlic, which has a stronger bite and can make the mixture less even.
- Bacon — The slices wrap around the pepper halves and brown while the filling heats. Regular sliced bacon is easier to wrap around each half than thick-cut bacon; thick slices may need longer to crisp, so the timing becomes less predictable. There isn’t a bacon substitute that gives the same crisp, savory outside.
How to Fill and Wrap Each Pepper Without Losing the Cheese
Set Up the Oven and Prepare the Peppers
Heat the oven to 400°F. Line a rimmed baking sheet with foil, then set an oven-safe wire rack on top. Wearing gloves, halve each jalapeño lengthwise and remove the seeds and membranes. Keep the pepper halves intact so they can hold an even layer of filling.
Stir a Smooth Cheddar Filling
Put the softened cream cheese, shredded sharp cheddar, and garlic powder in a medium bowl. Stir until the mixture looks evenly combined, with no pockets of plain cream cheese. If the cream cheese is still firm, it takes more effort to blend and can leave lumps. A soft, spreadable mixture is easiest to portion into the pepper halves.
Fill the Halves and Wrap the Bacon
Spread the cheese mixture in an even layer inside each jalapeño half rather than piling it high in the middle. Cut each bacon slice in half crosswise, then wrap one piece around each filled half. Set every popper seam side down on the rack so the bacon stays in place as it cooks. Arrange them without overlapping.
Bake Until the Bacon Is Crisp, Then Rest
Bake for 25–30 minutes, until the bacon is crisp and the jalapeños are tender. The pepper should yield when you bite through it but still hold its shape, and the bacon should look browned rather than pale and soft. If the bacon hasn’t crisped yet, give the pan more time and check again instead of pulling the poppers early. Let them rest for 5 minutes before serving.
Two Ways to Change the Heat or Skip the Bacon
Leave Some Membrane for More Heat
For a hotter batch, leave a little of the pale membrane inside each pepper instead of scraping it all away. The poppers will have a sharper chile bite, and the heat may vary from pepper to pepper. Keep the seeds and membranes out if you want the milder version.
Make a Vegetarian Tray
Leave off the bacon and fill the jalapeño halves with the same cream cheese mixture. Bake at 400°F until the peppers are tender and the cheese is hot; without bacon, use the pepper and filling as your cues instead of waiting for browning. The finished bites will be cheesier and won’t have the crisp, smoky wrap.
Storage and Reheating
- Refrigerator: Keep leftover cooked poppers in a covered container for 3–4 days. The bacon softens in storage, and the peppers become a little less firm.
- Freezer: They can be frozen in an airtight container for up to 2 months, though the peppers soften and the cream cheese filling may turn slightly grainy after thawing. Thaw overnight in the refrigerator before reheating.
- Reheating: Warm them on a rack in a 350°F oven until heated through to 165°F. The microwave works for a quick serving, but it softens the bacon rather than crisping it.
Questions That Come Up When Making Bacon-Wrapped Poppers
Jalapeno Poppers with Bacon
Ingredients
Equipment
Method
- Preheat the oven to 400°F.
- Line a rimmed baking sheet with foil.
- Set an oven-safe wire rack on top.
- Wearing gloves, halve the jalapeños lengthwise.
- Remove the seeds and membranes.
- In a medium bowl, stir together the cream cheese, cheddar, and garlic powder until combined.
- Fill each jalapeño half with the cheese mixture, spreading it in an even layer.
- Cut each bacon slice in half crosswise.
- Wrap one piece around each filled jalapeño half.
- Arrange them seam side down on the rack without overlapping.
- Bake for 25-30 minutes, until the bacon is crisp and the jalapeños are tender.
- Let the poppers rest for 5 minutes before serving.