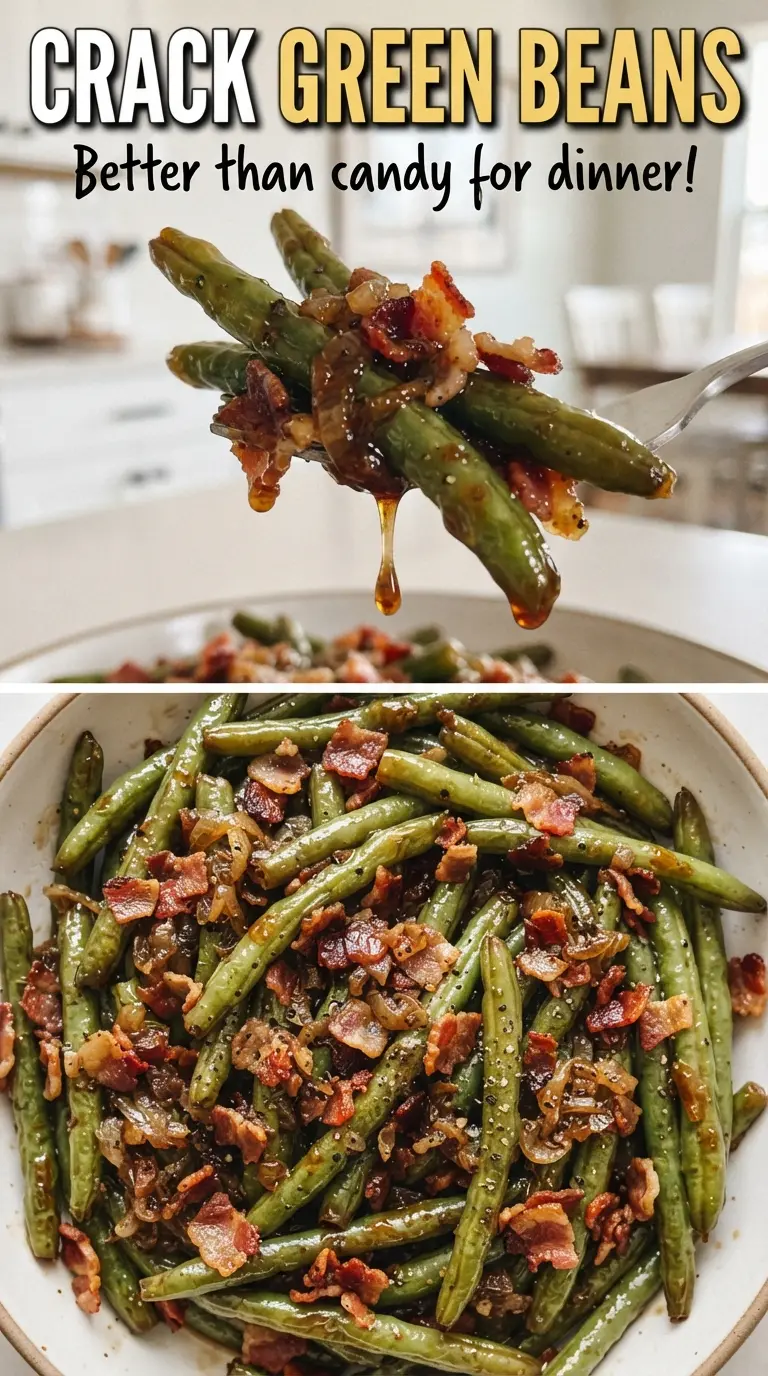
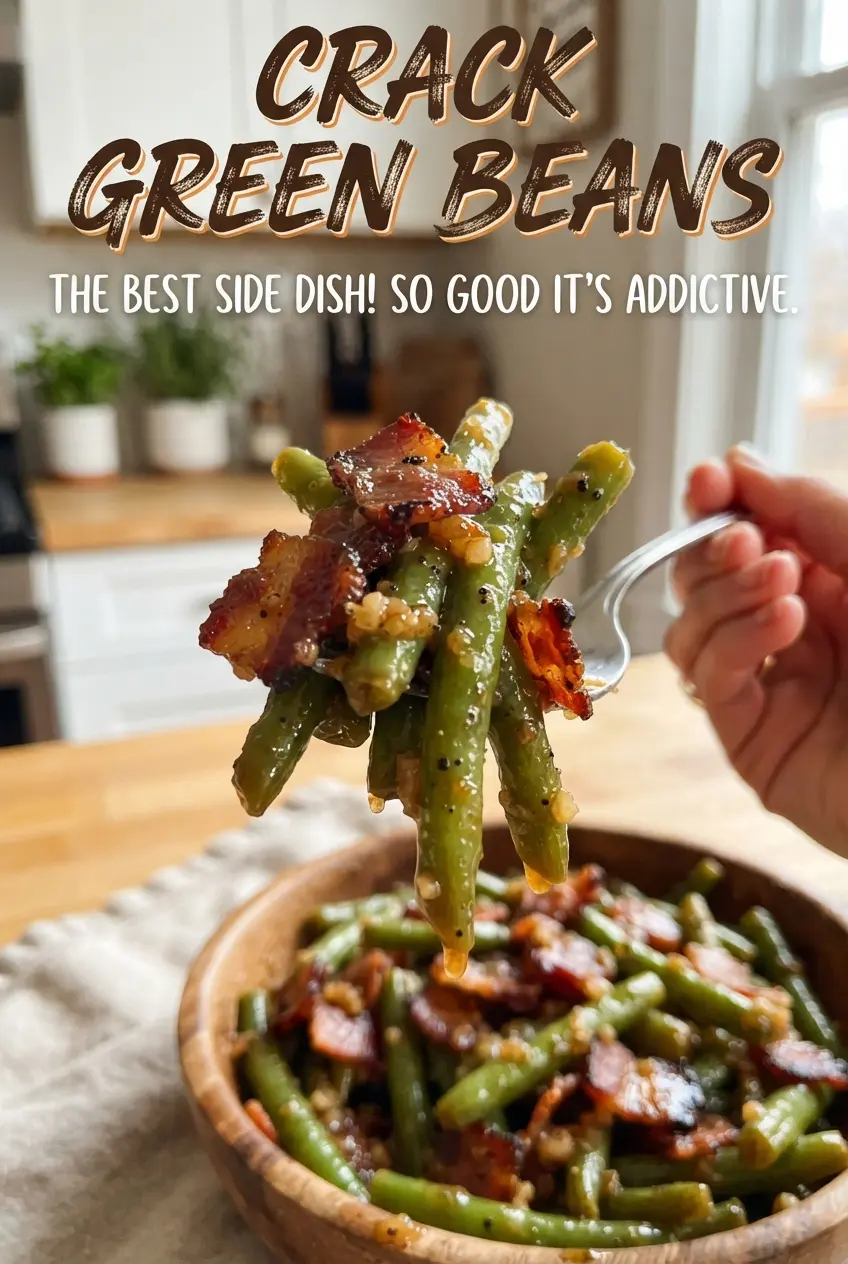
Crack green beans come out tender with just enough bite, then get coated in a sticky brown sugar soy glaze that clings to every bean and settles around the bacon in glossy, savory-sweet pools. They’re the kind of side dish people start reaching for before the main course even lands on the table. The bacon stays crisp at the edges, the beans hold their shape, and the sauce bakes down into something you’ll want to spoon over everything on the plate.
The trick is in the short blanch before baking. It softens the beans just enough so they finish in the oven without turning dull or stringy, and it keeps the final texture bright instead of tired. The glaze also works because the butter, soy sauce, and brown sugar are whisked together before they hit the pan, so the flavor coats evenly and caramelizes instead of separating into greasy spots and dry sugar patches.
Below, I’m walking through the details that matter most, including how to keep the beans from overcooking and what to expect if you need to make this ahead.
The glaze baked into a sticky coating instead of pooling at the bottom, and the bacon stayed crisp enough to balance the sweet sauce. I made it for Sunday dinner and there wasn’t a bean left.
Love the sticky brown sugar glaze and crisp bacon on these Crack Green Beans? Save this one for the next dinner that needs a side dish people actually fight over.
The Step That Keeps the Beans Tender Instead of Limp
The part that separates great crack green beans from a mushy casserole is the quick blanch. Three minutes in boiling water softens the beans just enough so they finish cooking evenly in the oven, but it doesn’t strip them of structure. Skip that step and the beans can taste underdone in the middle after the bake; overdo it and they’ll slump before the glaze even has a chance to cling.
The other thing worth protecting is the sauce-to-bean balance. You want the beans coated, not drowned, because the glaze thickens as it bakes. That’s why a 9×13-inch dish works better than a deep smaller pan: the liquid spreads out, reduces properly, and caramelizes around the edges instead of steaming the vegetables underneath.
- Blanched green beans — Fresh beans hold their color and snap better than canned or frozen here. If you need to use frozen, thaw them completely and dry them well, or the extra water will thin the glaze.
- Bacon — Partially crisp bacon finishes beautifully in the oven and keeps some chew. Cook it all the way before baking and it can turn hard by the time the beans are done.
- Brown sugar — This is what gives the dish its sticky finish. Light or dark brown sugar both work; dark brown sugar gives a deeper molasses note and a darker glaze.
- Soy sauce — It brings salt and depth, and it’s what keeps the sweetness from tasting flat. Use low-sodium if that’s what you keep in the pantry; the bacon still brings plenty of salt.
- Butter — Melted butter helps the glaze coat every bean and caramelize in the oven. Don’t swap it for oil unless you have to, because oil won’t give the same rich, rounded finish.
What Each Ingredient Is Actually Doing in This Recipe
- Primary ingredient (the star) — Quality matters most. Choose the best you can find.
- Cooking medium (oil, butter, or broth) — This carries flavors and prevents dryness.
- Seasonings (salt, pepper, spices, herbs) — Layer flavors so nothing overpowers. Build depth gradually.
- Aromatics (garlic, onion, herbs) — Cook with fat to bloom flavors. Become the foundation.
- Supporting ingredients — Complement the main ingredient without overpowering it.
- Sauce or liquid (if applicable) — Brings flavors together. Balance richness with acid.
- Acid (lemon, vinegar, wine, or other) — Brightens and prevents flat-tasting results.
- Final finish (garnish, glaze, or sauce) — Prevents one-dimensional taste and adds visual appeal.
Building the Glaze So It Caramelizes, Not Burns
Blanching the Beans
Drop the trimmed beans into boiling water for just three minutes, then drain them well. They should turn brighter green and soften slightly, but they should still feel firm when you bite one. If they go limp in the blanching water, they’ll overcook in the oven and lose that clean snap that makes this dish work.
Getting the Bacon Ready
Cook the chopped bacon until it’s mostly crisp but not brittle, then drain it on paper towels. The bacon will keep cooking in the oven, so stopping early protects the texture. If the bacon starts out fully crisp, it usually ends up dry and too hard once the glaze thickens around it.
Coating and Baking
Whisk the brown sugar, melted butter, soy sauce, garlic, and pepper until the mixture looks glossy and unified, then pour it over the beans and bacon. Stir once during baking so the top layer doesn’t dry out before the bottom has a chance to glaze. When the sauce is sticky and caramelized and the beans are tender at the stem end, pull the pan from the oven right away; a few extra minutes can push the sugar from glossy to scorched.
How to Adapt These Beans for Different Tables
Make It Without Bacon
Leave out the bacon and add a pinch more salt plus a little smoked paprika if you still want that savory edge. You lose the crispy, salty contrast, but the glaze still turns out sticky and rich. This version works well if you need a vegetarian side that still feels substantial.
Use Frozen Green Beans When Fresh Aren’t Handy
Thaw the beans completely and pat them dry before they go into the baking dish. Frozen beans bring more moisture, so drying them keeps the sauce from turning watery. The texture will be a little softer than fresh, but the glaze and bacon still carry the dish.
Lower-Sugar Version
Reduce the brown sugar to 1/3 cup if you want the beans less sweet. The glaze will be a little looser and less lacquered, but the savory garlic and soy still give it enough depth to taste complete. Don’t cut the butter too far or the sauce can turn thin and slick instead of clingy.
Storage and Reheating
- Refrigerator: Store leftovers in an airtight container for up to 4 days. The glaze thickens in the fridge, and the bacon softens a bit, but the flavor holds up well.
- Freezer: It freezes, but the bean texture gets softer after thawing. Freeze in a sealed container for up to 2 months if you don’t mind a less crisp finish.
- Reheating: Warm in a 325°F oven, covered loosely with foil, until heated through. Microwave reheating works in a pinch, but it can make the beans watery and the bacon chewy, so the oven gives the best texture.
Answers to the Questions Worth Asking
Crack Green Beans
Ingredients
Equipment
Method
- Preheat oven to 350°F. Blanch the green beans in boiling water for 3 minutes, then drain them well.
- Cook the bacon until mostly crisp, then drain on paper towels.
- Add the drained green beans to a 9x13-inch baking dish and top with the bacon.
- Whisk the brown sugar, melted butter, soy sauce, garlic, and black pepper until smooth. Pour the glaze over the beans so they’re evenly coated.
- Bake uncovered for 30-35 minutes, stirring once halfway through, until the glaze is sticky and caramelized. Serve hot.