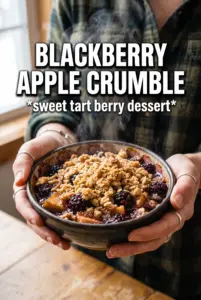
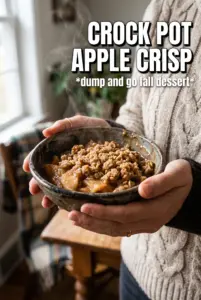
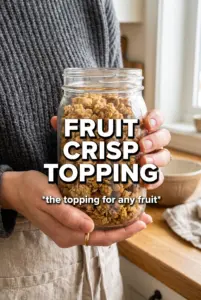
Fruit crisp topping should be crunchy, buttery, and full of those uneven little clumps that turn into golden pockets in the oven. The best version doesn’t melt into a sandy layer or bake up dry and dusty. It stays nubby and crumbly, with oats for chew, brown sugar for a deeper caramel note, and just enough flour to hold everything together without making it heavy.
The trick is keeping the butter cold and stopping at the right moment. Once the butter is worked in, you want some pieces no bigger than peas and some smaller crumbs mixed through the bowl. That range is what gives you both structure and texture. If every piece of butter disappears, the topping gets compact. If the butter gets warm, the whole mixture turns greasy before it ever hits the fruit.
Below, I’ll walk through the best way to mix it, the small ingredient choices that change the final texture, and a few smart variations if you want to add nuts or coconut. I’ve also included storage notes, because this is one of those toppings that’s handy to keep ready in the fridge or freezer.
The topping baked up with those perfect chunky clumps instead of turning sandy, and the cinnamon came through without taking over. I made an extra batch and froze it like you suggested, which was a lifesaver for a last-minute peach crisp.
Like this fruit crisp topping? Save it for the days when you need a buttery oat crumble with deep cinnamon warmth and chunky golden clumps.
The Butter Temperature That Keeps This Crisp Topping Clumpy
Most crisp toppings fail when the butter softens too soon. Warm butter blends too evenly into the dry ingredients, and instead of irregular crumbles you get a paste that bakes into a flat crust. Cold butter holds its shape long enough to coat the flour and oats in little pockets, which is what creates those chunky bits that brown deeply in the oven.
The other thing that matters is stopping before the mixture looks uniform. You want some floury crumbs, some larger clumps, and a few visible butter flecks. Those flecks melt later and leave air spaces behind, which is how the topping turns crisp instead of dense.
- Rolled oats — These give the topping chew and structure. Quick oats work in a pinch, but they make a finer, softer crumble that loses some of the rugged texture.
- Brown sugar — This brings moisture and a deeper caramel note. Light or dark brown sugar both work; dark brown sugar gives a richer molasses edge.
- Flour — This binds the mixture just enough to form clumps. All-purpose flour is the right choice here because it balances tenderness and structure.
- Cold unsalted butter — This is what makes the topping hold together in thick nuggets. If you only have salted butter, use it and reduce the added salt slightly.
What Each Ingredient Is Doing in the Crumble
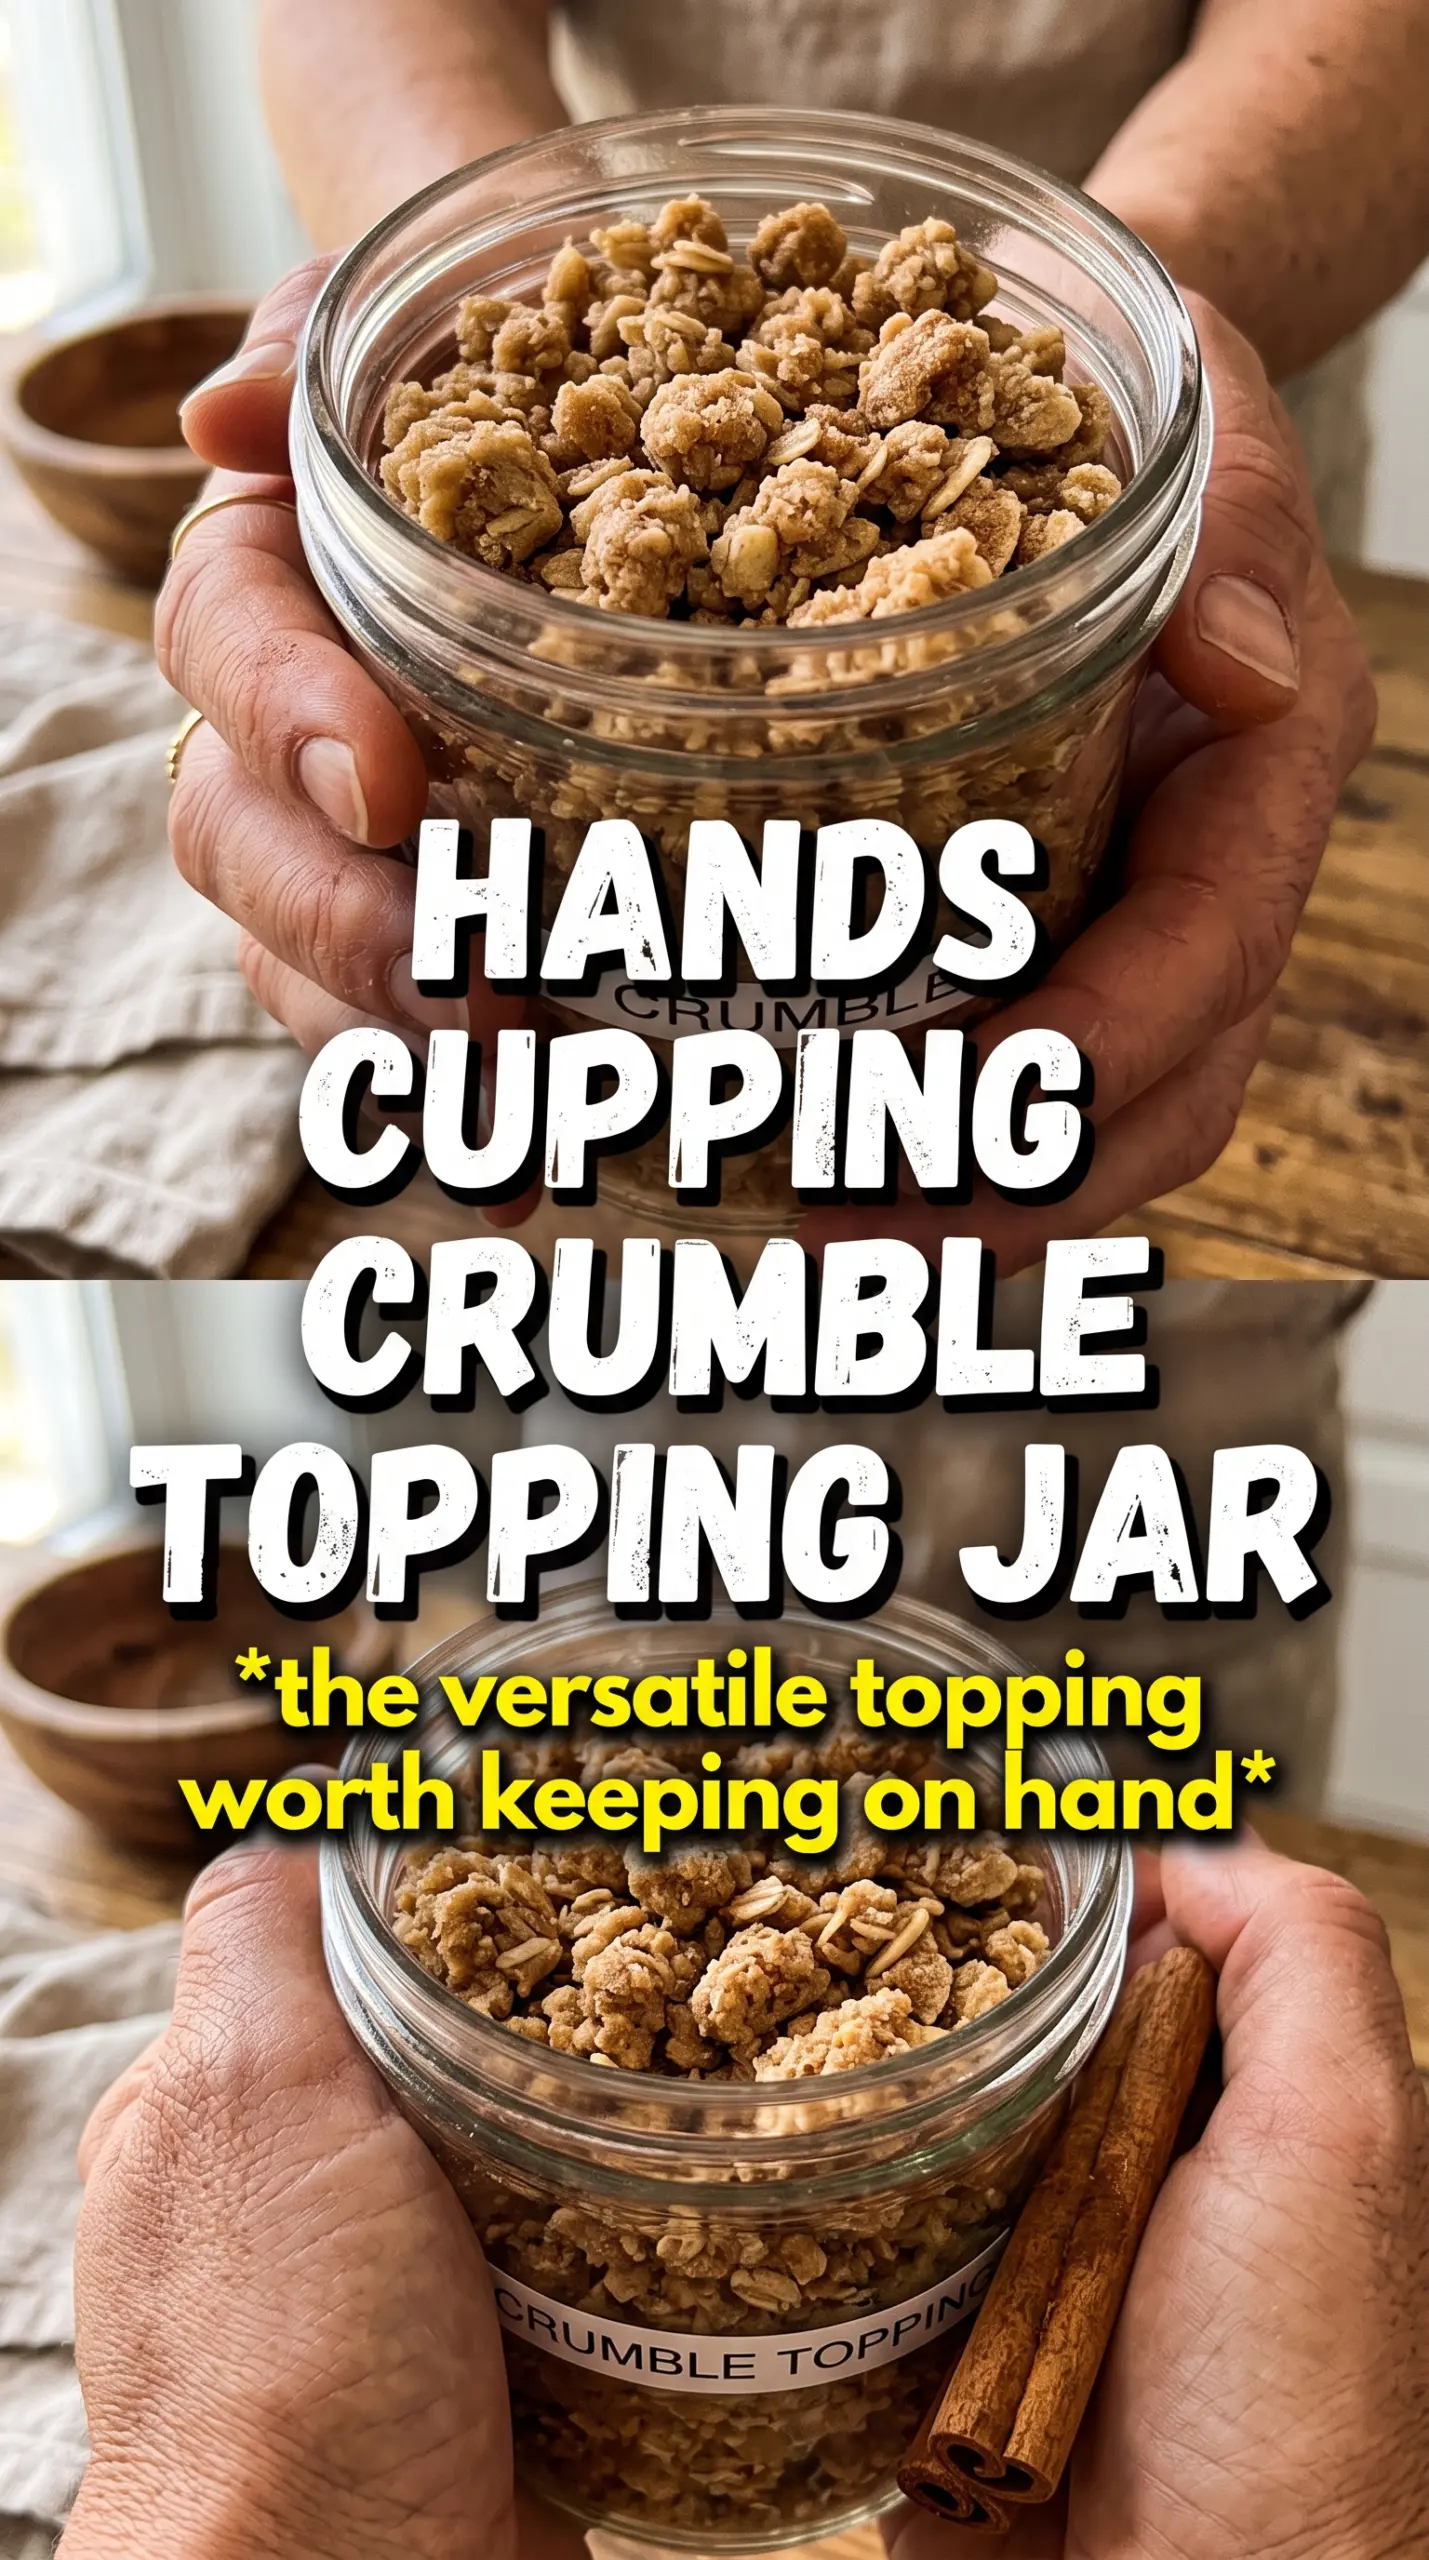
Salt is there to sharpen the sweetness, not make the topping taste salty. Cinnamon and nutmeg should stay in the background and round out the fruit filling underneath; if you want them more pronounced, add a little more cinnamon, not more nutmeg. Granulated sugar looks minor, but it helps encourage browning and adds a slightly lighter crunch alongside the richer brown sugar.
The optional nuts and coconut are worth using when you want more texture. Chopped pecans or walnuts add a toasted, earthy bite, while shredded coconut turns the topping a little more fragile and golden. If you use them, keep the pieces small so the topping still scatters evenly over the fruit.
Building the Crumble Without Turning It into Paste
Mix the Dry Ingredients First
Combine the oats, flour, brown sugar, granulated sugar, cinnamon, nutmeg, and salt until everything looks evenly distributed. This keeps the spices from clumping in one spot and helps the sugar coat the oats before the butter goes in. If you’re adding nuts or coconut, toss them in now so they’re mixed through instead of sitting on top of the finished crumble.
Work in the Butter Just Until Clumps Form
Add the cold cubed butter and press it into the dry mixture with your fingertips, two forks, or a pastry cutter. Stop when the mixture looks shaggy and you can squeeze it into clumps that hold together in your hand. If the butter starts to smear or the bowl feels greasy, the kitchen is too warm or you’ve worked it too long; chill the bowl for 10 minutes and continue briefly.
Use the Topping While It Still Has Texture
Scatter the topping over your prepared fruit filling in an even layer, but don’t press it down. A loose pile bakes up crisper because hot air can move through the gaps. If you’re baking later, stash the mixture in an airtight container, then break up any hard-packed pieces with your fingers before using so the topping still bakes as clumps instead of a slab.
How to Adapt This Topping for Different Fruit Desserts
Make it nutty and extra crunchy
Add up to 1/2 cup chopped pecans or walnuts for a toastier, crunchier topping. The nuts bring a deeper flavor and help the crumble hold bigger pieces, but they also make the texture a little less delicate, which is a good trade if you like a heartier crisp.
Add coconut for a sweeter, more caramelized finish
A small handful of shredded coconut adds extra browning and a slightly chewy edge. It works best when you want the topping to lean fragrant and golden, but it does make the crumble a touch more delicate, so don’t overload the mix.
Make it gluten-free
Use a cup-for-cup gluten-free flour blend and certified gluten-free oats. The topping will still clump and brown well, though the crumbs may be a little more delicate when you scoop the crisp.
Make it dairy-free
Swap in a firm plant-based butter block, not a soft tub spread. You still need that cold, cubed texture to form chunky clumps, and the firmer style behaves much more like dairy butter in the oven.
Storage and Reheating
- Refrigerator: Store the uncooked topping in an airtight container for up to 5 days. It may firm up in the fridge, so break up any large clumps before using.
- Freezer: Freeze for up to 3 months in a sealed freezer bag or container. Thaw just enough to scatter it, or use it straight from frozen if you’re topping fruit before baking.
- Reheating: If the finished crisp loses some crunch, warm it in a 350F oven instead of the microwave. Microwaves soften the topping fast; dry oven heat brings the crumble back without steaming the fruit.
Questions I Get Asked About This Recipe
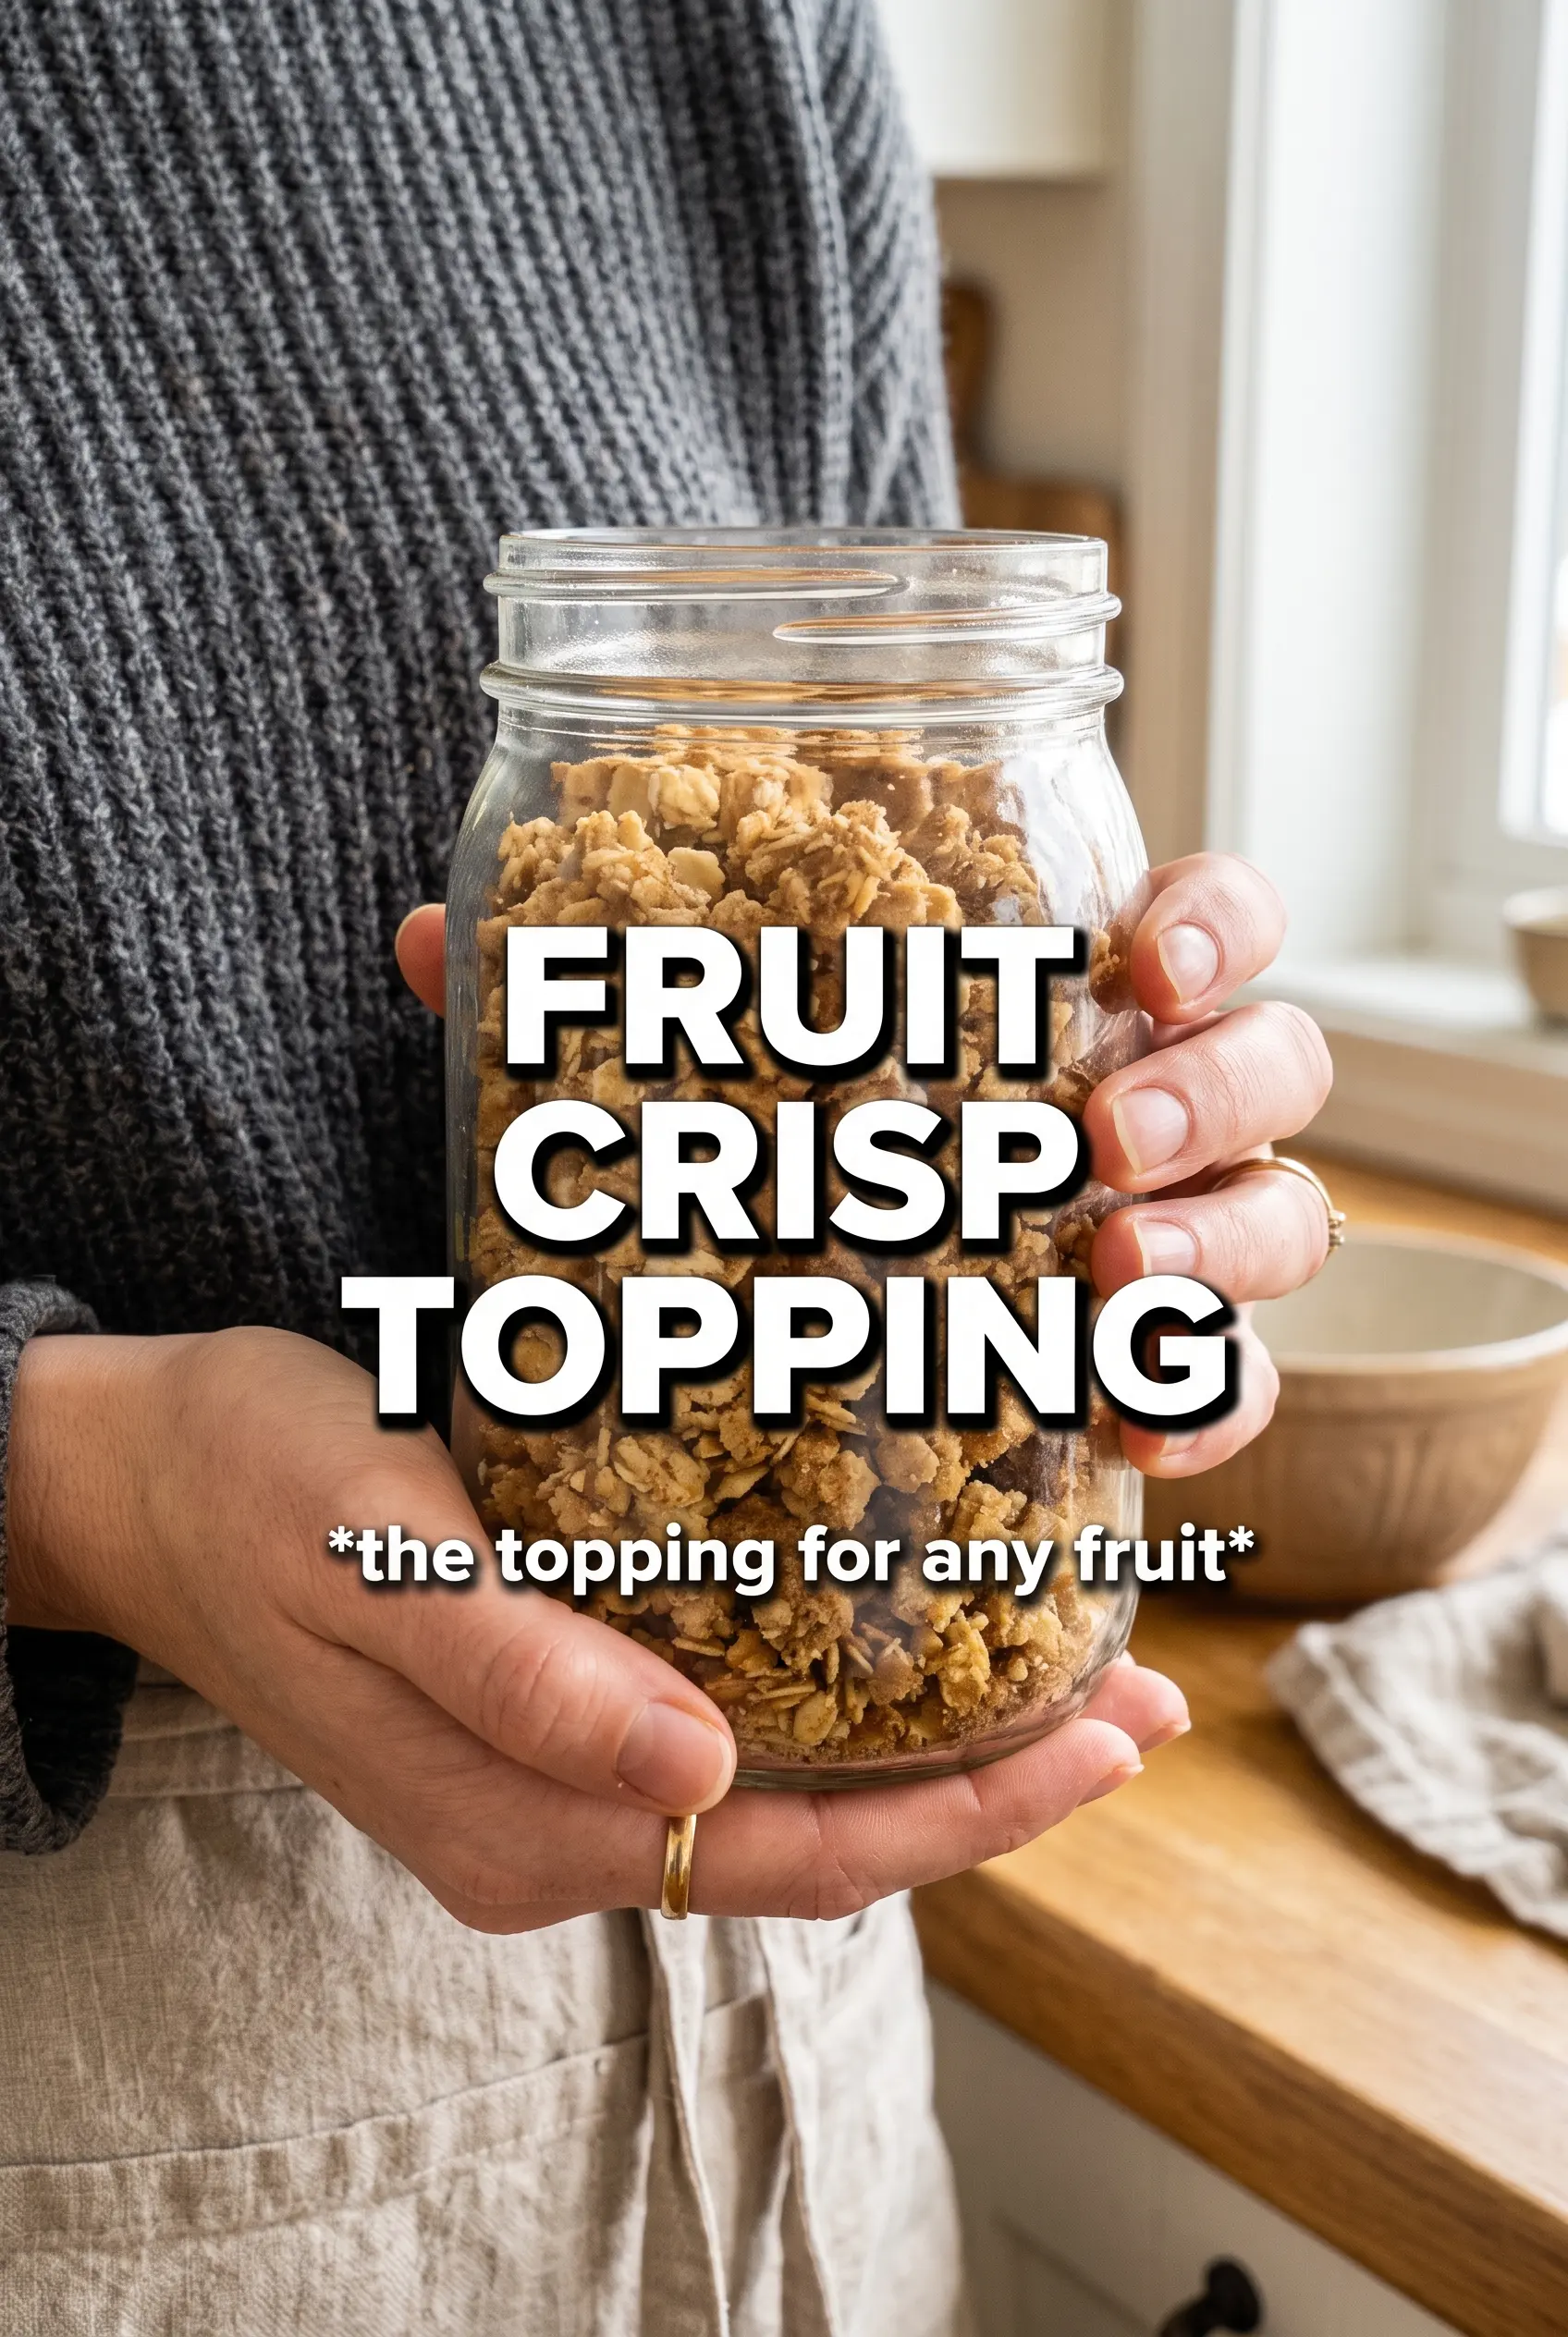
Fruit Crisp Topping
Ingredients
Method
- Combine rolled oats, all-purpose flour, brown sugar, granulated sugar, cinnamon, nutmeg, and salt in a large bowl.
- Add the optional chopped nuts and shredded coconut (if using) and toss to combine evenly.
- Add cold cubed unsalted butter and work it into the mixture with your fingertips, two forks, or a pastry cutter until large chunky clumps form, with some pea-sized butter pieces remaining.
- Use immediately over your prepared fruit filling by scattering the crumble evenly in an even layer.
- If you prefer to bake later, refrigerate the topping in an airtight container up to 5 days or freeze up to 3 months before using.
- Bake over any fruit filling at 375F for 35-45 minutes, until the topping is deeply golden.