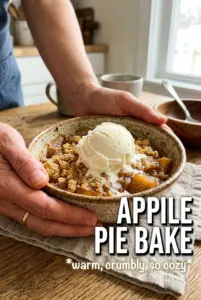
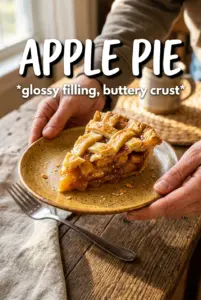
Apple dump cake comes out with a crisp, buttery top and a soft, bubbling apple layer underneath, and that contrast is exactly why it keeps showing up on my dessert table. It doesn’t try to be fancy. It just delivers warm apples, a golden crumble, and enough texture to make every spoonful feel like the best part.
The part that makes this version work is the butter placement. Thin slices laid all the way across the cake mix melt into the dry spots as it bakes, which keeps you from ending up with dusty pockets of powder on top. A little cinnamon and nutmeg in the filling gives the apples more depth, and the nuts, if you use them, add a toasted edge that plays nicely with the soft fruit.
Below, I’ve included the small details that keep the top crisp instead of patchy, plus a few easy swaps if you want to use spice cake mix or leave the nuts out.
The top baked up crisp all the way across, and the apple filling bubbled up around the edges just like you said. We had it warm with ice cream and there wasn’t a dry spot in the pan.
Save this apple dump cake for the nights when you want a crisp, buttery topping over warm spiced apples with almost no work.
Why the Butter Has to Cover Every Inch of the Cake Mix
Dump cake sounds forgiving, and it is, but it only works when the dry cake mix gets enough fat to bake into a real crust. If you leave bare patches, those spots stay powdery and sandy instead of turning into the crisp topping people expect. Thin butter slices give you more even coverage than big chunks because they melt across the surface faster and soak into the mix more consistently.
The other trap is stirring. Once the cake mix hits the apple filling, it needs to stay in a dry layer on top. Stirring drags the mix into the fruit and turns the whole dessert dense instead of giving you that cobbler-like top with soft apples underneath.
What Each Ingredient Is Actually Doing in This Pan
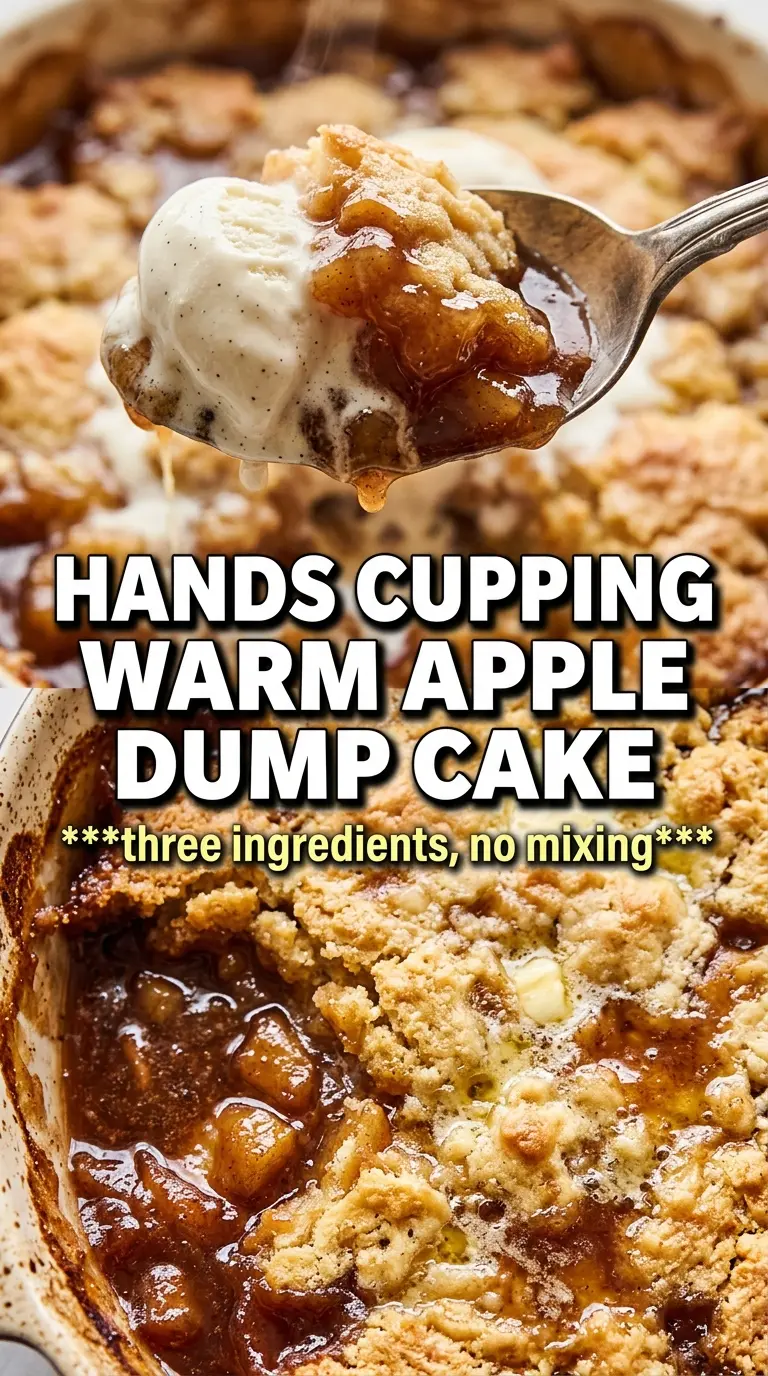
- Apple pie filling — This is the base and the shortcut that makes the dessert hold together. It brings enough sweetness and body to support the cake layer, and the canned filling is already cooked down, so you get soft apples without extra prep.
- Yellow or spice cake mix — Yellow cake mix gives a classic buttery crumb, while spice cake mix leans deeper and warmer. Either one works, but spice cake mix adds more cinnamon-style flavor without needing extra spices.
- Butter — This is what turns the dry mix into a crisp topping. Unsalted butter is best here because it lets you control the seasoning, and slicing it thin matters more than the brand you buy.
- Cinnamon and nutmeg — The filling already tastes like apples, but these two give it that bakery-style finish. Nutmeg disappears quickly if you use too much, so keep it light.
- Pecans or walnuts — Optional, but they add a toasted crunch that keeps each bite from feeling one-note. Chop them small enough to stay put on top instead of rolling off into the filling.
The 45 Minutes That Turn Powder and Apples into Dessert
Building the Apple Layer
Spread the apple filling evenly in a greased 9×13 dish and stir in the cinnamon and nutmeg right there in the pan. You want a level base so the cake mix bakes evenly on top, not a thick mound in the center and bare corners around the edges. If the filling is piled too high in one spot, the top browns before the middle heats through.
Covering the Surface with Dry Mix
Pour the dry cake mix over the apples and spread it into an even layer without pressing it down. The surface should look completely covered, like a blanket of dry crumbs. Any thick clumps will stay floury inside, so break them up with your fingers as you go.
Laying the Butter Across the Top
Arrange the sliced butter in a single layer over the entire surface, overlapping slightly if needed. The goal is to put fat over every dry spot so the heat can turn the mix into a crust. If you see patches of cake mix that don’t have butter on them, add more butter now because those are the spots that bake up chalky.
Baking Until the Edges Bubble
Bake until the top is deeply golden and the filling is bubbling around the edges, which usually takes 40 to 45 minutes. If the top is still pale, give it more time; if it’s browning too fast before the filling bubbles, tent it loosely with foil for the last stretch. Let it sit for a few minutes before serving so the filling settles instead of running all over the plate.
How to Change It Without Losing the Crisp Top
Use spice cake mix for a warmer finish
Spice cake mix gives the topping a stronger cinnamon-and-clove note, which works well with apple filling. You can skip the nutmeg or leave it in if you want the filling to taste a little deeper and more layered.
Make it nut-free
Leave off the pecans or walnuts and nothing else needs to change. The dessert still bakes up with plenty of texture from the buttery topping, and skipping the nuts keeps the top cleaner and easier to scoop.
Gluten-free version
Use a gluten-free yellow cake mix in the same amount and keep the rest of the method the same. The texture stays close to the original as long as the butter still covers the dry mix evenly, since that’s what creates the crust.
Storage and Reheating
- Refrigerator: Store covered for up to 4 days. The topping softens a bit, but the flavor holds up well.
- Freezer: It freezes well after baking. Cool completely, wrap tightly, and freeze in portions for up to 2 months.
- Reheating: Warm individual portions in the oven at 325F until heated through. The microwave works in a pinch, but it softens the crisp top fast, so the oven is the better choice when you want that texture back.
Answers to the Questions Worth Asking

Apple Dump Cake
Ingredients
Equipment
Method
- Preheat oven to 350°F and grease a 9x13 baking dish. Make sure the dish is fully coated so the crumble releases cleanly.
- Spread apple pie filling across the bottom of the dish, then stir in cinnamon and nutmeg. Aim for an even layer so the filling bubbles consistently.
- Dump the dry cake mix evenly over the apple filling and do not stir. Keep the surface level so the topping crisps uniformly.
- Arrange thin slices of unsalted butter in a single layer over the entire surface of the dry cake mix. Cover every inch to create deeply golden, crispy edges.
- Scatter chopped pecans over the top if using. Distribute them lightly for crunch throughout the cake.
- Bake at 350°F for 40-45 minutes until the top is deeply golden and crispy and the apple filling is bubbling around the edges. Look for vigorous bubbling at the perimeter as the visual cue.
- Serve warm with vanilla ice cream. Add it right before serving so the ice cream starts melting over the hot crumble.