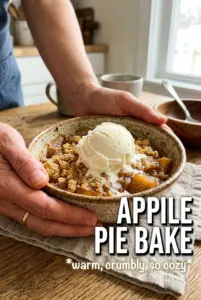
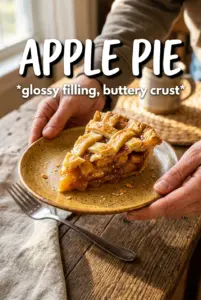
Apple pie earns its place in the rotation when the crust shatters lightly under the fork and the filling holds together in thick, cinnamon-spiced slices instead of running across the plate. The best versions taste like apples first, spice second, with enough butter and sugar to round everything out without turning the pie heavy. When it’s baked right, the top is deep golden, the edges are crisp, and the center has just enough structure to lift a clean wedge.
This version works because it uses a mix of tart and sweet apples, plus cornstarch to thicken the juices before they escape the pie. That short 15-minute rest isn’t busywork; it pulls moisture out of the fruit so you can drain off what would otherwise become a soupy filling. The oven starts hot for lift and browning, then drops so the apples can soften all the way through without burning the crust.
Below, I’ve laid out the parts that matter most: how to keep the bottom crust from going soft, why the apple mix matters, and what to do if you want to make the pie a little ahead. If you’ve ever pulled an apple pie that looked perfect but sliced badly, the details here will help.
The filling set up beautifully after the full cooling time, and the mix of Granny Smith and Honeycrisp kept the slices from turning mushy.
Save this apple pie for the days when you want a flaky double crust and a thick, cinnamon-spiced filling that slices cleanly.
The Trick to Apple Pie That Slices Cleanly Instead of Collapsing
The most common apple pie failure isn’t flavor. It’s structure. If the filling is loose when it goes into the crust, it will stay loose after baking, and the bottom shell usually pays for it. Letting the apples sit with the sugar and spices before baking pulls out some of that moisture, and draining the excess liquid keeps the filling thick enough to set without turning gummy.
The other piece people miss is the bake temperature change. That first blast at 425°F helps the crust set fast and gives you strong browning. Dropping to 375°F after 25 minutes lets the apples finish softening without scorching the top before the center is cooked through.
What Each Ingredient Is Doing in This Apple Pie
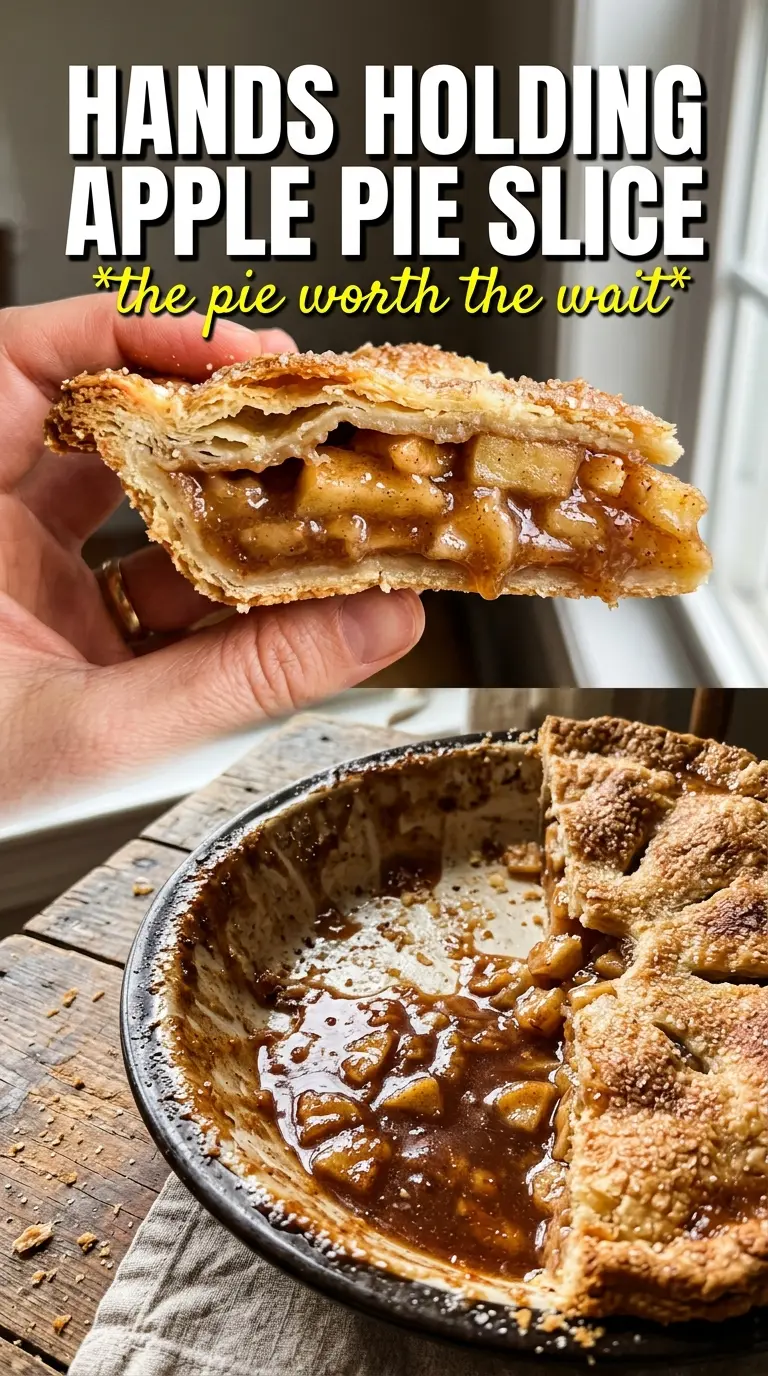
- Granny Smith and Honeycrisp apples — This mix gives you both tartness and sweetness, plus apples that hold their shape while still softening. All Granny Smith makes the pie sharply tart; all Honeycrisp can turn softer and sweeter than ideal. If you only have one kind, use a firm baking apple and expect the flavor to lean one-directional.
- Cornstarch — This is what turns the apple juices into a thick filling instead of a puddle. Flour can work in a pinch, but it makes the filling a little cloudier and less clean on the spoon. Toss it in evenly so it doesn’t clump at the bottom of the bowl.
- Brown sugar plus granulated sugar — The granulated sugar sweetens cleanly, while the brown sugar adds a deeper, almost caramel note that makes the filling taste more rounded. If you skip the brown sugar, the pie still works, but it tastes flatter.
- Lemon juice — It keeps the apples from tasting dull and helps the filling stay bright after baking. Don’t add much more than listed or you’ll push the filling toward tart instead of balanced.
- Butter — Those little cubes melt into the filling as it bakes and enrich the juices right where they matter. Cold butter isn’t the goal here; diced butter melts in pockets and gives the filling a fuller taste.
- Pie crusts — Homemade gives you the best flavor and flake, but refrigerated crust is absolutely fine if it’s well-chilled. What matters most is keeping the dough cold so the layers puff instead of melting into the pan.
Building the Filling So the Crust Stays Crisp
Tossing the Apples with the Dry Ingredients
Combine the sliced apples with both sugars, cinnamon, nutmeg, allspice, cornstarch, and lemon juice until every piece looks lightly coated. The apples should start to glisten as the sugar draws out moisture. If you see dry pockets of cornstarch, keep tossing; those spots bake up chalky and uneven.
Letting the Fruit Release Its Juice
Give the bowl 15 minutes on the counter. You’ll see liquid collect at the bottom, and that’s exactly what you want before the filling goes into the shell. Drain off the extra liquid instead of pouring it into the pie, or the bottom crust will struggle to stay crisp.
Crimping, Vents, and the Final Bake
Mound the apples in the crust higher in the center than at the edges, since they settle as they bake. Dot with butter, add the top crust, and cut vents that are large enough for steam to escape. Brush with egg wash and scatter the cinnamon sugar evenly over the top, then bake until the crust is deep golden and the filling bubbles through the vents. Those bubbles are the sign the cornstarch has fully thickened.
How to Adapt This Pie for Different Kitchens and Different Cravings
Use a Store-Bought Crust Without Losing the Good Part
Refrigerated pie crust works well here as long as it stays cold. The filling does most of the heavy lifting, so the main job is to keep the crust from getting warm and stretchy before it hits the oven. If the dough softens while you’re filling the pie, chill the whole pie for 15 minutes before baking.
Make It Gluten-Free
Use a gluten-free pie crust that bakes well enough to hold its shape, and keep the filling as written. Cornstarch is already the thickener here, so you don’t need to change the apple mixture. The only thing to watch is the crust texture; gluten-free dough often browns faster, so check the edges a little early.
Adjust the Spice Direction
If you want a warmer pie, add a pinch more cinnamon and a little extra allspice. If you want the apples to stay front and center, pull the nutmeg back slightly. The filling should taste balanced in the bowl, since the spice reads a touch softer once the pie is baked.
Storage and Reheating
- Refrigerator: Keep covered for up to 4 days. The crust softens a little, but the filling stays in good shape.
- Freezer: Bake first, cool completely, then wrap tightly and freeze for up to 2 months. Thaw in the fridge before reheating so the crust doesn’t turn soggy from trapped condensation.
- Reheating: Warm slices in a 325°F oven until the center is heated through and the crust crisps back up. The microwave works in a pinch, but it softens the pastry fast and turns the bottom leathery.
Answers to the Questions Worth Asking
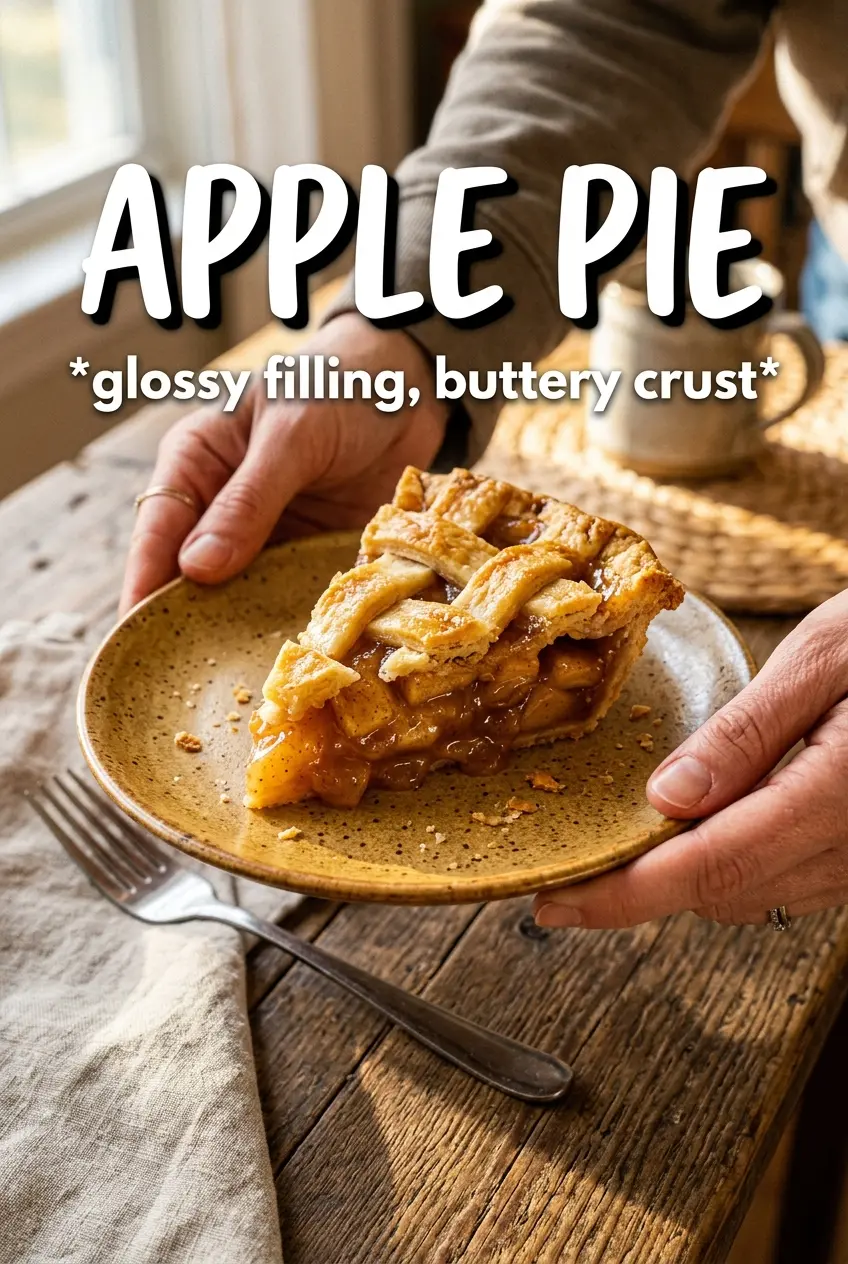
Apple Pie
Ingredients
Equipment
Method
- Preheat the oven to 425°F, fit one crust into a 9-inch pie dish, and set aside while you prepare the fruit filling.
- Toss sliced apples with granulated sugar, brown sugar, cinnamon, nutmeg, allspice, cornstarch, and lemon juice, then let the mixture sit for 15 minutes.
- Drain any excess liquid, then pile the apple filling into the crust and mound it in the center.
- Dot the filling with diced unsalted butter, then top with the second crust, crimp the edges, and cut steam vents.
- Brush the top crust with the egg wash and sprinkle with cinnamon sugar.
- Bake at 425°F for 25 minutes, then reduce the oven to 375°F and bake 30 to 35 more minutes until the crust is deep golden and the filling bubbles.
- Cool the pie at least 2 hours before slicing so the filling sets cleanly.