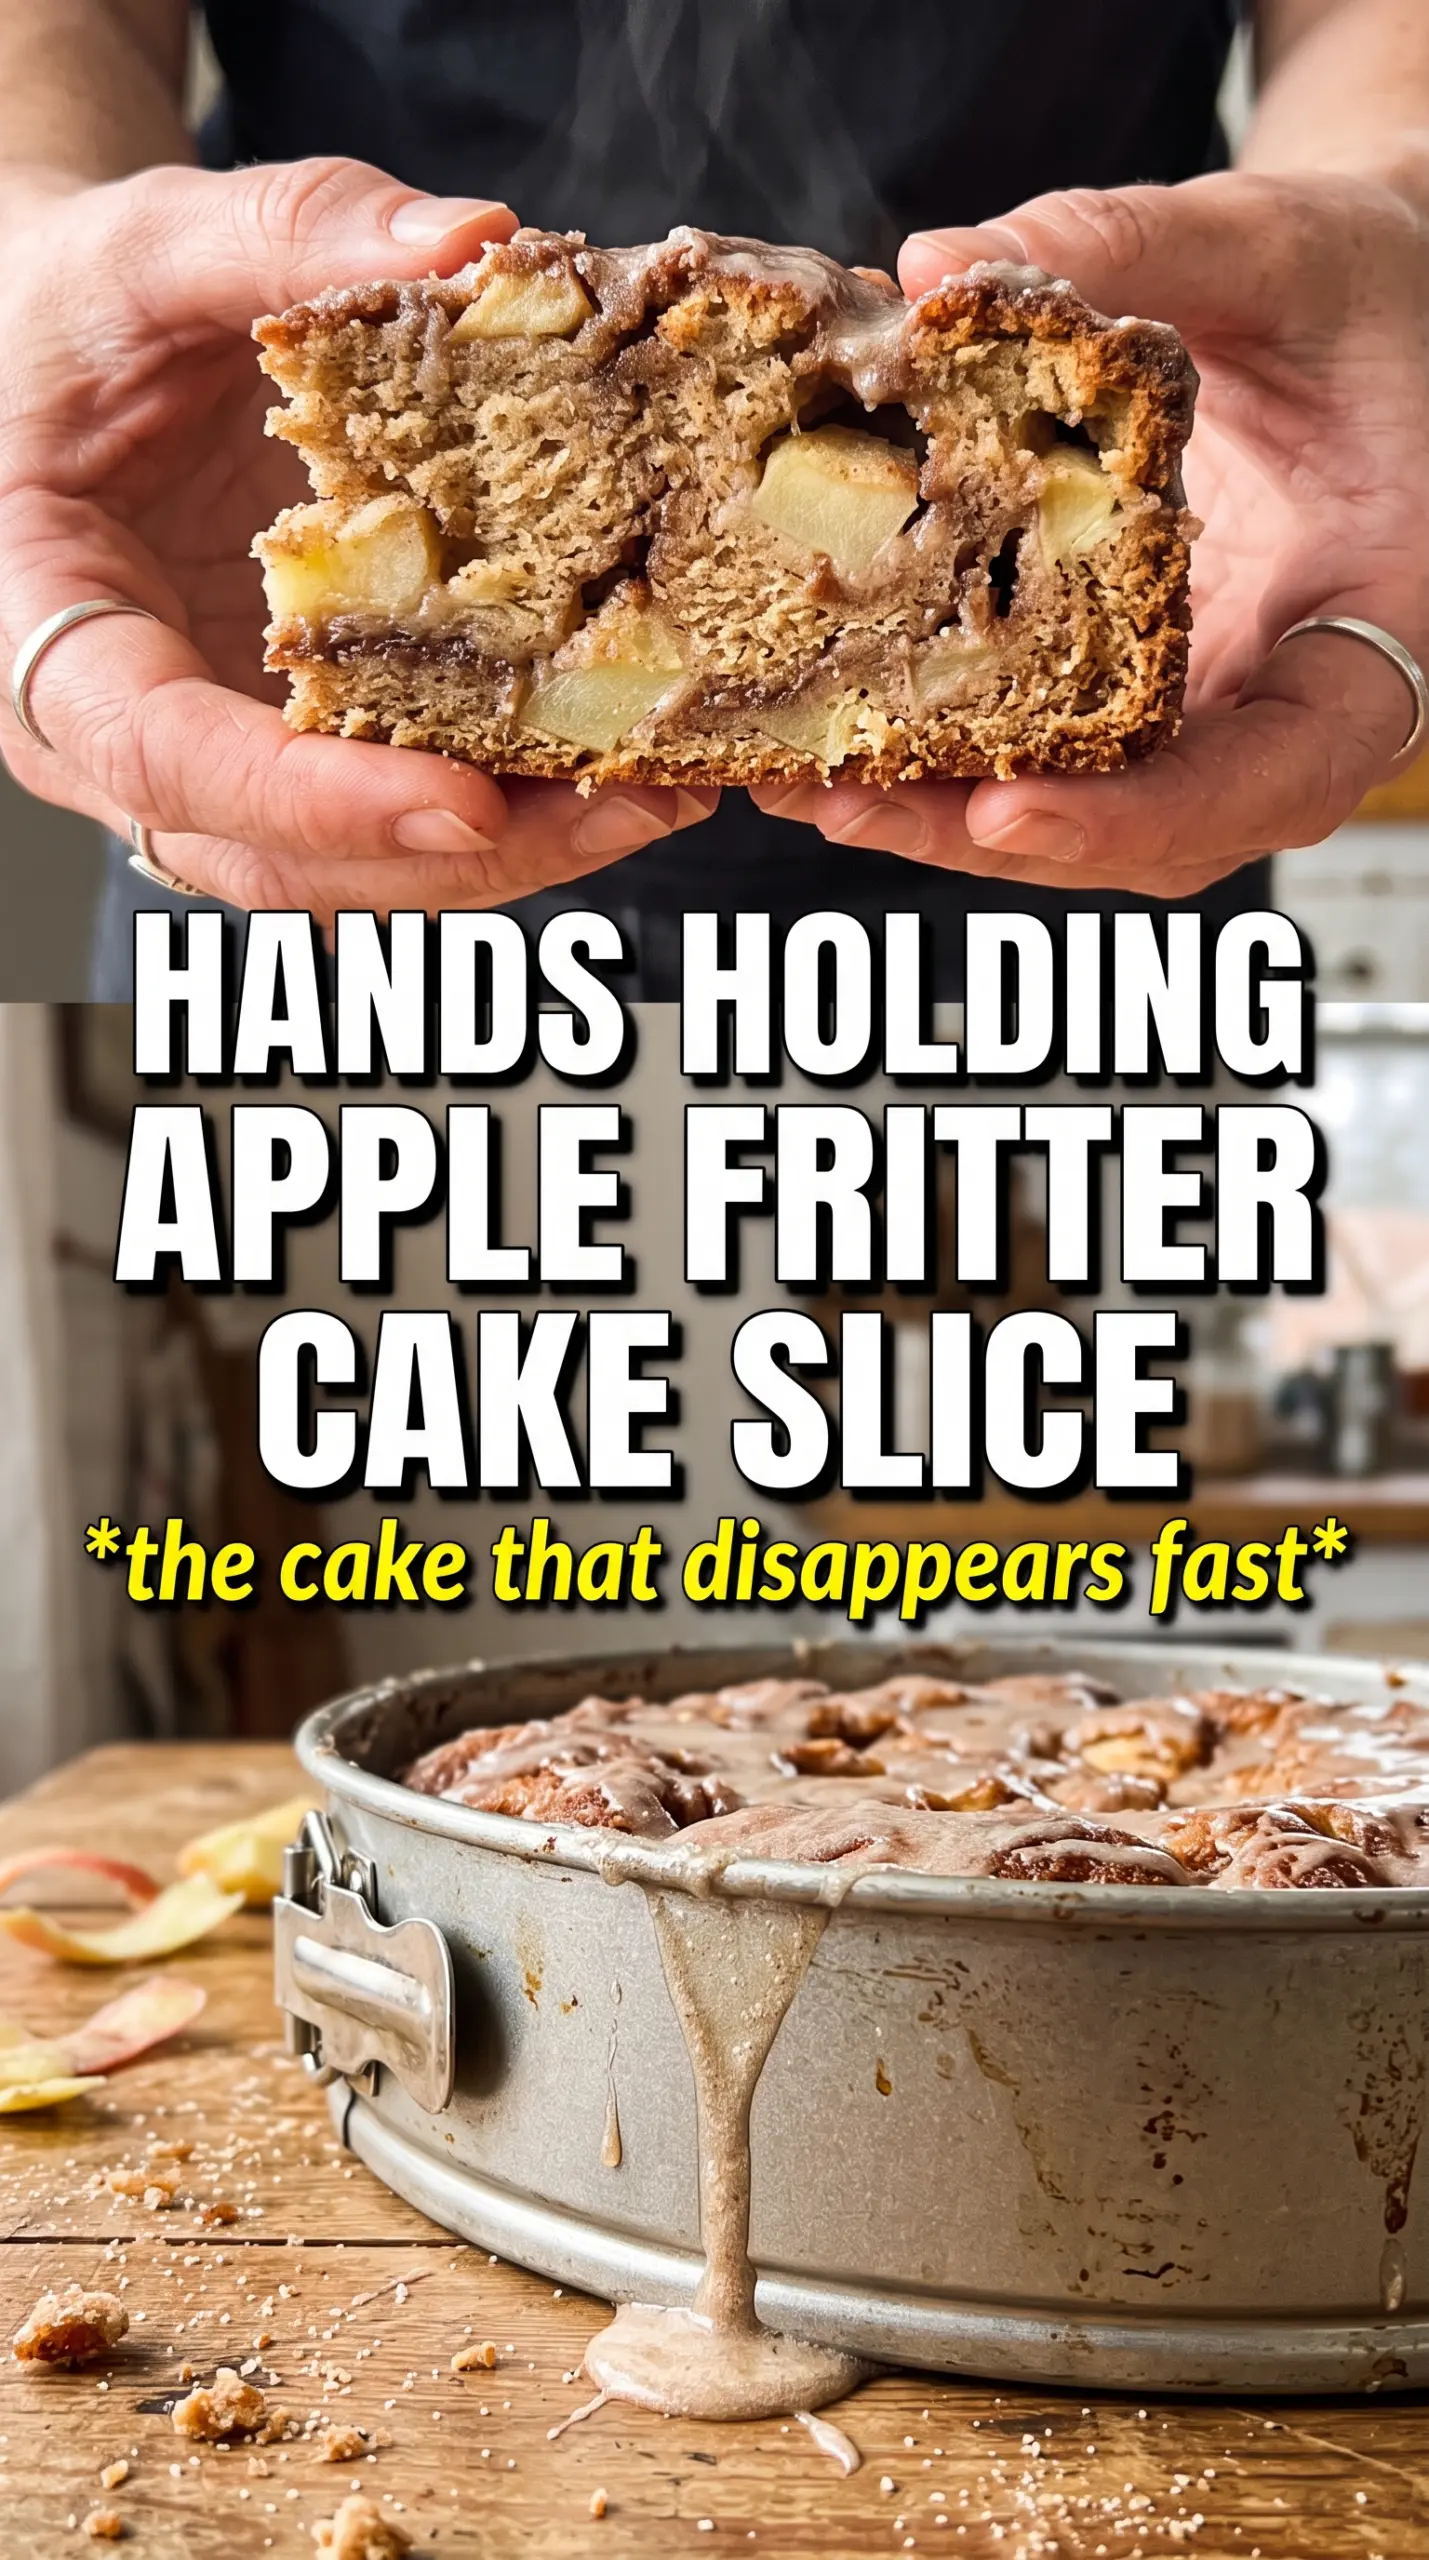
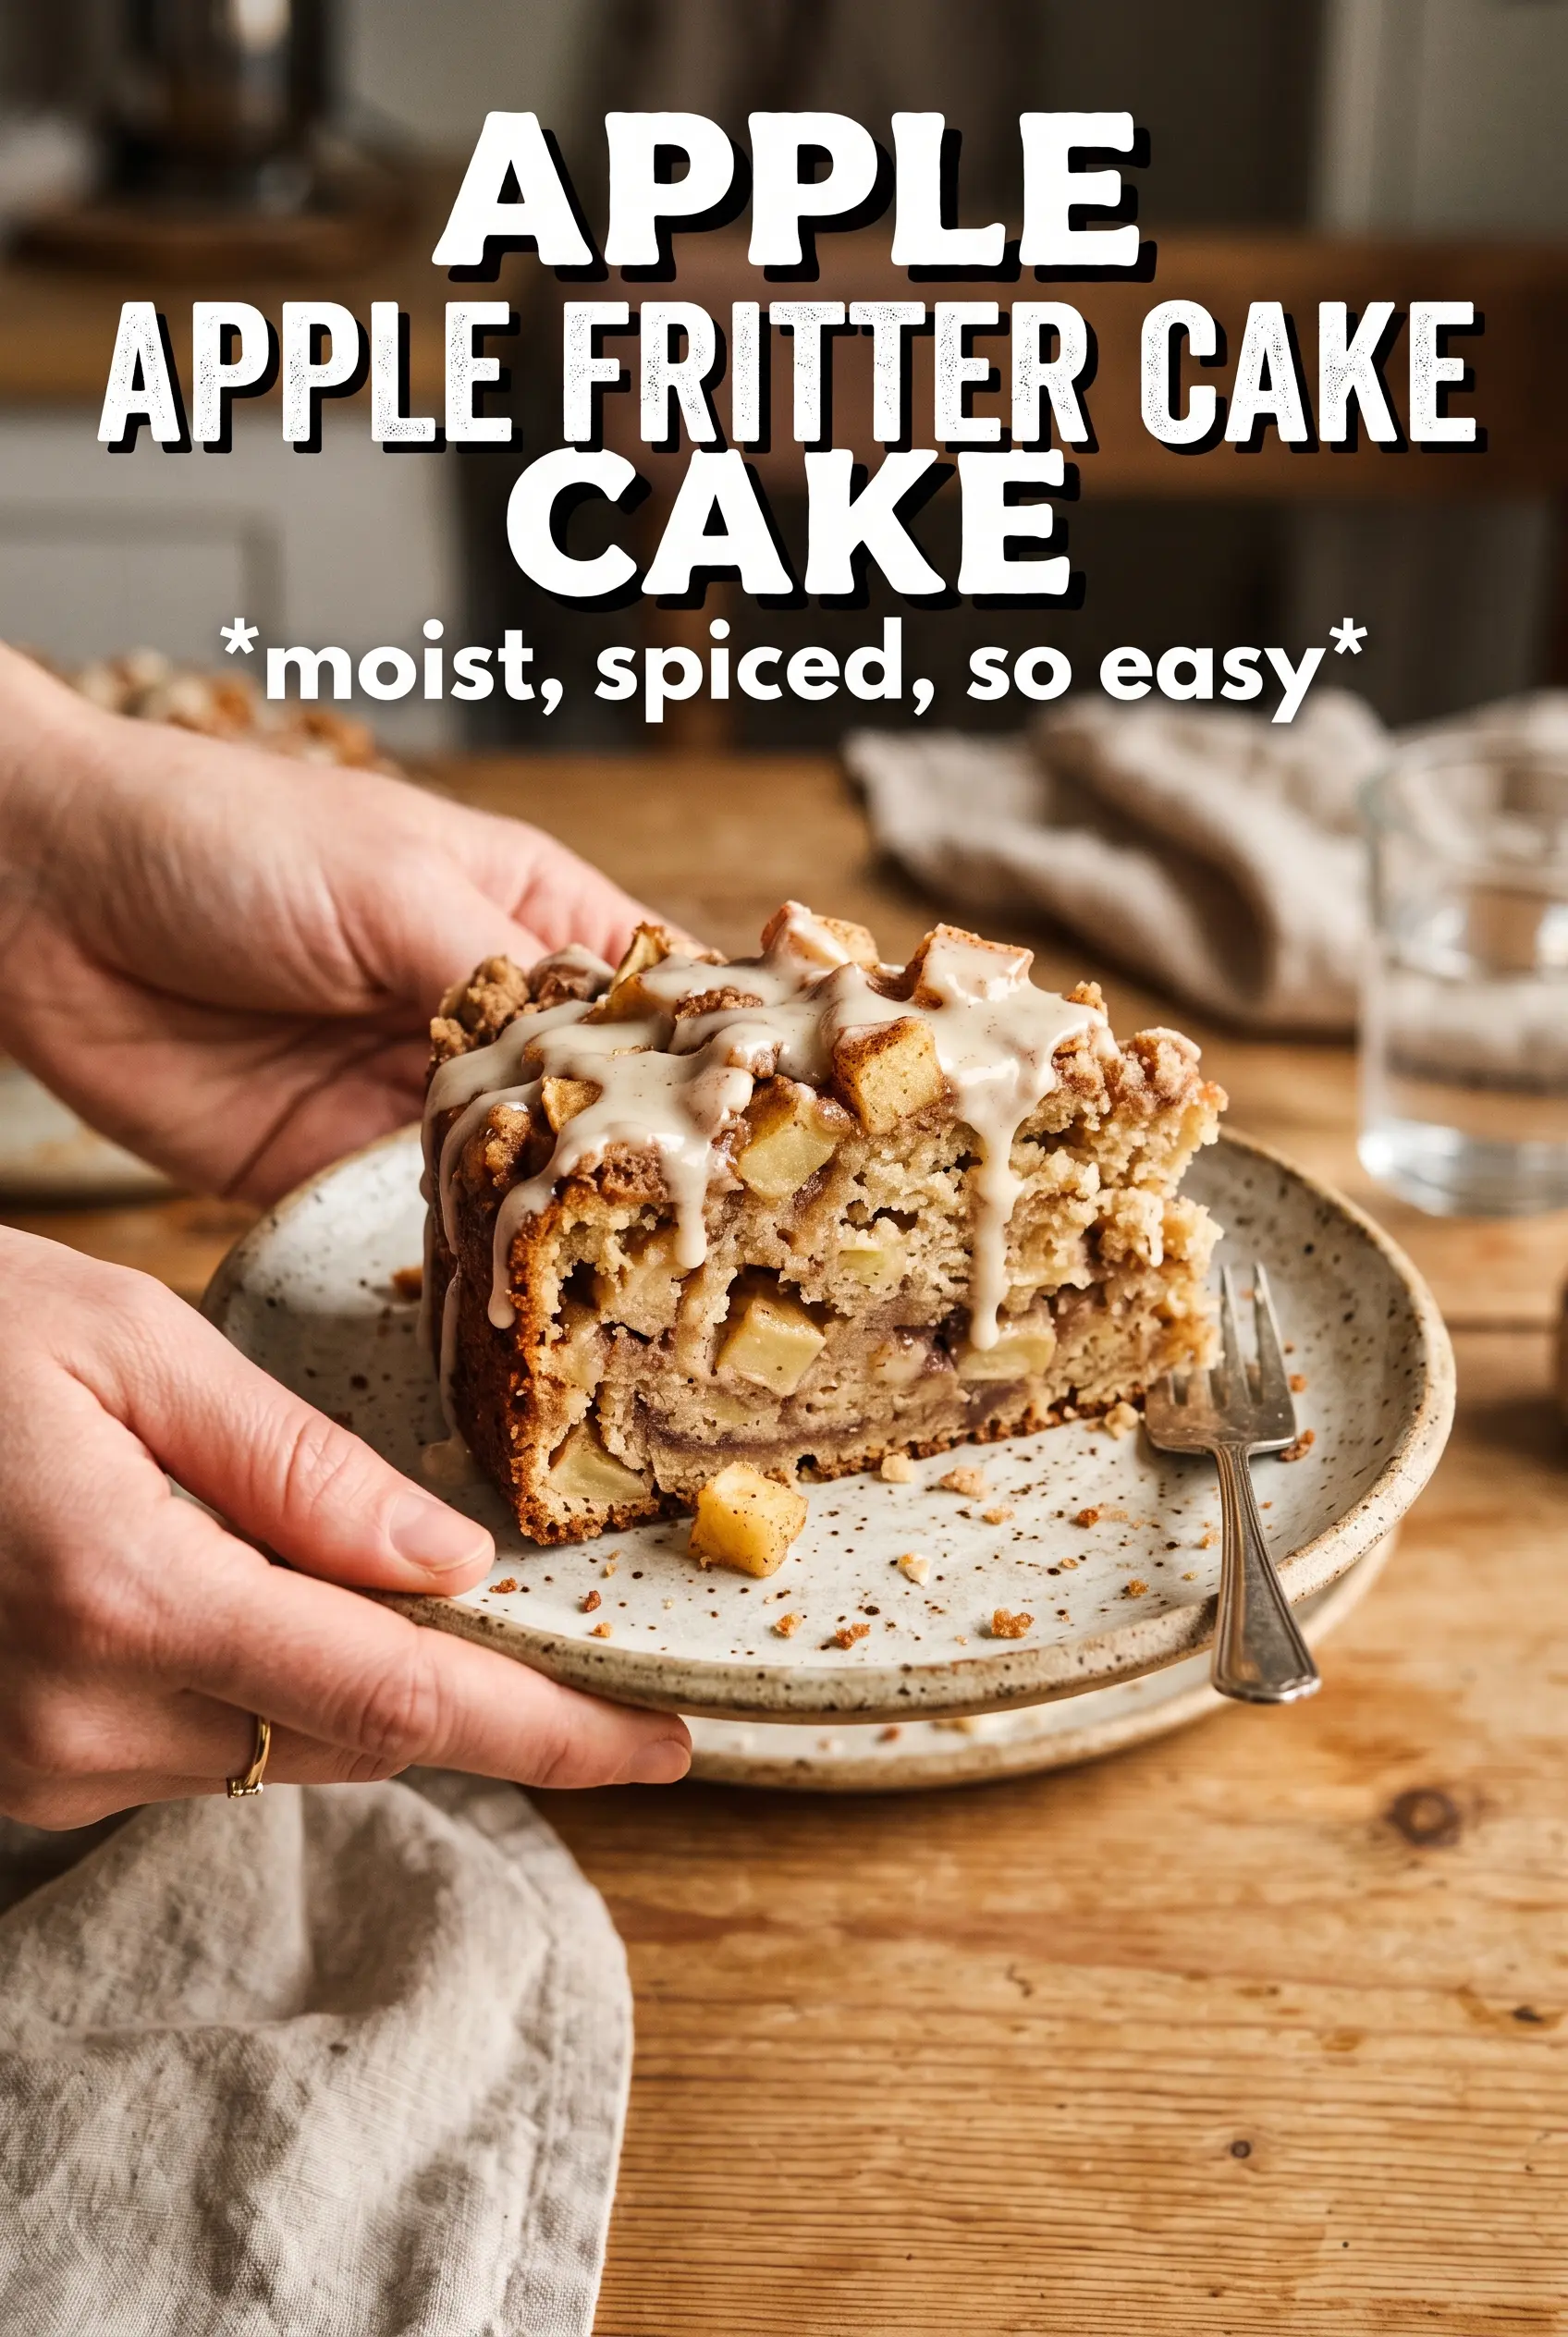
Apple fritter cake bakes up with a tender crumb, pockets of cinnamon-sugar apples, and a glazed top that sets into the kind of crackly sweetness you expect from a bakery fritter. It has all the cozy apple-cinnamon payoff of the classic treat, but without standing over hot oil or dealing with a messy batch-frying project. The cake stays soft underneath while the apples soften just enough to turn jammy at the edges.
The texture works because the batter is built like a simple butter cake, then layered with spiced apples instead of folded all the way through. That keeps the fruit in distinct pockets, so you get little bursts of brown sugar and cinnamon instead of apples disappearing into the crumb. The glaze goes on after a short cooling period, which matters more than it sounds like it does; pour it too soon and it melts away, wait too long and it won’t cling the same way.
Below, I’m walking through the part that makes the cake bake evenly, the ingredient choices that matter most, and the small timing details that keep the apples from sinking or the glaze from sliding off.
I was worried the apples would sink, but layering them between the batter worked perfectly. The center baked up moist, the top stayed golden, and the glaze set just enough after 15 minutes to look bakery-style.
Love the cinnamon apple layers and glazed bakery-style finish? Save this Apple Fritter Cake for the next time you want dessert that slices cleanly and tastes like a fritter in cake form.
The Layering Trick That Keeps the Apples From Sinking
The biggest problem with apple cake is usually simple: the fruit either drops straight to the bottom or the batter gets overworked while you try to keep it suspended. This cake avoids that by dividing the apples and the batter into layers. Half the batter goes in first, which gives the apples something to rest on instead of falling through a loose, empty pan.
Keeping the apples tossed with brown sugar, cinnamon, and nutmeg also helps. The sugar starts pulling out a little moisture, which softens the pieces just enough in the oven and keeps the filling from tasting flat. If your apple layer seems wet after sitting, that’s normal; it’s the syrupy juices that help create those caramelized pockets on top of the finished cake.
- Apples — Use a firm baking apple like Granny Smith, Honeycrisp, or a mix. Softer apples turn mushy and disappear into the crumb.
- Brown sugar — This does more than sweeten. It melts into the fruit and helps build the sticky, cinnamon-cake texture that makes the finished dessert feel like an apple fritter.
- Cinnamon and nutmeg — Cinnamon does most of the work, but the nutmeg gives the filling a warmer edge. Don’t skip it unless you have to.
- Butter — Softened butter matters here because it traps air when beaten with sugar. Melted butter won’t give you the same light, tender crumb.
What Each Ingredient Is Actually Doing in This Cake
- All-purpose flour — This gives the cake enough structure to hold the apple layers without becoming heavy. Cake flour makes it a little too soft for this specific bake.
- Baking powder — It lifts the batter so the finished cake stays tender instead of dense under the fruit.
- Whole milk — The extra fat helps keep the crumb soft. Lower-fat milk works, but the texture won’t be as rich.
- Vanilla — There’s enough cinnamon here that vanilla could get lost, but it rounds out the apple filling and glaze in a way plain sugar can’t.
- Powdered sugar glaze — This is the finishing layer that ties the whole cake together. Use just enough milk to make it drizzly; if it’s too thin, it disappears into the top instead of staying glossy.
Building the Batter and Baking It Until the Center Sets
Whipping the Butter and Sugar
Beat the softened butter and granulated sugar until the mixture looks pale and fluffy. That step builds air into the batter, which helps the cake rise without turning tight. If the butter is too cold, it’ll stay lumpy; if it’s melted, the cake bakes up dense and greasy.
Alternating the Dry Ingredients and Milk
Add the flour mixture and milk in turns, beginning and ending with the dry ingredients. This keeps the batter smooth and prevents it from breaking or curdling. Stop mixing as soon as the flour disappears, because overmixing at this stage makes the cake tough.
Layering the Apples for Even Baking
Spread half the batter into the pan first, then scatter half the apple mixture over it. Add the remaining batter carefully and finish with the rest of the apples on top. The top layer is what gives you those caramelized, slightly sticky apple bits, while the hidden layer keeps the middle moist and fragrant.
Knowing When It’s Done
Bake until the top is deep golden and a toothpick comes out clean or with just a few moist crumbs. If the center still looks wet, give it a few more minutes; the apple juices need time to bubble into the batter and settle. Let it cool for 15 minutes before glazing so the sugar sits on the cake instead of melting away.
How to Adapt This for Different Pans, Apples, and Diets
Use a mix of tart and sweet apples
A blend of Granny Smith and Honeycrisp gives the best balance. Tart apples keep the cake from tasting one-note, while sweeter apples soften into little jammy pockets.
Make it dairy-free
Use a plant-based butter that bakes well and swap in an unsweetened non-dairy milk. The cake will still rise and stay tender, though the flavor is a little less rich and the glaze may need an extra teaspoon of liquid.
Turn it into muffins or a smaller pan bake
This batter works in muffin tins, but the apple layer should be tucked into the center instead of piled on top. For a smaller pan, watch the bake time closely because the edges set faster and the fruit can brown before the center finishes.
Storage and Reheating
- Refrigerator: Store covered for up to 4 days. The crumb tightens a little, but the flavor stays good.
- Freezer: Freeze slices tightly wrapped without glaze for up to 2 months. Thaw in the fridge and glaze after warming for the cleanest finish.
- Reheating: Warm individual pieces in the microwave for 15 to 20 seconds or in a low oven. Heat just until the cake loosens again; overheating dries out the edges and makes the glaze sticky.
Answers to the Questions Worth Asking
Apple Fritter Cake
Ingredients
Equipment
Method
- Preheat oven to 350F and grease a 9x13 baking dish so the cake releases easily.
- Toss diced apples with brown sugar, cinnamon, and nutmeg, then set aside while you mix the batter.
- Beat softened unsalted butter and granulated sugar until fluffy, then add eggs and vanilla extract and mix until smooth.
- Whisk all-purpose flour, baking powder, and salt, then alternate adding the dry mix and whole milk to the butter mixture until just combined.
- Spread half the batter in the prepared pan, then scatter half the cinnamon apple mixture over the top.
- Add remaining batter and top with remaining apples, then swirl with a knife to create a cinnamon-swirled look.
- Bake for 40-45 minutes at 350F until the cake is golden and a toothpick comes out clean.
- Cool the cake for 15 minutes so the glaze sits on top instead of soaking in.
- Whisk powdered sugar with 2-3 tablespoons milk and vanilla extract until thick, then drizzle over the cake in irregular stripes.