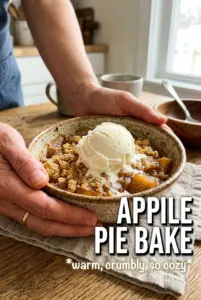
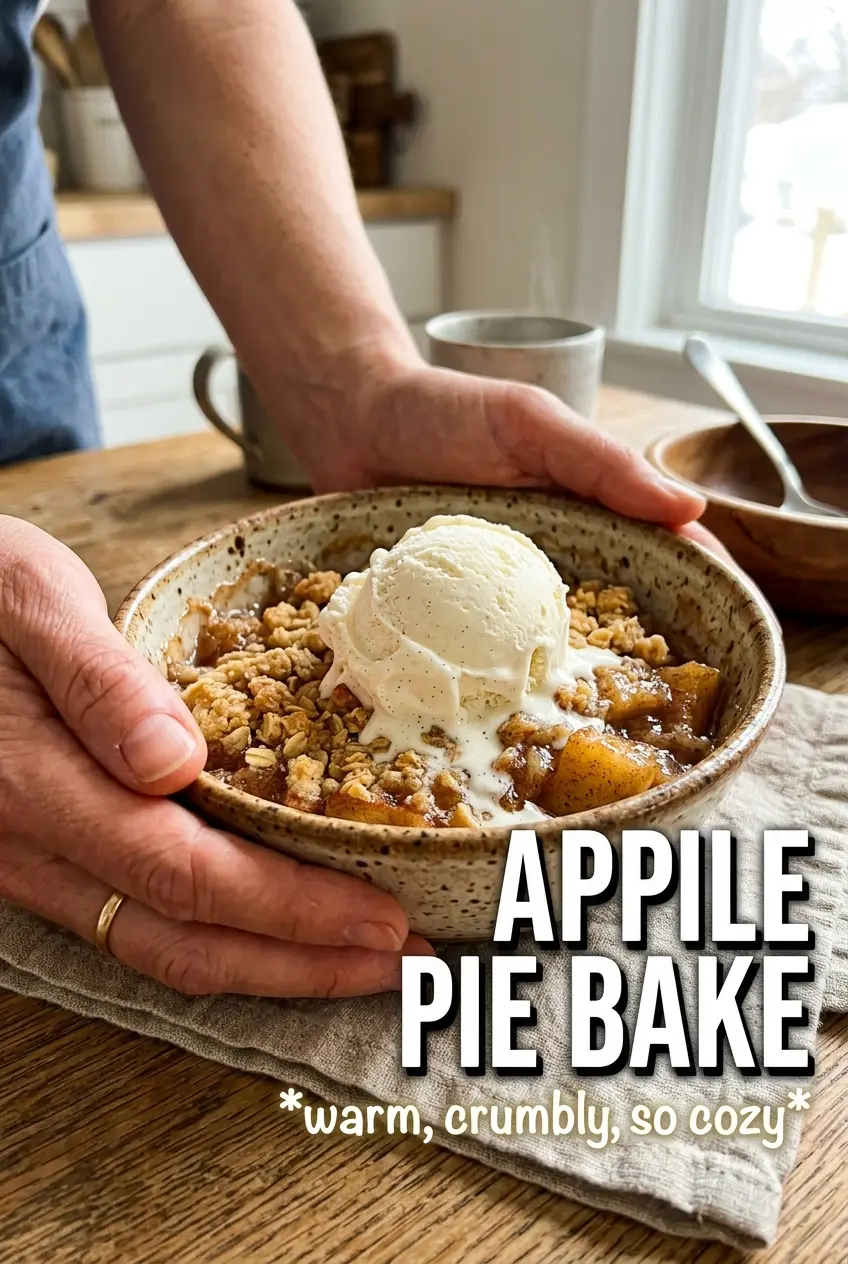
Apple Pie Bake comes out with everything people love about apple pie, minus the fuss of rolling and crimping. The apples turn soft and spiced, the topping bakes into a buttery crumble with little crisp edges, and the whole dish settles into that spoonable dessert zone that works just as well for a weeknight as it does for company. It tastes familiar in the best way, with enough texture on top to keep every bite interesting.
The key is giving the apples enough cornstarch and a short rest after baking. That keeps the filling thick instead of watery, which is where a lot of baked fruit desserts go wrong. Cold butter in the topping matters too. If it melts in too early, you get a sandy layer instead of those clumps that bake up crisp and golden.
Below, I’ve included the little things that make this bake work every time, from the apple choice to the resting time. If you’ve ever had a fruit dessert that turned soupy at the bottom, this version fixes that.
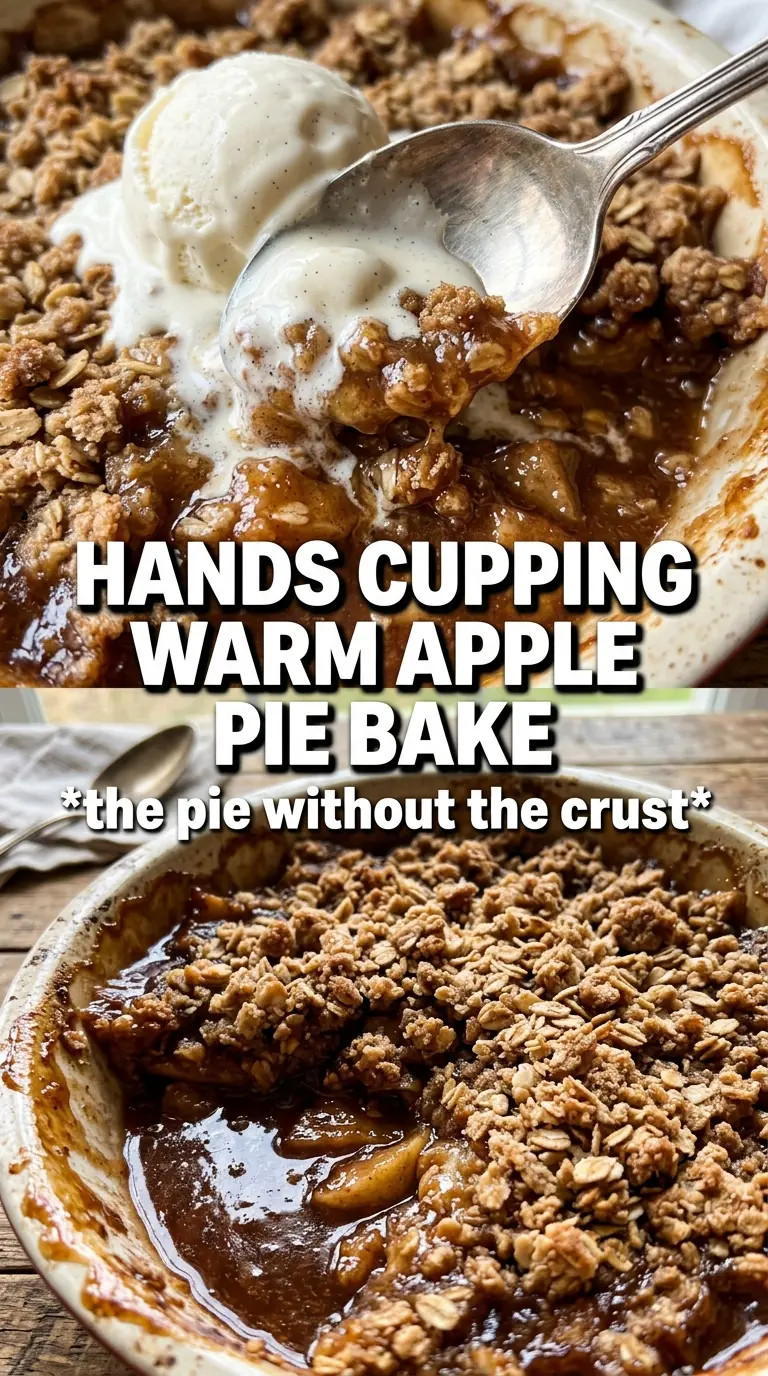
The filling set up beautifully after the 15-minute rest, and the topping stayed crisp even under the ice cream. I liked that the apples were tender without turning to mush.
Save this Apple Pie Bake for the nights when you want spiced apples, a buttery crumble top, and no pie crust to roll out.
The Trick to a Pie Filling That Bakes Up Thick Instead of Watery
Fruit desserts fail in one of two ways: the fruit stays too firm, or the juices run everywhere and loosen the whole dish. This bake avoids both by combining cornstarch with sugar before the apples go into the pan. The sugar pulls moisture from the fruit, and the starch thickens that juice as it bakes, so the filling turns glossy and spoonable instead of soupy.
The rest time after baking matters just as much as the ingredients. Straight from the oven, the filling is still moving. Give it 15 minutes and it settles into the thick, saucy texture you want when you scoop it. If you cut in too early, the juices will race to the bottom of the dish.
Why These Ingredients Give You Apple Pie Flavor Without the Crust
- Apples — Use a firm baking apple if you can. Granny Smith, Honeycrisp, or a mix of both all hold their shape better than soft eating apples. Softer apples turn mushy before the topping finishes browning.
- Cornstarch — This is what thickens the juices from the apples. Flour won’t give the same clean, glossy finish, and you’ll usually end up with a heavier filling.
- Brown sugar in the topping — It adds a deeper caramel note and helps the crumble bake into clumps instead of a dry sandy layer. Light or dark brown sugar both work; dark brown sugar gives a stronger molasses taste.
- Cold butter — Keep it cold and cube it small. That’s what creates the crumbly texture as the topping bakes. If the butter softens too much before baking, the topping turns pasty instead of crisp.
- Rolled oats — They add chew and structure. Quick oats can work in a pinch, but the topping will be a little tighter and less rustic.
Building the Layers So the Topping Stays Crisp and the Apples Cook Through
Coating the Apples Evenly
Toss the sliced apples with sugar, cinnamon, nutmeg, cornstarch, and lemon juice until every slice looks lightly coated. You want the starch to cling to the fruit, not sink to the bottom of the bowl. If the apples look dry in spots, the juices won’t thicken evenly in the oven. Spread them in the baking dish in an even layer so the center doesn’t stay undercooked while the edges overbake.
Cutting in the Butter
Mix the flour, oats, brown sugar, cinnamon, and salt first, then work in the cold butter until the mixture looks like clumps of damp crumbs. Stop before it turns into a paste. Those uneven bits of butter are what melt into a crisp topping with texture, while a fully blended mixture bakes up flat. If your kitchen is warm, pop the bowl in the fridge for a few minutes before topping the apples.
Baking Until the Filling Bubbles
Spread the crumble over the apples and bake until the top is deep golden and the filling is bubbling around the edges. The bubbling matters more than the clock. That bubbling means the starch has activated and thickened the fruit juices. If the top browns before the filling bubbles, lay a loose piece of foil over the dish and keep baking until the fruit is fully cooked.
How to Change This Apple Pie Bake Without Losing the Good Parts
Make it gluten-free
Swap the all-purpose flour for a cup-for-cup gluten-free baking blend and use certified gluten-free oats. The texture stays close to the original, though the crumble may bake a little more fragile. Let it cool fully so the topping sets before serving.
Add a sharper apple flavor
Use half Granny Smith and half a sweeter apple. The tart apples keep the filling bright and prevent the dessert from tasting one-note. This is the best move if your apples are very sweet to begin with.
Make it dairy-free
Use a plant-based butter that’s designed for baking. Choose one that stays firm when cold, not a soft spread from a tub, or the topping will lose its crumbly texture. The flavor is a little less rich, but the structure still works.
Storage and Reheating
- Refrigerator: Store covered for up to 4 days. The topping softens a bit in the fridge, but the filling stays good.
- Freezer: Freeze baked and cooled portions tightly wrapped for up to 2 months. Thaw overnight in the refrigerator for the best texture.
- Reheating: Warm in a 300°F oven until heated through. The oven brings the topping back to life better than the microwave, which tends to make it soggy.
Answers to the Questions Worth Asking
Apple Pie Bake
Ingredients
Equipment
Method
- Preheat oven to 375F, then grease a 9x13 baking dish. Leave the oven fully preheated so the crumble starts browning as soon as it goes in.
- Toss apples with granulated sugar, cinnamon, nutmeg, cornstarch, and lemon juice, then spread them in the prepared dish. Make sure the apples are evenly coated and distributed for consistent bubbling.
- Combine all-purpose flour, rolled oats, brown sugar, cinnamon, and salt in a bowl. Mix until evenly combined with no streaks of sugar or spices.
- Cut in cold unsalted butter until crumbly. Stop when the mixture looks like coarse crumbs with small butter pieces.
- Scatter the crumb topping evenly over the apple filling. Cover the surface in an even layer so the top turns golden in every bite.
- Bake for 35-40 minutes at 375F until the top is golden and the filling is bubbling. Look for active bubbling around the edges and a crisp, browned crumble on top.
- Rest for 15 minutes before serving. The filling will thicken as it cools slightly.
- Serve warm with vanilla ice cream or whipped cream. Add right before eating for the best contrast between warm apples and cool topping.