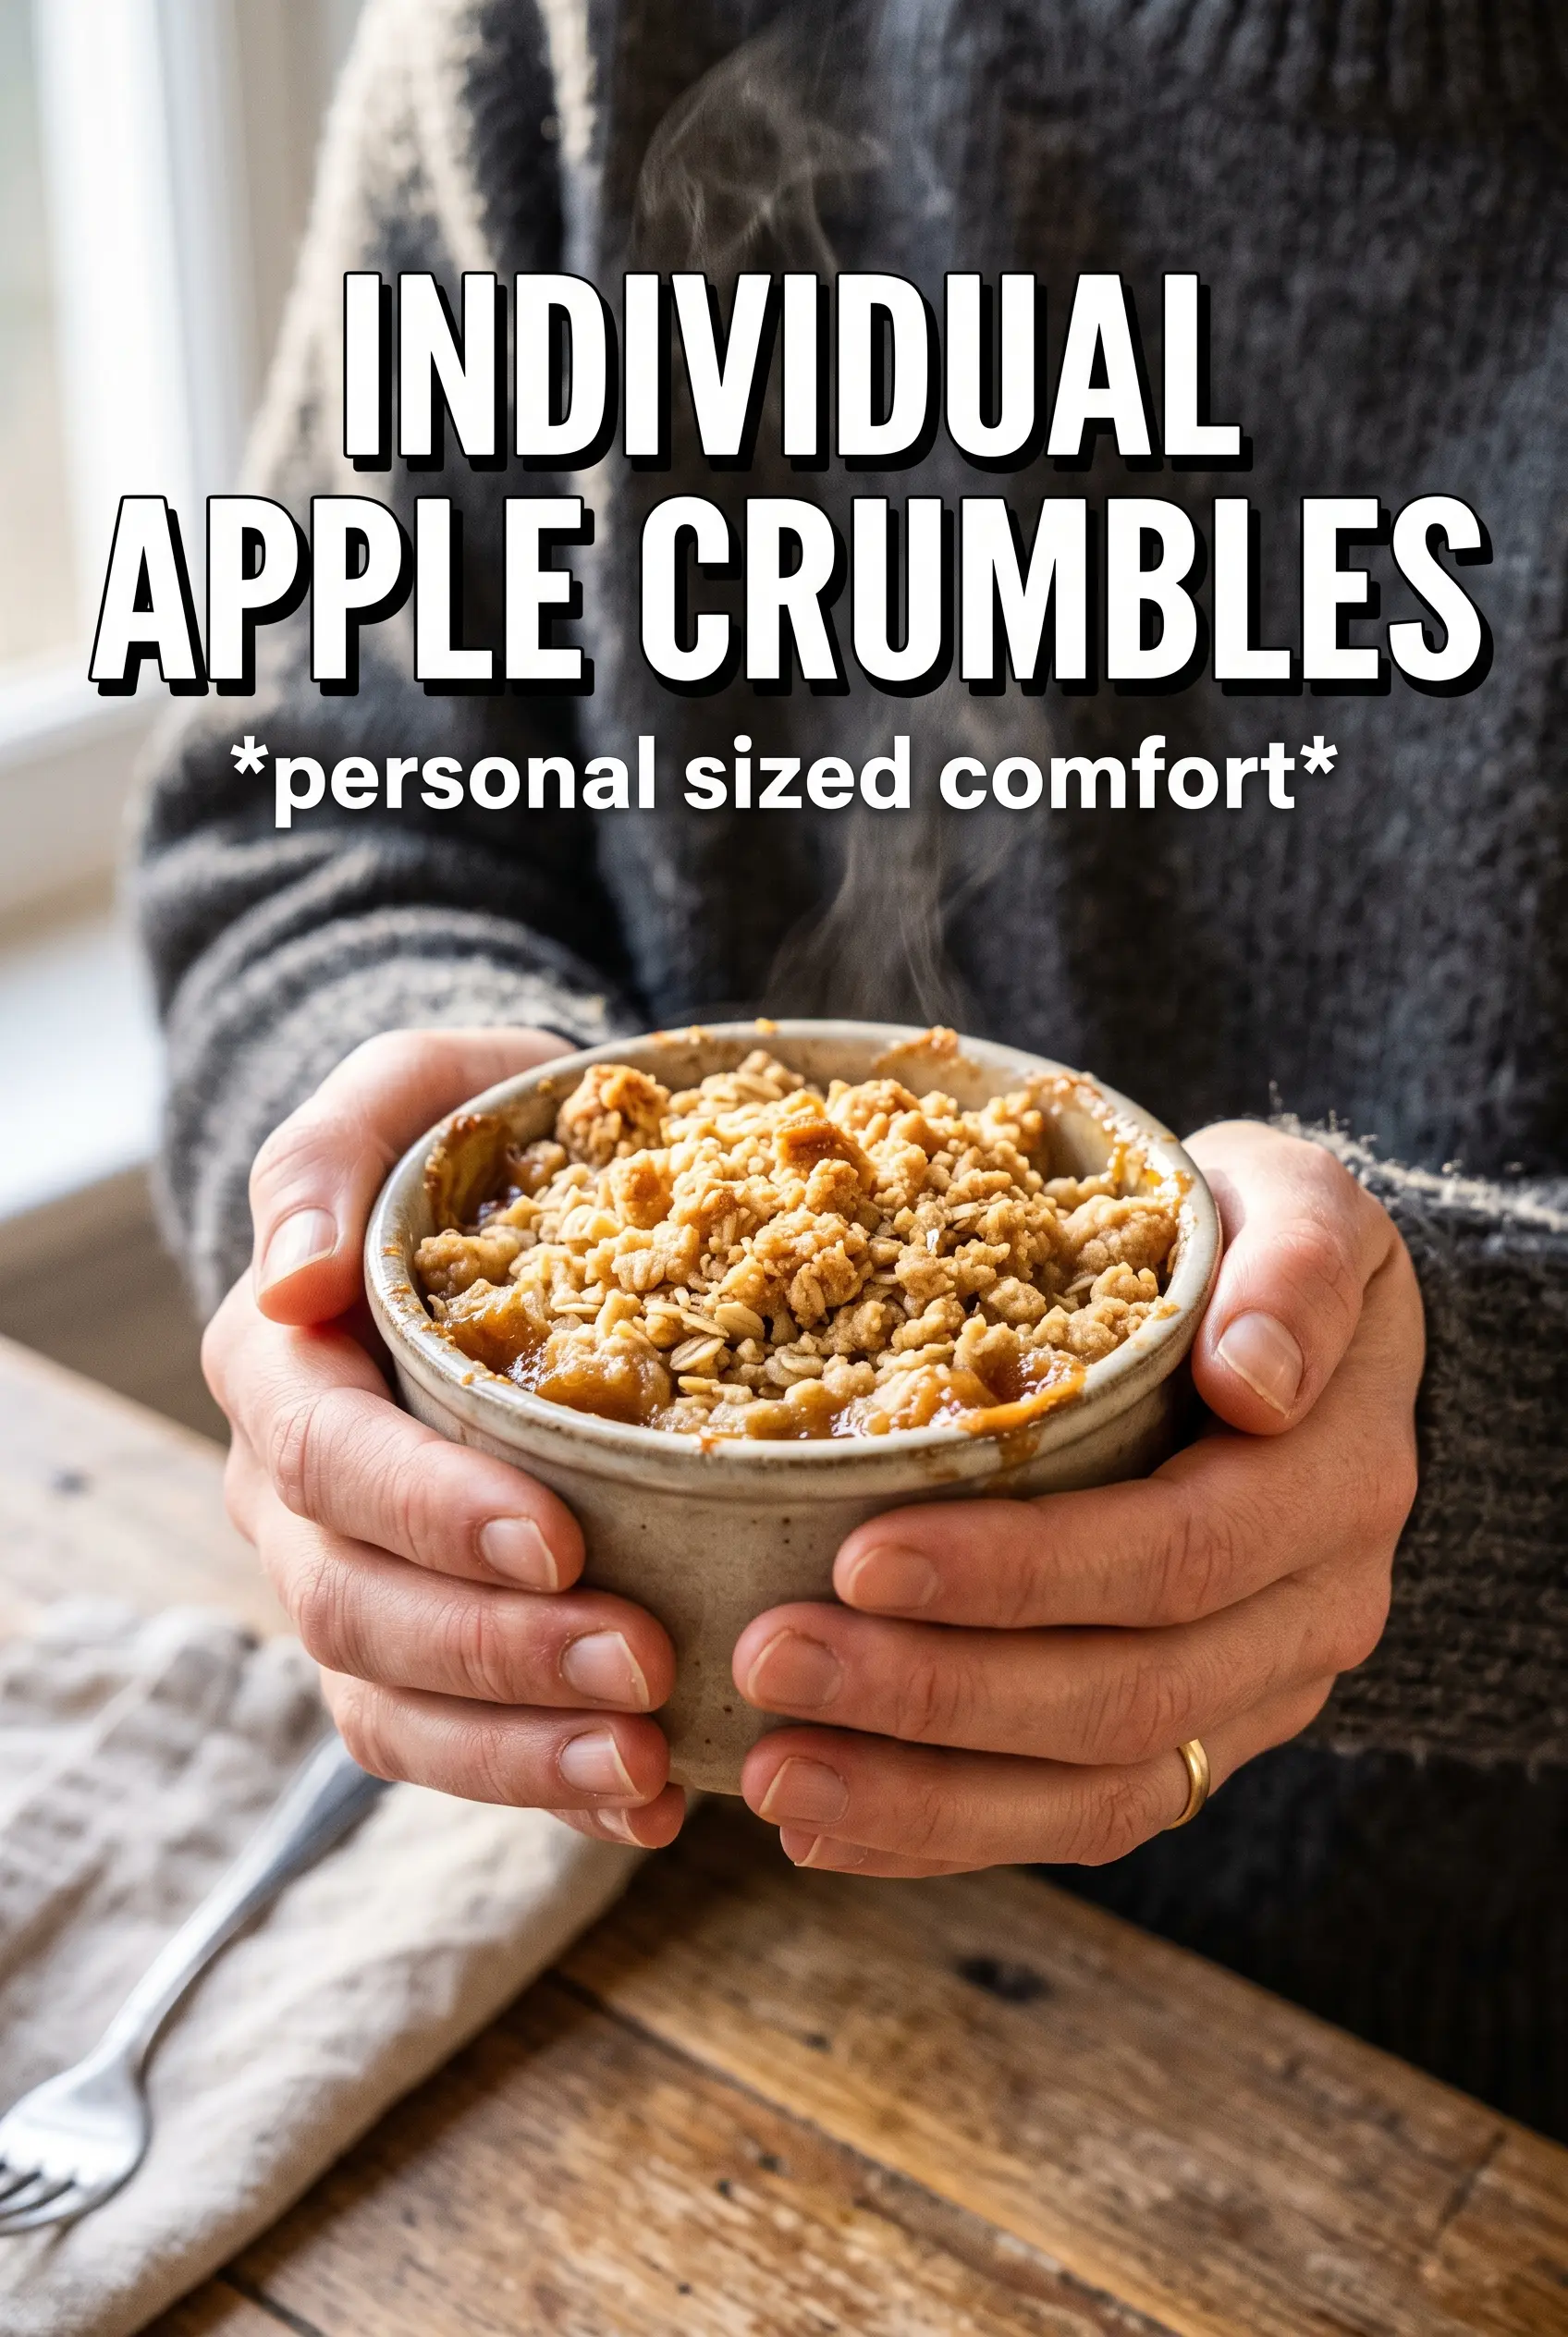
Individual apple crumbles bake up with bubbling cinnamon apples under a thick oat topping that turns crisp at the edges and stays tender in the middle. Serving them in ramekins gives each portion its own caramelized lid, which means nobody fights over the best part: the crunchy topping where it meets the fruit.
The trick here is cooking the apples just long enough to let the cornstarch start working before they go into the oven. That short skillet step keeps the filling from turning watery later, and the diced apples cook through fast without collapsing into applesauce. Cold butter in the crumble matters too. If the butter softens before baking, you lose those chunky bits that make the topping stay crisp.
Below, I’ve included the best way to keep the topping sandy and clumpy, plus a few swaps that still give you a good texture if you’re out of oats or need a dairy-free version.
The filling thickened up beautifully on the stove, and the ramekins came out with crisp topping all the way to the edges. I served them warm with vanilla ice cream and my husband asked if there were any left for breakfast.
Save these individual apple crumbles for the nights when you want a bubbling fruit dessert with crisp oat topping and melted vanilla ice cream.
The Part That Keeps the Filling Thick Instead of Watery
The quickest way to ruin a fruit crumble is to treat the apples like they’ll hold their shape and thicken on their own in the oven. They won’t. The short skillet cook starts drawing out the apple juices, and the cornstarch thickens that liquid before it gets trapped under the topping. That means the filling settles into a glossy, spoonable layer instead of pooling at the bottom of the ramekin.
Dicing the apples small matters more here than in a big casserole dish. Smaller pieces cook through faster, which keeps the texture soft without leaving hard centers behind. If your apples are very juicy, keep the skillet on the heat until the mixture looks noticeably thicker and the liquid around the edges turns translucent.
- Apples — A firm baking apple holds its shape best, but any mix of sweet-tart apples works. If you use softer apples, cut them a little larger so they don’t disappear.
- Cornstarch — This is what gives the filling that lightly set, pie-like texture. Arrowroot works in a pinch, but it can turn a little looser after cooling.
- Lemon juice — It keeps the apples bright and cuts the sweetness. Fresh lemon is worth using here because the flavor shows up in a dish this simple.
What the Oats and Cold Butter Are Actually Doing
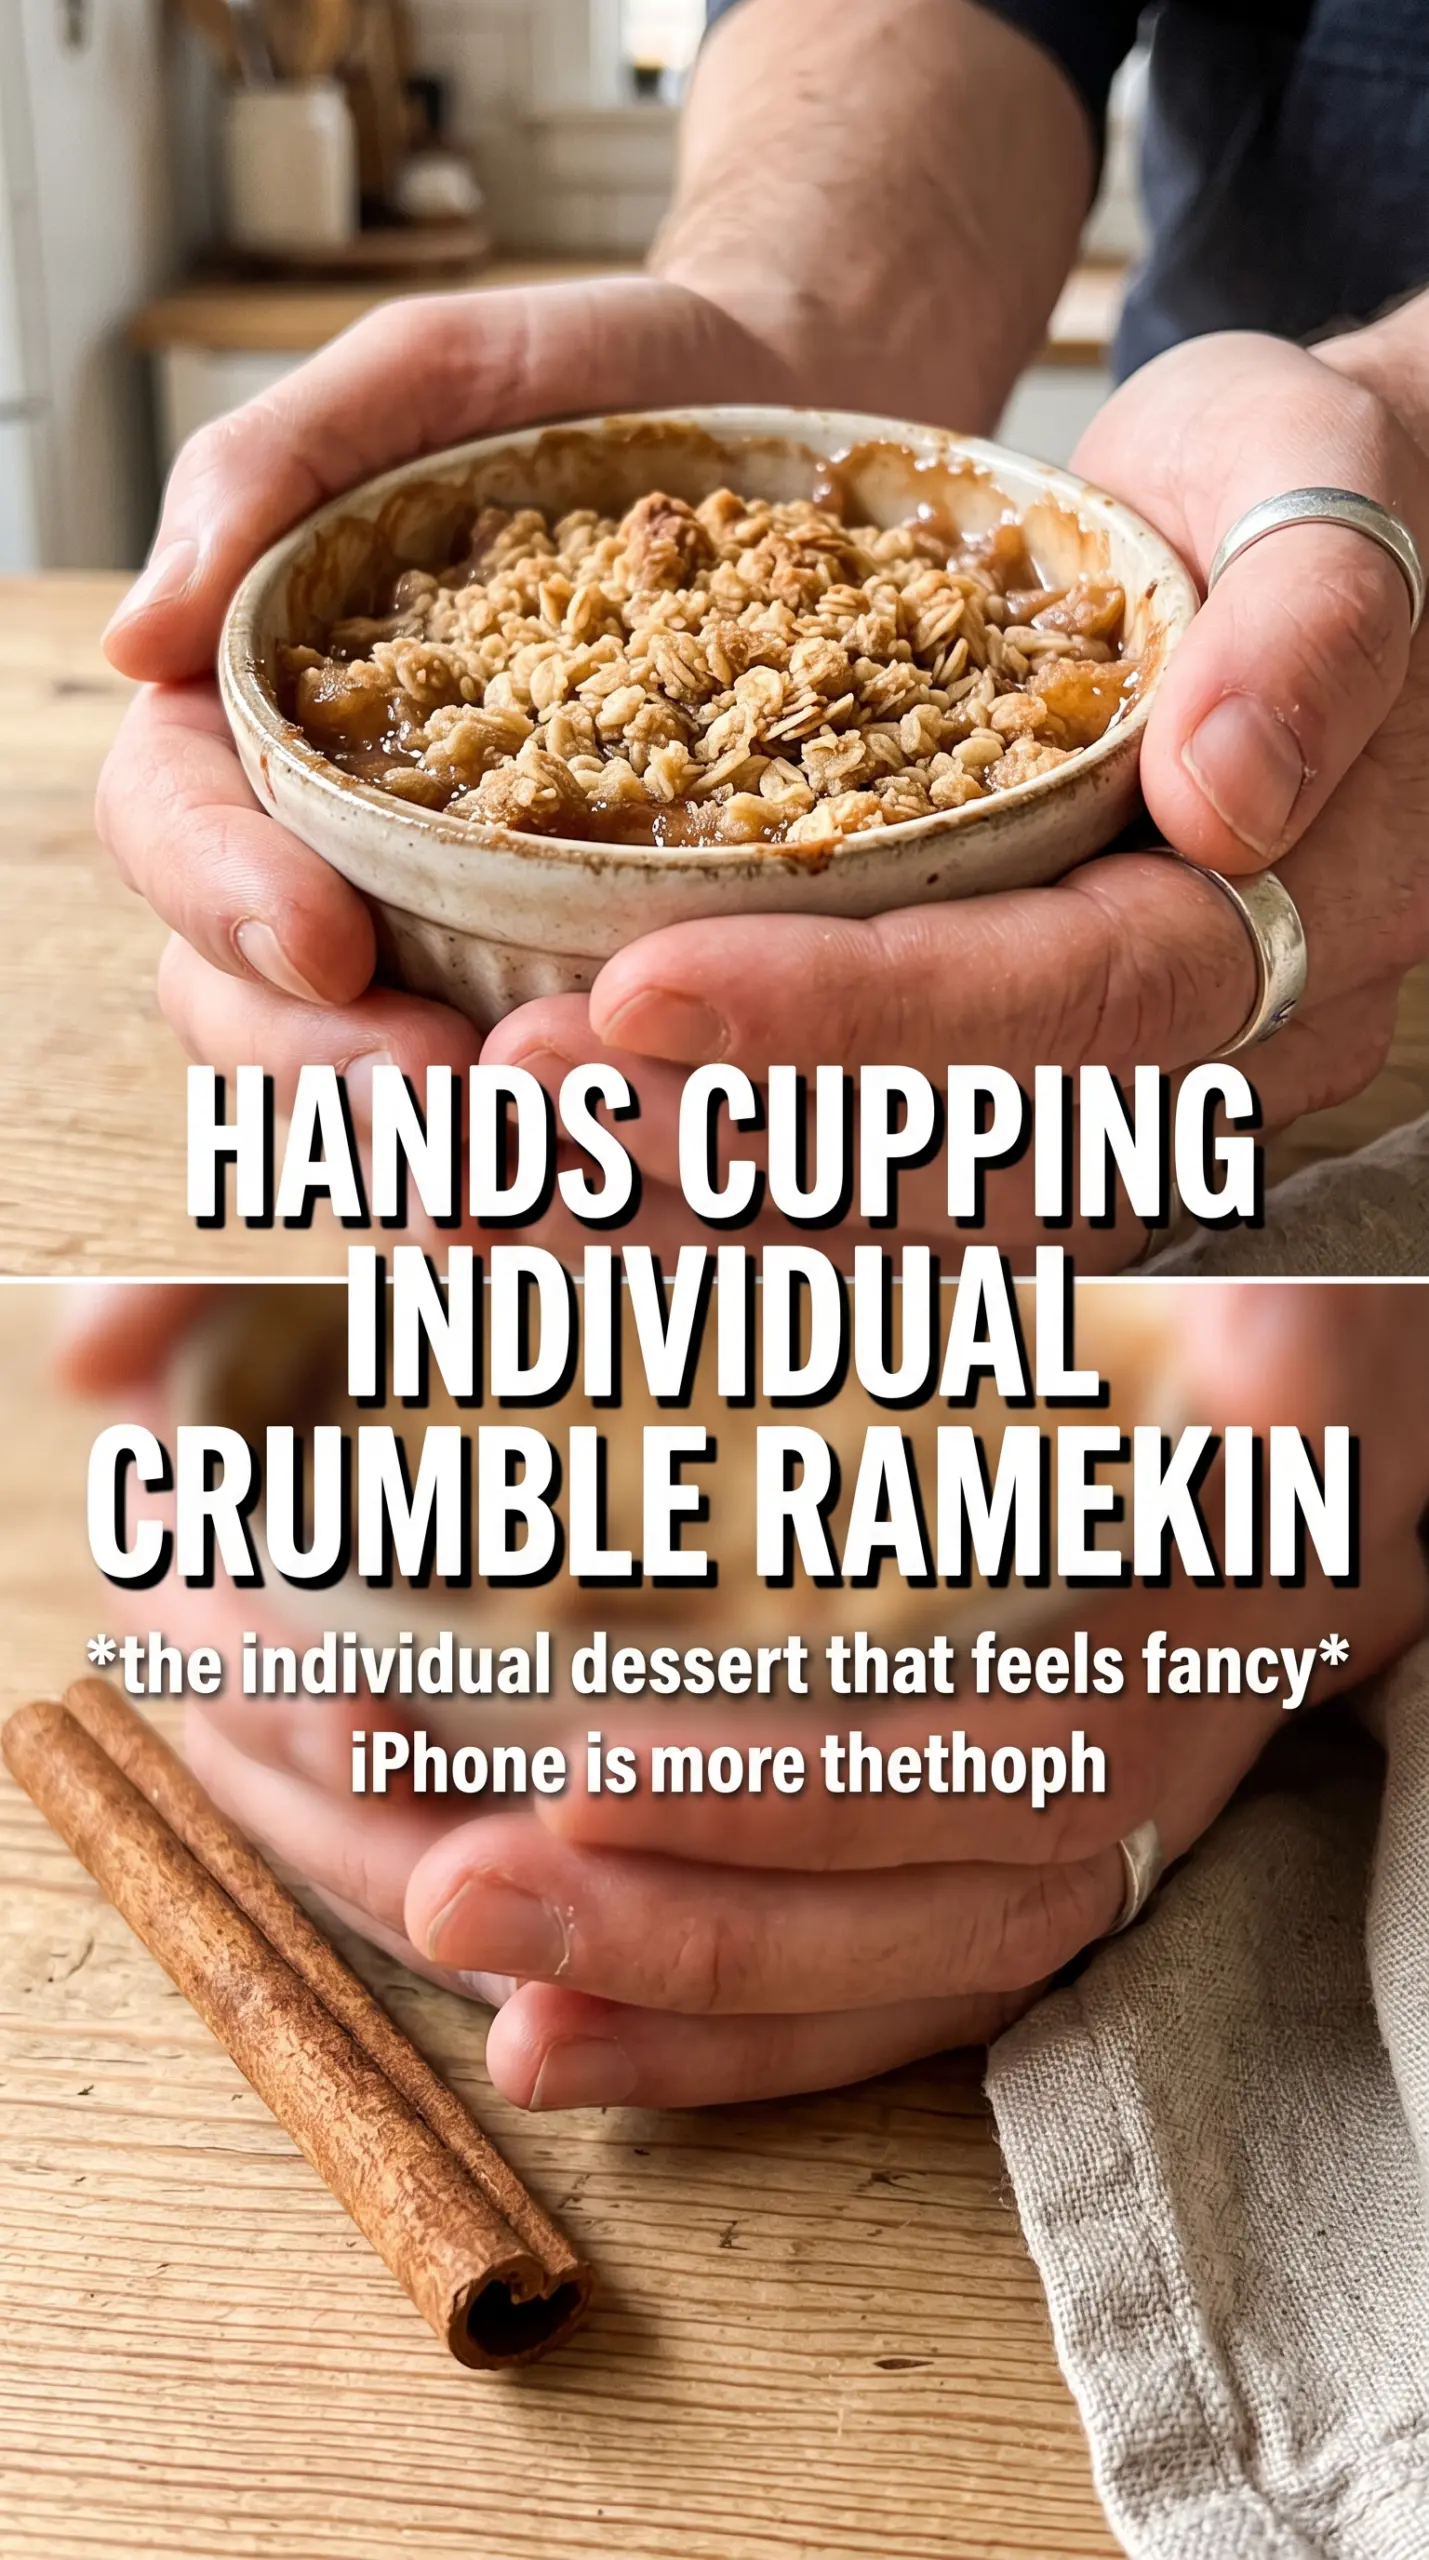
The topping isn’t just there for crunch. Rolled oats give it a rough, craggy texture that bakes into crisp little ridges, while the flour and brown sugar help those clumps brown instead of drying out. Cold butter is what makes the crumble stay chunky. If you melt the butter first, you get a sandy layer that bakes up more like cookie crumbs than a proper crumble.
Keep the butter cold and stop mixing when the mixture looks like uneven pebbles with a few larger pieces. Those larger pieces are the ones that turn into the best browned bits. If the crumble starts to feel paste-like in your hands, the butter has warmed too much and the topping will bake up dense instead of crisp.
- Rolled oats — They give the topping structure and that toasted, rustic finish. Quick oats can work, but they make a finer texture.
- Brown sugar — This helps the topping caramelize and adds a deeper flavor than white sugar alone. Dark brown sugar makes the crumble taste a little richer.
- Cold unsalted butter — Use it straight from the fridge and cube it first so it disperses evenly. If it starts to soften, chill the bowl for 10 minutes before baking.
Building the Ramekins So Every Serving Bakes Evenly
Softening the Apples First
Cook the apples, sugar, spices, lemon juice, butter, and cornstarch together over medium heat until the mixture thickens and the apples look glossy. You want the filling to mound slightly on a spoon, not run across the skillet like syrup. If you stop too soon, the ramekins can overflow with loose juice and the bottom turns thin while the topping browns.
Keeping the Crumble Chunky
Cut the cold butter into the dry ingredients until you see uneven clumps from pea-size to walnut-size. Those irregular pieces are what create the best texture after baking. If everything becomes uniform and sandy, the topping will still taste fine, but it won’t give you those crisp, craggy edges that make each ramekin special.
Baking Until the Edges Bubble
Set the filled ramekins on a baking sheet so they’re easier to move and so any overflow stays on the tray. Bake until the topping is deep golden and the filling is bubbling at the edges, which tells you the cornstarch has finished setting. If the top is browned but the filling isn’t bubbling yet, give it a few more minutes; the fruit hasn’t finished cooking through.
Use Pears Instead of Apples
Pears work well if they’re still firm, especially Bartlett or Bosc. They soften faster than apples, so shorten the skillet time a little and keep an eye on the bake; the filling should be thick, not mushy. The result tastes a little softer and more floral, with the same crisp topping.
Make It Dairy-Free
Use a plant-based butter that works for baking in both the filling and the crumble. The topping still browns nicely, though the flavor is a little less rich than with dairy butter. Serve with coconut-based vanilla ice cream if you want to keep the whole dessert dairy-free.
Skip the Gluten with an Easy Swap
Replace the all-purpose flour with a 1:1 gluten-free baking blend and keep the oats certified gluten-free. The texture stays close to the original, though the topping may bake a touch more delicately. Don’t swap in almond flour alone; it won’t hold the crumble together the same way.
Make It Ahead for a Dinner Party
Cook the filling and mix the crumble separately, then chill both until you’re ready to assemble. The topping stays crisper if you don’t combine it with the fruit too far ahead. Bake from chilled and add a couple of extra minutes in the oven if the ramekins go in cold.
Storage and Reheating
- Refrigerator: Store covered for up to 4 days. The topping softens in the fridge, but the flavor stays good.
- Freezer: Freeze baked crumbles in the ramekins after cooling completely. Wrap well and freeze for up to 2 months.
- Reheating: Warm in a 325°F oven until the filling is hot and the top crispens again, about 15 to 20 minutes. The microwave will heat the fruit, but it turns the topping soft.
Questions I Get Asked About This Recipe
Individual Apple Crumbles
Ingredients
Equipment
Method
- Preheat oven to 375F and grease 6 individual ramekins (6–8 oz each). Keep ramekins on the counter for easy filling later.
- In a skillet over medium heat, cook diced apples with unsalted butter, granulated sugar, cinnamon, nutmeg, cornstarch, and lemon juice for 5–7 minutes until thickened. Stir often so the filling turns glossy and thick rather than watery.
- Divide the thickened apple filling among the greased ramekins. Fill each ramekin evenly so the topping bakes at the same rate.
- For the oat crumble, combine rolled oats, all-purpose flour, brown sugar, cinnamon, and salt. Cut in cold cubed butter until chunky clumps form with visible oat/butter bits.
- Top each ramekin generously with the oat crumble. Press lightly so the clumps stay in place as they bake.
- Place the ramekins on a baking sheet and bake 25–30 minutes at 375F until the topping is golden and the filling bubbles. Look for caramelized edges around the apples.
- Serve the apple crumbles warm with vanilla ice cream. Let the ice cream melt slightly over the golden topping.